17
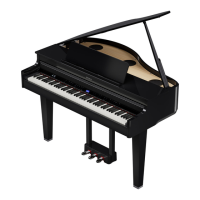
GW-7
CHECKING THE VERSION
NUMBER
1. Press the [WORLD1] + [TONE] + [SONG] button, as it is to turn on unit’s
power. (For China mainland model: Press the [ASIA] +[TONE] +[SONG]
button.)
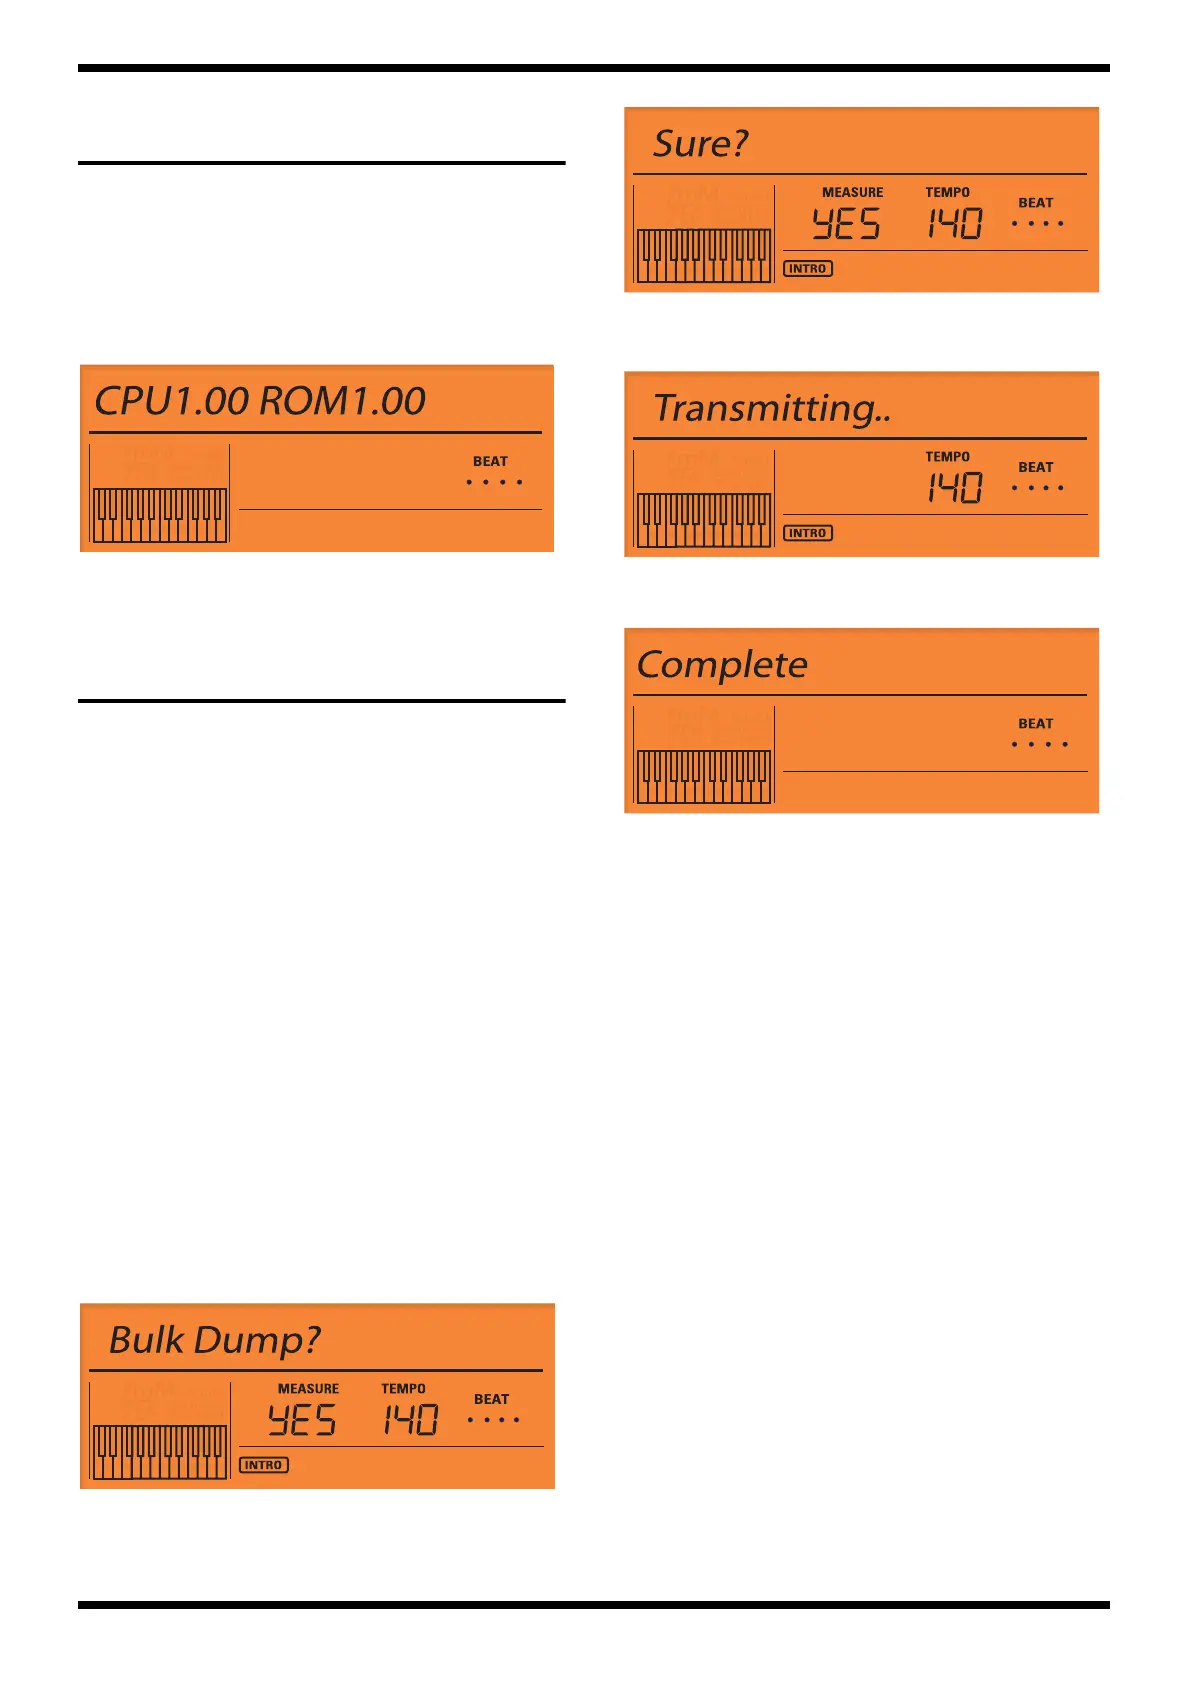
Continue holding down the button until the following screen appears.
2. The CPU and ROM version numbers will be displayed.
3. Please turn off the power, if the version of CPU and ROM is checked.
fig.lcd-ver.eps
* Except for China mainland model: "INT" (internal) will be displayed.
USERS DATA SAVE AND
LOAD
Required items
•A sequencer that can record and play back SMF (e.g., MC-80)
•A computer (Operating System:Windows Windows 2000/Me/XP,
Macintosh Mac OS 9.0.4 or later, Mac OS X 10.0 or later)
• MIDI cable
• USB cable
USERS DATA SAVE (The System,
User Tone, and User
Performance settings)
Here’s how to back up (save) the System, User Tone, and User Performance
setting of the GW-7 on an external MIDI sequencer.
Procedure
1. Use a MIDI cable to connect the GW-7’s MIDI OUT to the MIDI IN of
your sequencer.
2. Press the [FUNCTION] button.
3. Use the SELECT [ < ] / [ > ] buttons to select”Utility?”and press the [
ENTER ] button.
4. Use the SELECT [ < ] / [ > ] buttons to select”Bulk Dump?”.
fig.lcd-bulk1-blk
5. Press the [ENTER] button to indicate “Sure?”.
fig.lcd-bulk2-sure
6. Start recording on your sequencer.
7. Press the [ENTER] button.
fig.lcd-bulk3-tr
8. When “COMPLETED” appears, the process is complete. Stop recording
on your sequencer.
fig.lcd-bulk4-comp
USERS DATA SAVE (User Song
and User Style)
Here’s how to back up (save) the User Song and User Style of the GW-7 on an
external computer.
You must not perform the following actions while the GW-7’s [USB] button is
lit or while files are being sent or received. If you perform these actions, your
computer may freeze, or the files in the GW-7’s memory may be damaged.
• Connect or disconnect the USB cable
• Restart, shut down, or enter or exit Suspend (Standby) or Hibernation
mode on your computer
• Switch off power to the GW-7
If you are using Windows 2000/XP, you must log onto Windows as one of the
following users in order to complete the USB connection correctly.
•A user name belonging to the Administrators group, such as
Administrator
•A user name whose account type is a computer administrator
Do not connect two or more GW-7 units to one computer via USB. The system
will not operate correctly with such connections.
Procedure
1. Turn on the power of your computer.
2. Turn on the power of the GW-7.
3. Use a separately available USB cable to connect the GW-7 to your
computer.
4. On the GW-7, press [USB] so the button is lit.
When a USB connection has been established with your computer, the
GW-7’s screen will indicate “USB Connecting.”
Then, the GW-7 will appear on your computer screen as an external drive
(“GW-7_DRV” or as “Removable Disk”).
The drive letter will depend on the number of drives that Windows has
detected. (This is not relevant for Mac OS.)
 Loading...