21
GW-7
9. It returns to procedure 6 when reading the binary data ends. The name of
the binary data copied onto LCD of GW-7 as follows is displayed in
procedure 7. Procedure 6-9 of all the binary data is repeated.
10. When reading all the binary data ends, the following screen will appear,
and LED of the [SPLIT] and [DUAL] will blink.
11. Verify that “****” matches the checksum of the version to which you
updated.
12. Turn off the power of GW-7. Then turn the power on again and perform
the Factory Reset operation.
Measures against system update
failure
If the update failed, perform it once again from step 1.
TEST MODE
Required items
• Noise meter.
• Headphones.
• Monitor speaker (MA-10 etc.) x2pcs.
• The computer that it’s able to connect with USB.
(OS: Windows Me/2000/XP after. Mac OS 9.0.4 over. Mac OS X 10.0 over
• Expression pedal.
• Hold pedal.
• Audio cable x2 pcs
• MIDI cable x1pc
• USB cable x1 pc
Test item.
The GW-7 have the following tests. For details on each test, refer to the
corresponding item.
0. Test Mode Top page
1. Shock TEST
2. Memory TEST
3. MIDI TEST
4. USB TEST
5. SOUND TEST (OUT1,2 HEADPHONE)
6. LCD TEST
7. A/D TEST1 (Bender & Modulation)
8. A/D TEST2 (Control Knob)
9. A/D TEST3 (Hold Pedal, Expression Pedal)
10. D-Beam Adjustment
11. D-Beam TEST
12. Switch & LED TEST
13. KEYBOARD TEST
14. Noise TEST
15. Factory Reset
Caution before you begin the
test.
Even when you enter Test mode, the user data will not be erased until you
execute “15.Factory Reset.”
You will need to store the user data to an external sequencer beforehand
only if you only want to execute “15.Factory Reset.” (See “Saving and loading
data”)
• Some of the test items will produce a test tone.
Connect headphones with monitor speakers before you start.
• “4.USB Test” is confirmed whether USB can be correctly connected with
the computer.
Please start the computer before it enters the test mode, and connect GW-
7 with USB cable.
Entering Test Mode.
While holding down the three buttons [WORLD1] + [TONE] + [SONG], turn
on the power of GW-7. The top page of Test mode will appear. Continue
holding down the buttons until the top page of Test mode appears. (For China
mainland model: Press [ASIA] + [TONE] + [SONG] button.)
Skipping Test Mode.
Use the [SHIFT] button + SELECT [ < ] button to move to the preceding test, or
the [SHIFT] button + SELECT [ > ] button to move to the next test.
Test mode details.
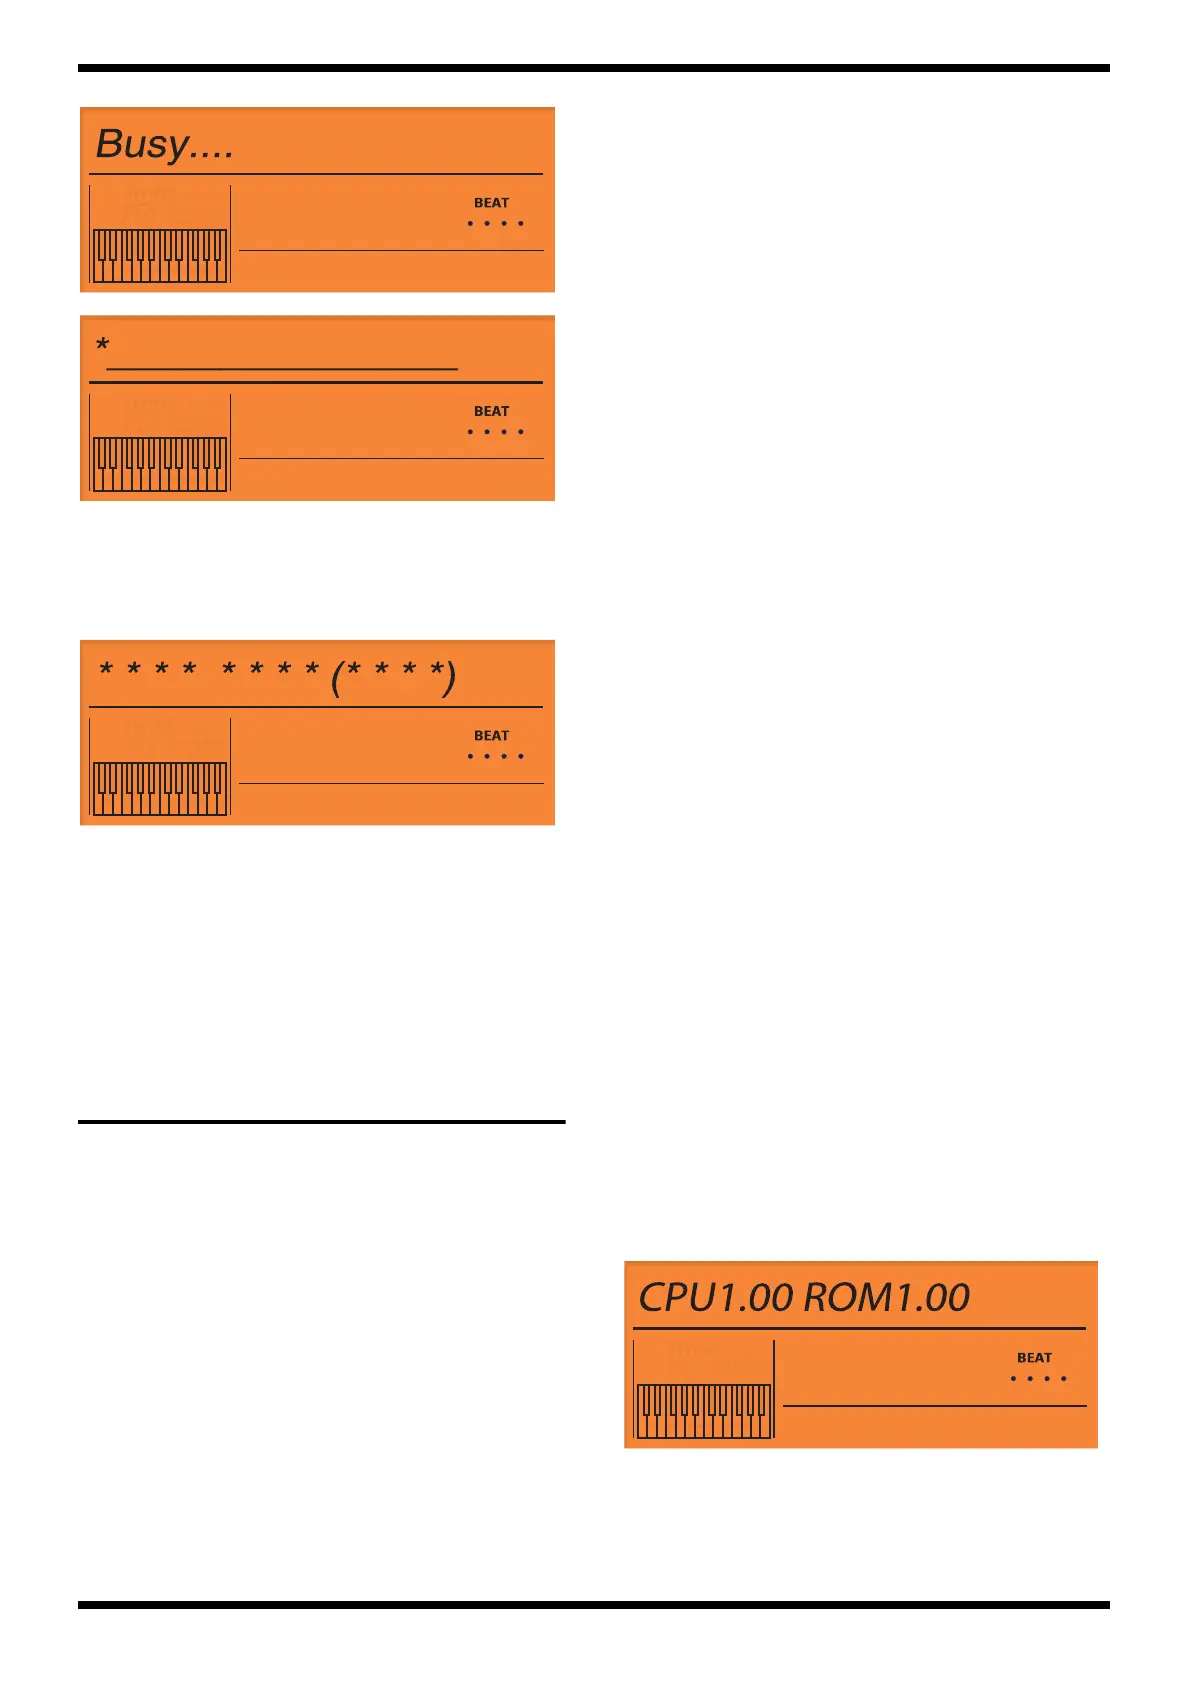
0.Test Mode Top page (GW-7 PD Test)
fig.lcd-t01-ver.eps
1. Here you can check the CPU and Program ROM versions.
If the version is inappropriate, please perform the update. (Refer
to”Updating the system”)
2. Verify that the LCD backlight is lit evenly.
If it is not lit correctly, check the following locations.
 Loading...