3.
Removal of Cylinder and Piston
Slacken the two clamp nuts on top of the
crank-case
neck
Remove the
1/4"
nut above the tappet chest and
lift
the barrel
Remove the
circlip retaining the gudgeon pin on the timing
side of piston taking care not to drop the
circlip into the crank
me.
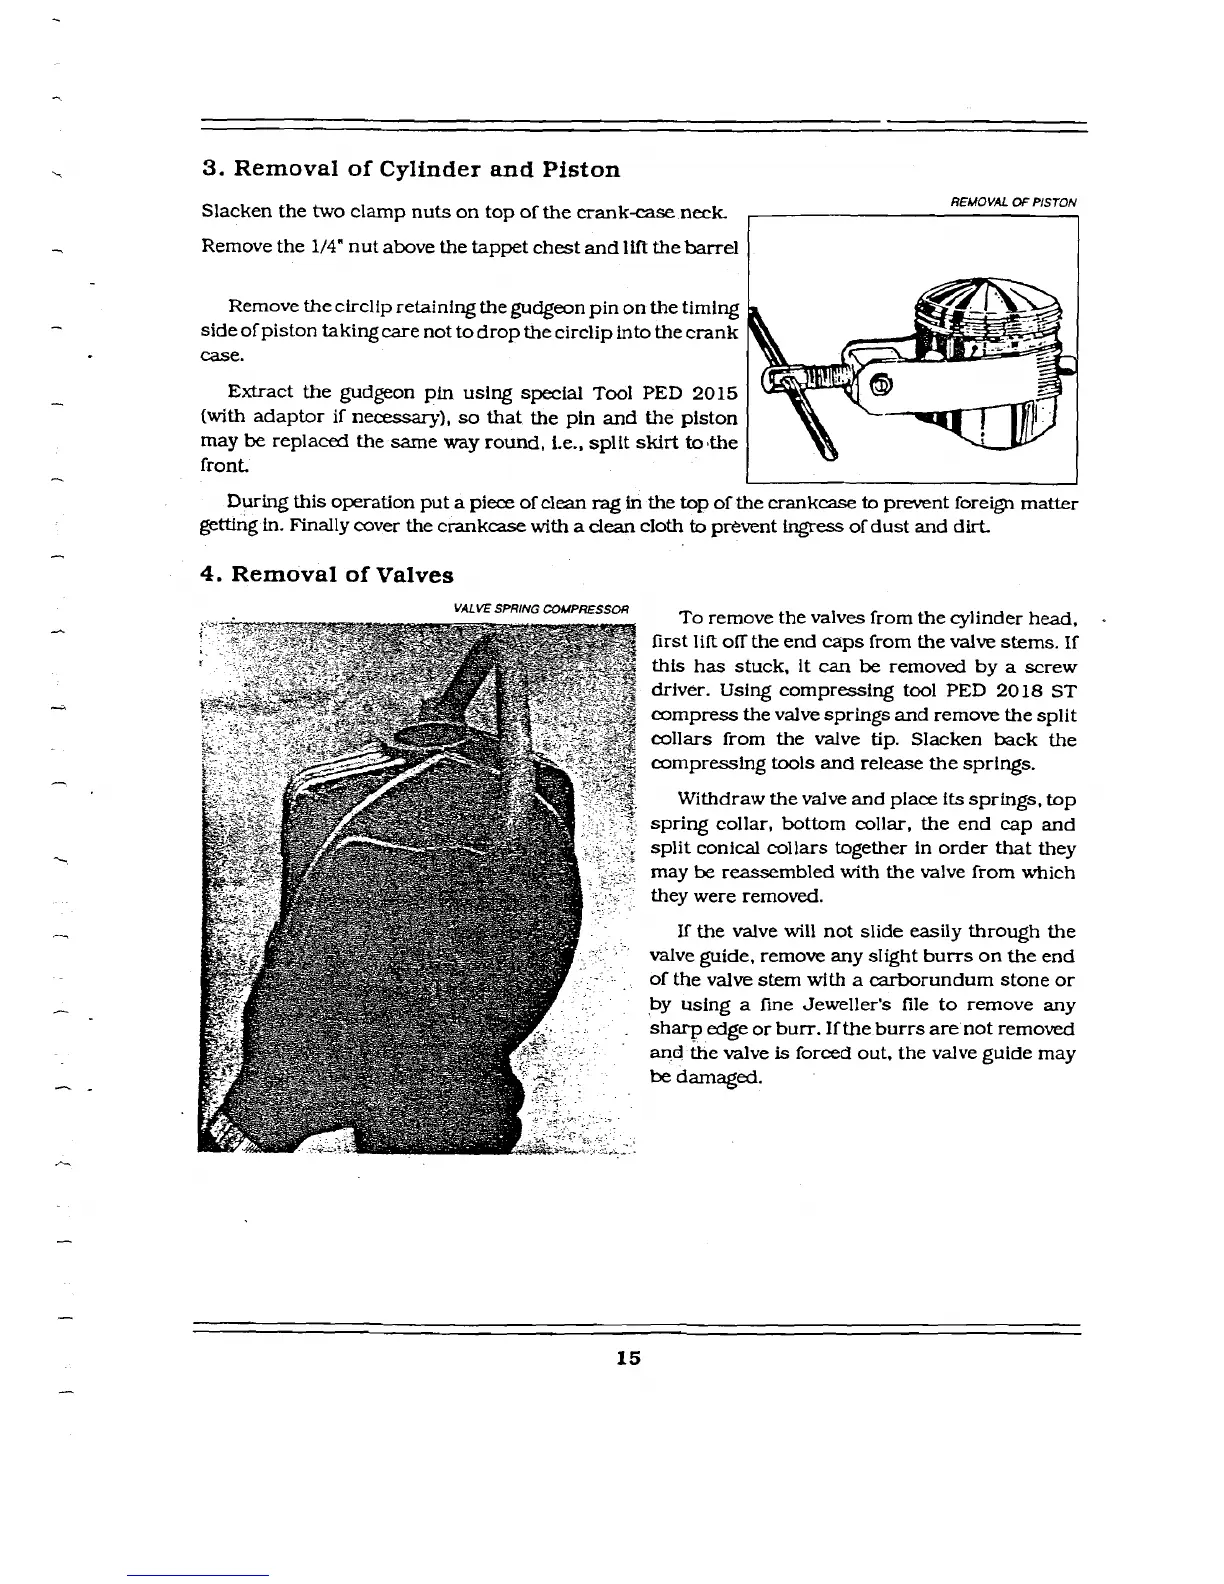
Extract the gudgeon pin using special
Tool
PED
20
15
(with adaptor if
necessary),
so
that the pin and the piston
may
be
replad the same
way
round, i.e., split skirt toathe
front.
REhfOVAL
Of
PISTON
-
During
this
operation
put a piece of
clean
m.g
in
the top of the
crankcase
to
prevent foreign matter
getting
in. Finally cover the crankm with
a
clean
cloth
to
prevent
ingress
of dust and dirt
4.
Removal of Valves
VALVE SPRING COMPRESSOR
To
remove the valves from the cylinder head,
first lift
off the end caps from the valve stems. If
this has stuck, it
can
be
removed by
a
screw
driver. Using compressing tool
PED
20
18
ST
ampress the valve springs and remove the split
collars from the valve tip. Slacken back the
ampressing tools
and
release the springs.
Withdraw the valve
and
place its springs, top
spring collar, bottom collar, the end cap and
split conical collars together in order that they
may
be
reassembled with the valve from which
they were removed.
If the valve will not slide easily through the
valve guide. remove any
sIight burrs on the end
of the valve stem
with
a
carborundum stone or
by using
a
fie Jeweller's file to remove any
sharp edge or burr. If the burrs are not removed
and
Ihe
valve
is
forced out. the valve guide may
be
damaged.
 Loading...