20
Deciding on where to install the indoor unit
Preparation for installation
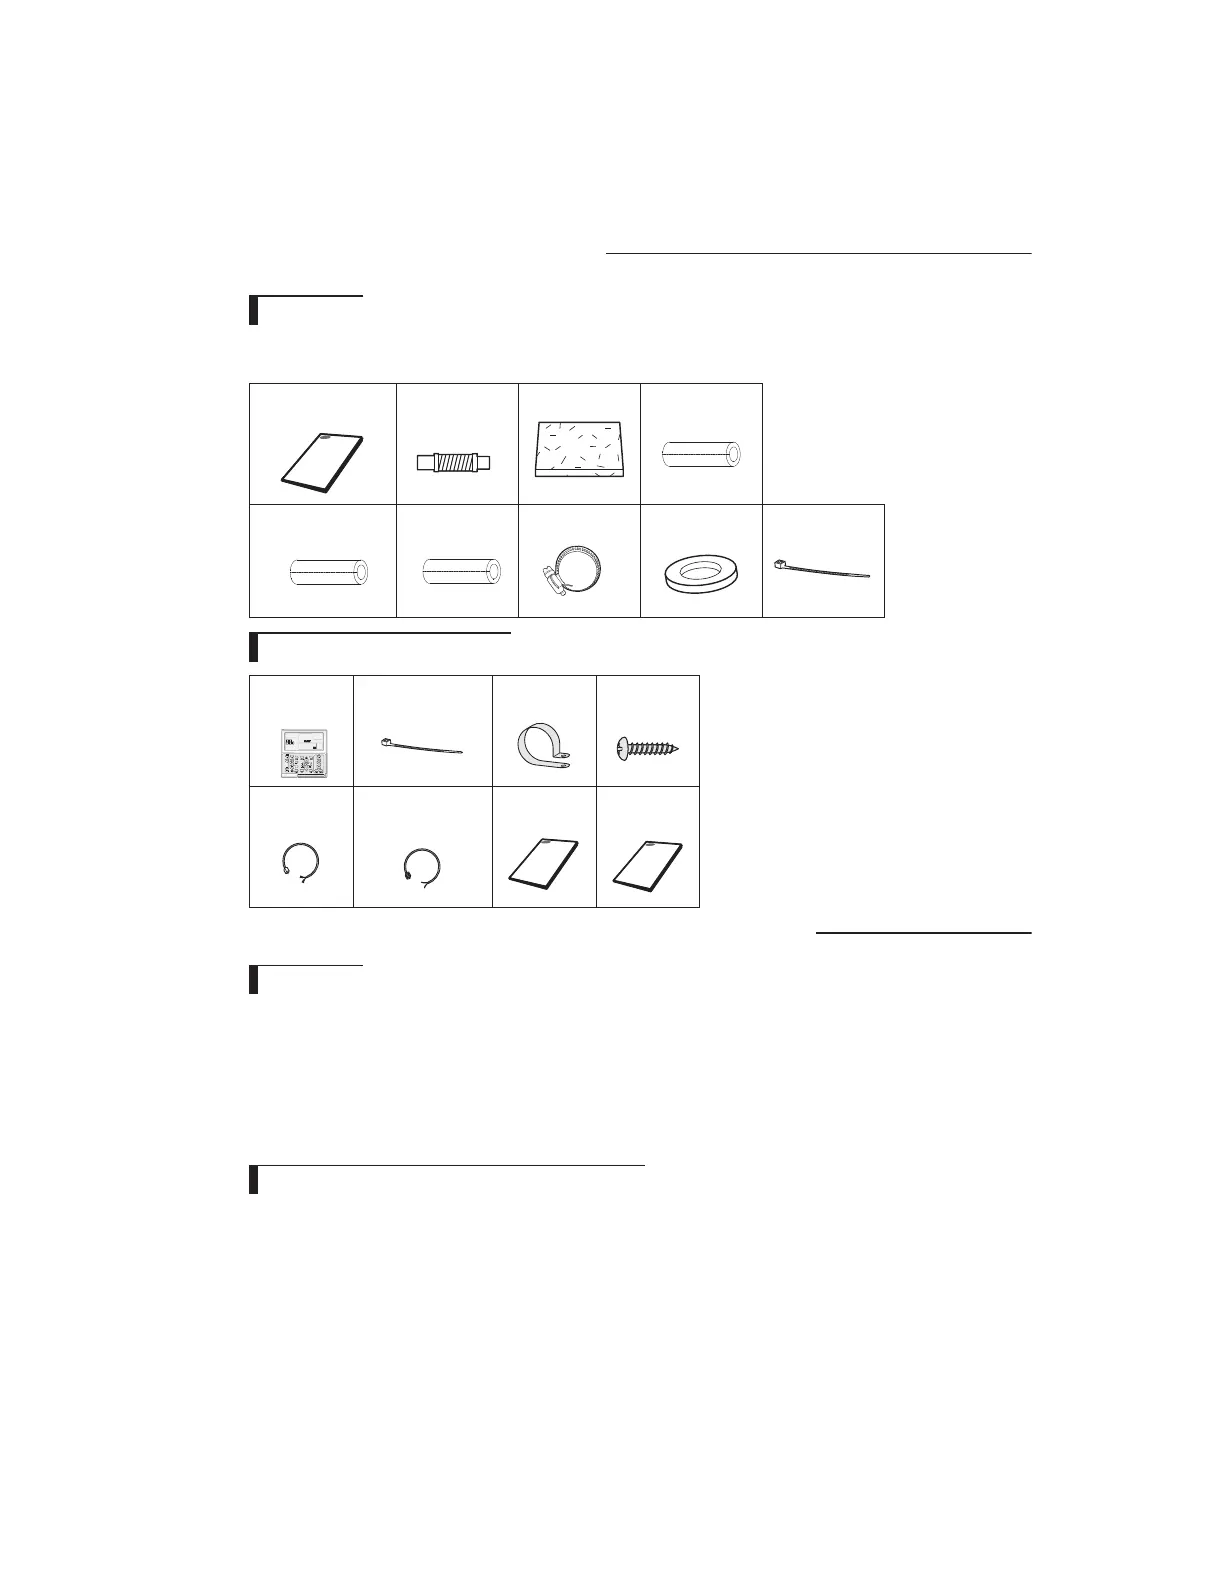
◆ The following accessories are supplied with the indoor unit.
The type and quantity may dier depending on the specications.
Accessories
◆
There must be no obstacles near the air inlet and outlet.
◆
Install the indoor unit on a ceiling that can support its weight.
◆
Maintain sufficient clearance around the indoor unit.
◆
Make sure that the water dripping from the drain hose runs away correctly and safely.
◆
5IFJOEPPSVOJUNVTUCFJOTUBMMFEJOUIJTXBZUIBUUIFZBSFPVUPGQVCMJDBDDFTT/PUUPVDIBCMFCZUIFVTFST
◆
After connecting a chamber, insulate the connection part between the indoor unit and the chamber with t10
or thicker insulation. Otherwise, there can be air leak or dew from the connection part.
■
Construction Standard for Inspection Hole
*ODBTFUIFDFJMJOHJTUFYUJMF*OTQFDUJPOIPMFEPTFOPUOFFE
*ODBTFUIFDFJMJOHJTQMBTUFSCPBSE*OTQFDUJPOIPMFEFQFOETPO*OTJEFIFJHIUPGUIFDFJJOH
B)FJHIUJTNPSFUIBOGUN0OMZ#<*OTQFDUJPOGPS1#">JTBQQMJFE
C)FJHIUJTMFTTUIBOGUN#PUI"#BSFBQQMJFE
c. "A"&"B" are inspection holes .
Wired remote control accessories
8JSFESFNPUF
DPOUSPM
$BCMFUJF Cable
DMBNQ
M4x16
tapped
TDSFX
Indoor unit
power draw-
JOHDBCMF
Communication
cable of the wired
remote control
User’s&Install
NBOVBM
Installation
NBOVBM
"XBZ.%4
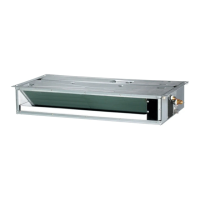
Indoor unit
Space requirements for installation & service
user & installation
NBOVBM
'MFYJCMFIPTF *OTVMBUJPOESBJO Thermal insulation
TQPOHF"
Thermal insulation
TQPOHF#
Thermal insulation
TQPOHF$
$MBNQIPTF 3VCCFS $BCMFUJF
 Loading...