28
Performing leak test & insulation
Once you have checked that there are no leaks in the system, you can insulate the piping and hose.
1
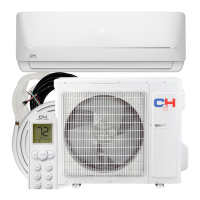
To avoid condensation problems, place T13.0 or thicker Acrylonitrile Butadien Rubber separately around each refrigerant
pipe.
2 Wind insulating tape around the pipes and drain hose avoiding to compress
the insulation too much.
3
Finish wrapping insulating tape around the rest of the pipes leading to the outdoor
unit.
4 The pipes and electrical cables connecting the indoor unit with the outdoor
unit must be xed to the wall with suitable ducts.
5 Select the insulation of the refrigerant pipe.
◆ Insulate the gas side and liquid side pipe referring to the thickness
according to the pipe size.
◆
*OEPPSUFNQFSBUVSFPG¡'¡$BOEIVNJEJUZPGJTUIFTUBOEBSEDPOEJUJPO
If installing in a high humidity condition, use one grade thicker insulator by
referring to the table below.
If installing in an unfavorable conditions, use thicker one.
◆ Insulator’s heat-resistance temperature should be more than 248
¡'
¡$
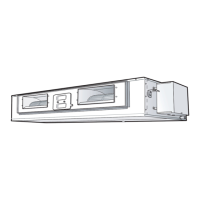
Leak test
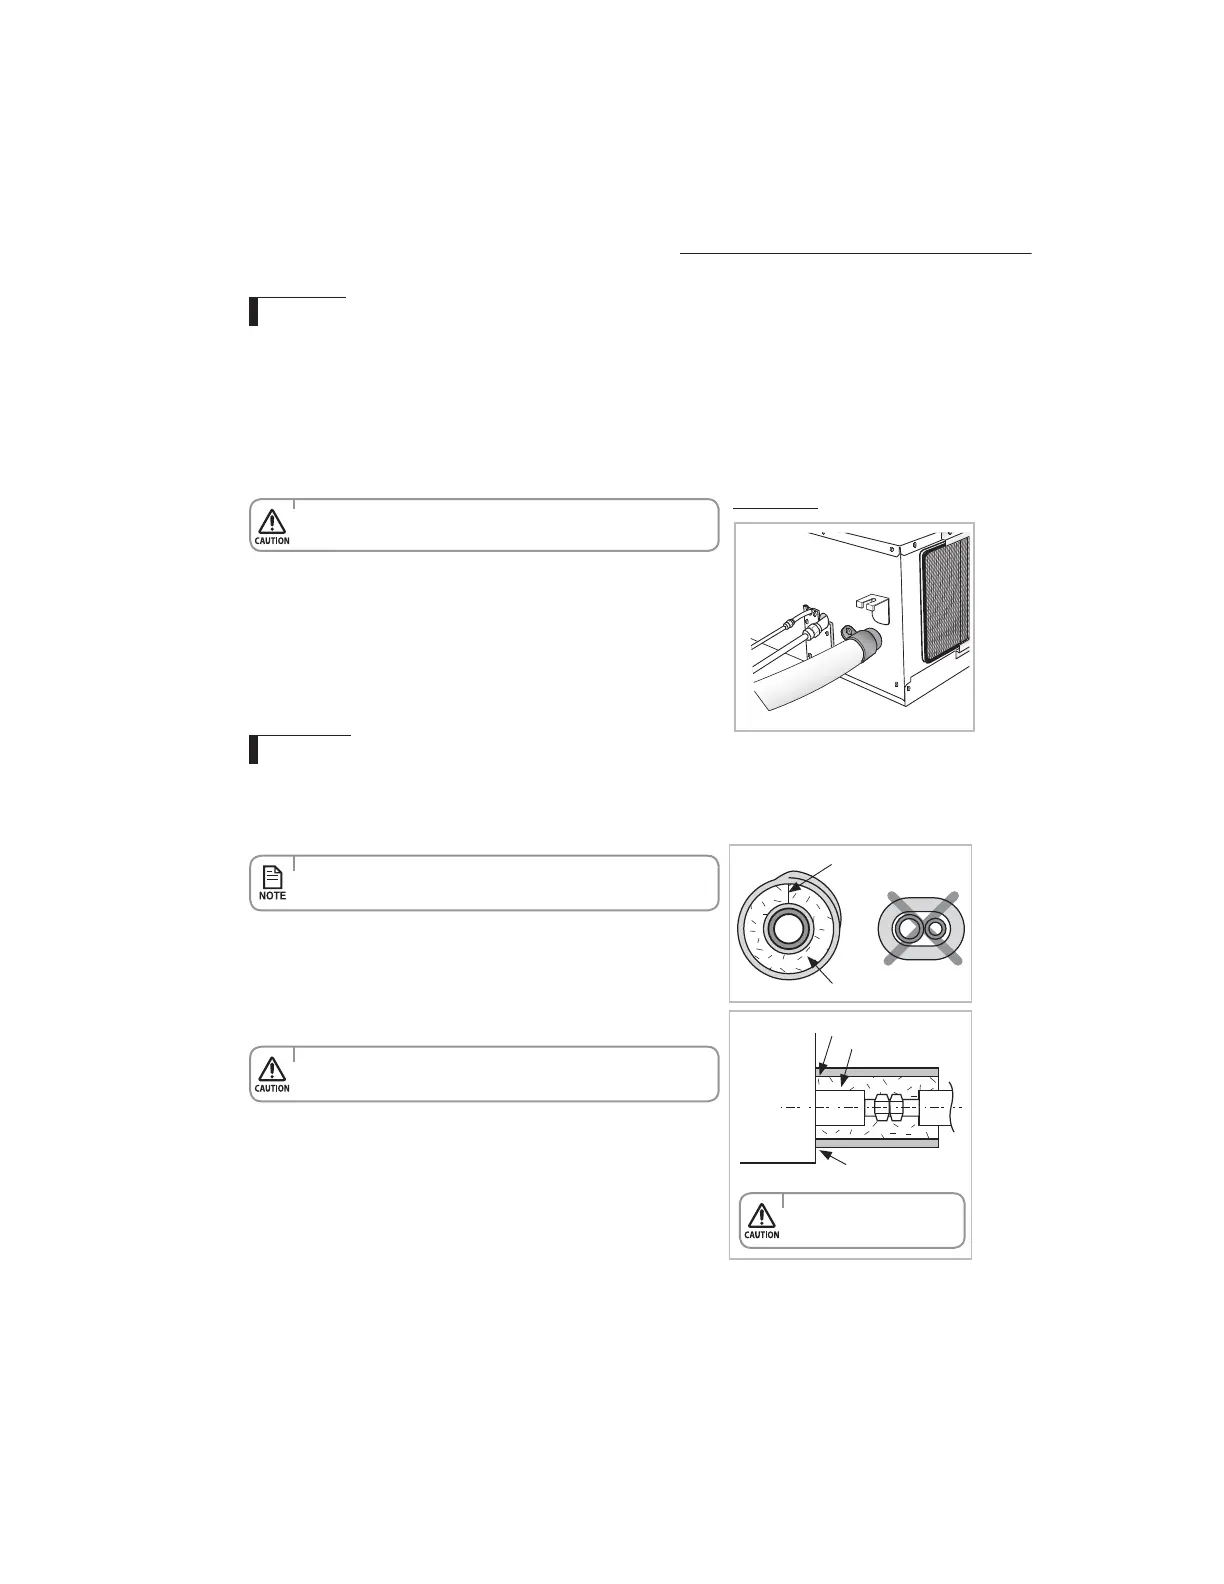
Insulation
No gap
/#3<5JODINNPSUIJDLFS>
Insulation cover pipe
Indoor unit
Be sure to overlap
the insulation
Insulation pipe
t .VTUöUUJHIUMZBHBJOTU
body without any gap.
t "MXBZTNBLFUIFTFBNPGQJQFTGBDFVQXBSET
t "MMSFGSJHFSBOUDPOOFDUJPONVTUCFBDDFTTJCMFJOPSEFSUPQFSNJU
either unit maintenance or removing it completely.
◆
LEAK TEST WITH NITROGEN (before opening valves)
In order to detect basic refrigerant leaks, before recreating the vacuum and recirculating the R-410A, it’s responsable
of installer to pressurize the whole system with nitrogen (using a cylinder with pressure reducer)
at a pressure above 30 bar (gauge).
◆
LEAK TEST WITH R-410A (after opening valves)
Before opening valves, discharge all the nitrogen into the system and create vacuum. After opening valves check
leaks using a leak detector for refrigerant R-410A.
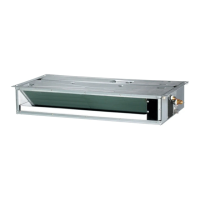
MA Duct Type
t %JTDIBSHFBMMUIFOJUSPHFOUPDSFBUFBWBDVVNBOEDIBSHFUIFTZTUFN
 Loading...