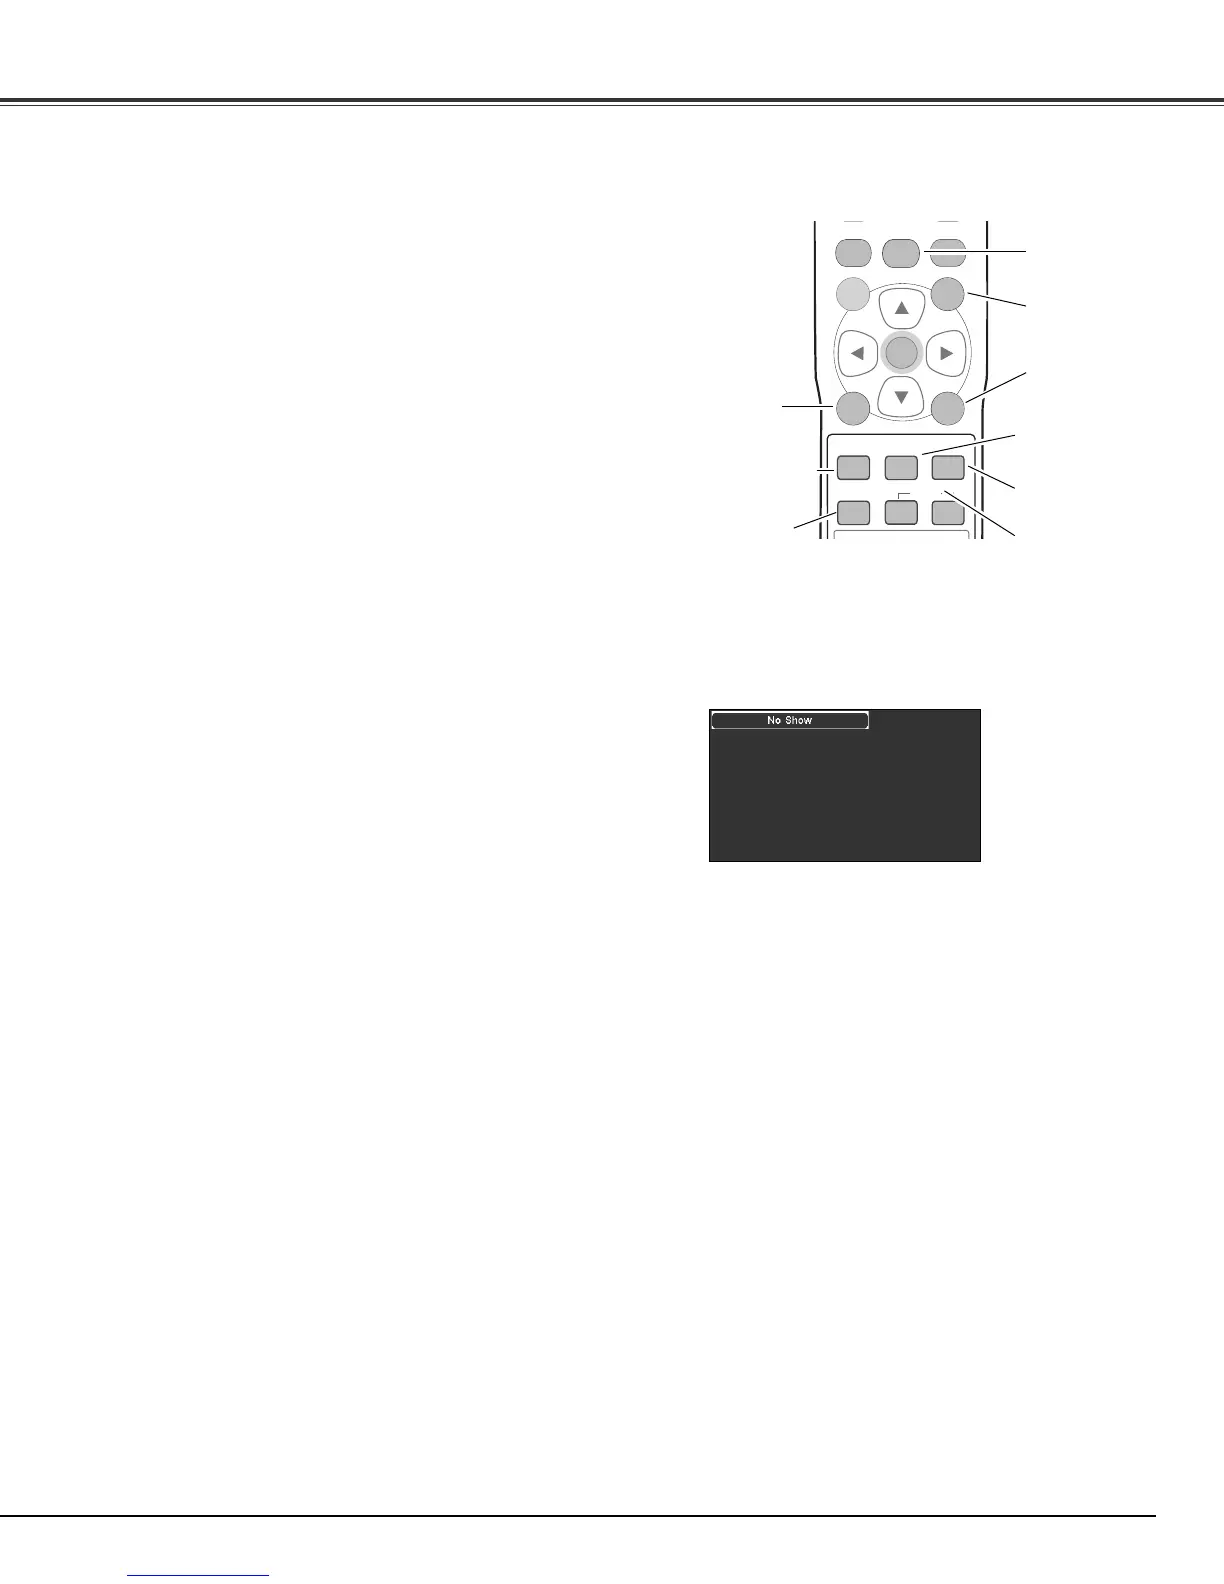
IMAGE ADJ.
NO SHOW
button
Remote Control
RESET
button
RESET button
Press the RESET button to reset the adjusted data. All
adjustments return to their previous figures. When a main menu
item is selected, its entire submenu items are reset; when a
submenu item is selected, only the selected item is reset. This
function is limited to when selecting the Image Mode Adjustment
Menu (pp.28 – 32), Picture Adjustment Menu (p.33) and the
Keystone function in the Setting Menu (p.36).
IMAGE ADJ. button
Press the IMAGE ADJ. button to display the adjustment bar of the
Image adj. Menu items one at a time and directly adjust the
selected item. For details, see page 28.
SCREEN button
Press the SCREEN button to select the desired screen size. For
details, see page 34.
IMAGE
ADJ.
button
SCREEN
button
✔Note:
• See the previous page for the description of other buttons.
BRIGHTNESS button
Press the BRIGHTNESS button to display the Brightness
adjustment bar and use the Point
7 8 buttons to adjust the setting
value. Press the MENU button after adjusting. For details, see
page 28.
CONTRAST button
Press the CONTRAST button to display the Contrast adjustment
bar and use the Point
7 8 buttons to adjust the setting value.
Press the MENU button after adjusting. For details, see page 28.
COLOR button
Press the COLOR button to display the Color adjustment bar and
use the Point
7 8 buttons to adjust the setting value. Press the
MENU button after adjusting. For details, see page 28.
LENS IRIS button
Press the LENS IRIS button to display the Lens iris adjustment bar
and use the Point
7 8 buttons to adjust the setting value. Press
the MENU button after adjusting. For details, see page 29.
IMAGE buttons
Press the IMAGE buttons (PRESET or USER) to select the desired
image mode of the screen. For details, see page 27 .
CONTRAST
button
COLOR
button
IMAGE
buttons
BRIGHTNESS
button
LENS IRIS
button
✔Note:
• If you press the OK button after adjusting each Image adj. Menu item, it will enter
the main menu.
 Loading...