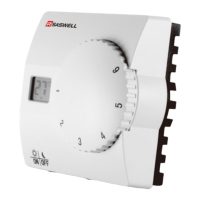
52
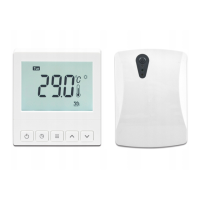
Connecting, pairing of the thermostat and the receiver
By default, the thermostat and receiver are already paired, meaning they work seamlessly out of the
box. If there is ever a situation where the frequency between devices is lost, you will need to repeat
the process of pairing the devices.
The connection between the devices is completely digital, meaning that no switches need to be set
and each thermostat frequency is unique, so you don't have to worry about adjusting the thermostat
to anyone else or vice versa. The frequency is radio RF 868MHz and FSK type - the connection is
two-sided and if the devices are no longer connected or loose signal, you will see that with the help of
a flashing symbol (see screen description 4) on the screen.
You can connect the devices easily. The procedure for putting the receiver in connecting mode is
described at the end of the manual. So, to pair the devices, turn off the thermostat by short pressing
the button.
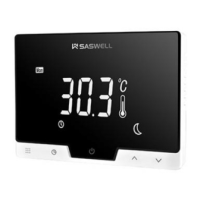
0ff is displayed on the screen. Now hold down the key (3 sec.) Until AF1 is
displayed. Now press the key briefly. The display shows
-- ,This means that the thermostat is
in connection mode and is waiting for the receiver's feedback - so put the receiver in connection mode
by following the instructions for the receiver. To confirm successful connection,
01 is displayed on
the top right display corner.
You've successfully connected the thermostat and the receiver.
Now, turn back on both devices in standby mode and preform connection test. You can do that by
setting the heat temperature on the thermostat to the maximum. The receiver's led status should blink
yellow twice to confirm the order and turn on the heating. Now lower the heating under the room
temperature and the receiver should blink yellow again and turn off the heating.
 Loading...