Network Browser
The network browser allows you to discover other devices connected to your
network. You can view information about the discovered devices, including
Device ID, IP address, firmware version, and model name.
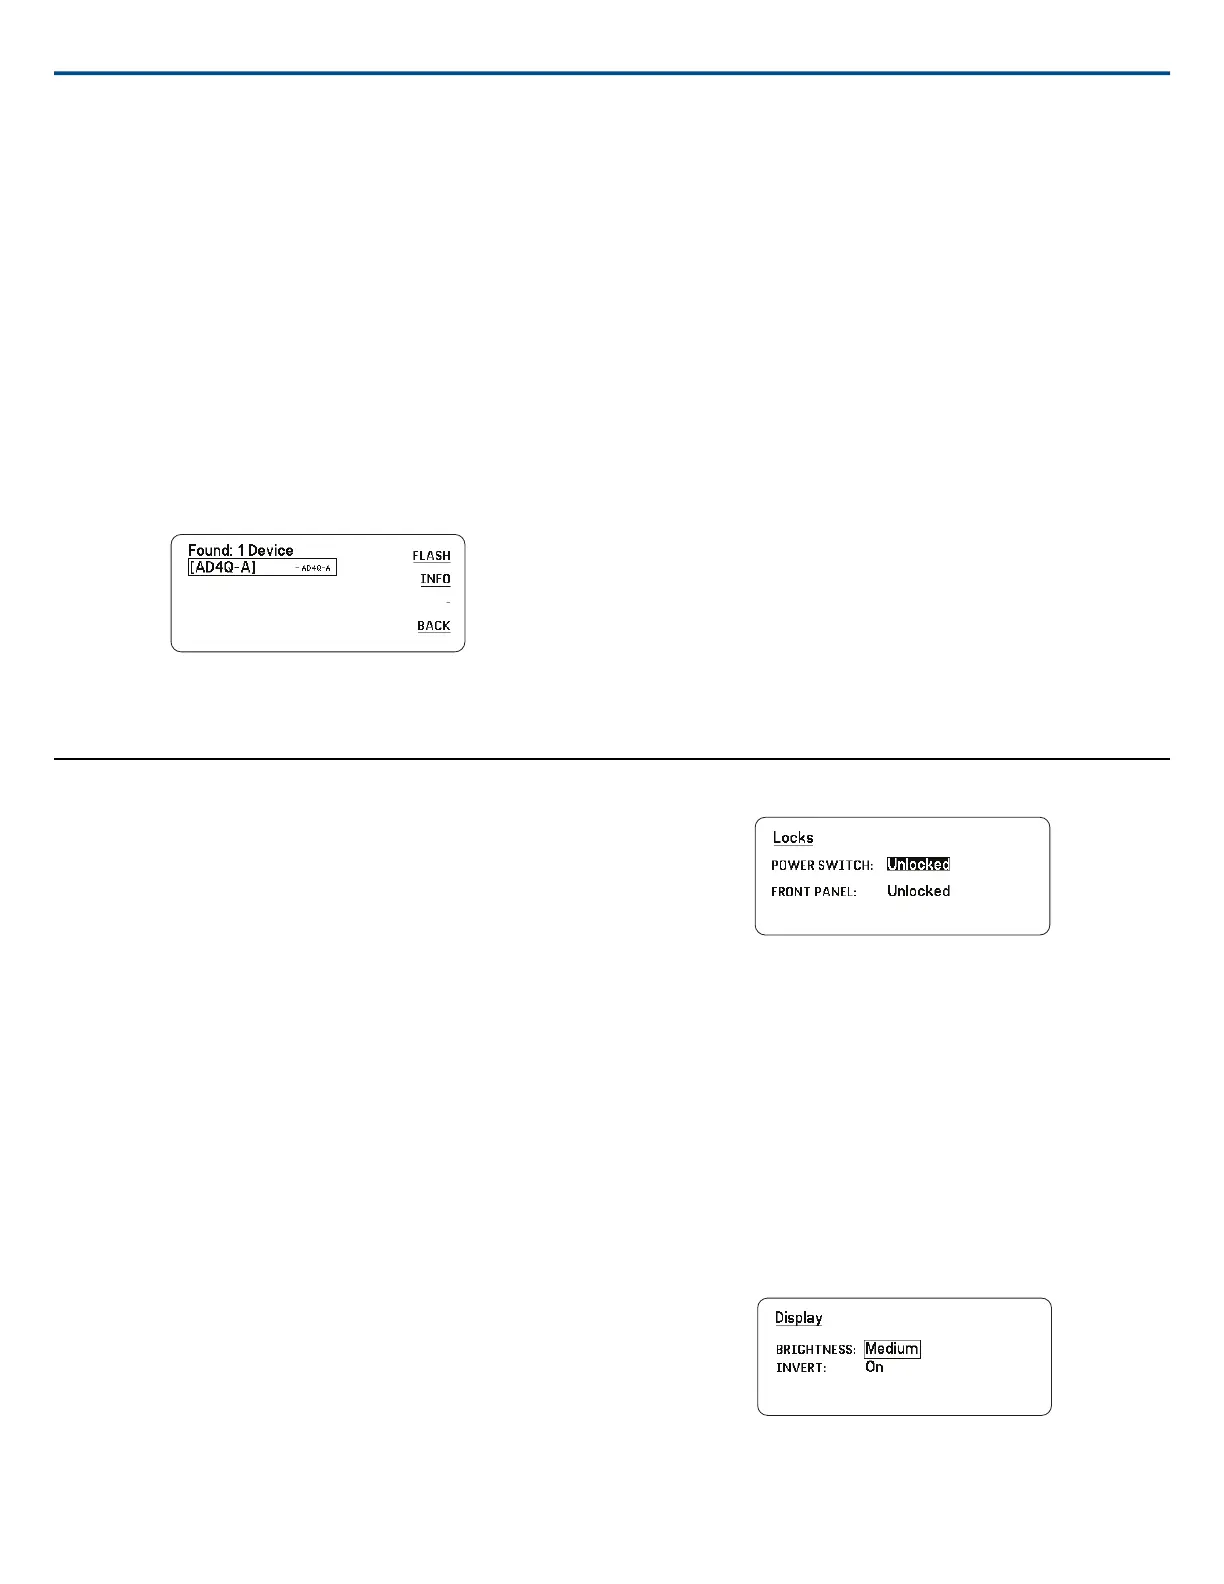
1. From the Device Configuration menu: Network Browser
2. When selected, the Network Browser will discover and list devices on
the network.
3. Use the control wheel to scroll through and select devices.
The following information and actions are available from the Network
Browser:
• Show: Selects the device from the list
• Flash: Flashes front panel LEDs
• Info: Displays the device ID, model, IP address, and firmware version
• Flash All: Flashes the front panel of all devices
Network Troubleshooting
• Use only one DHCP server per network
• All devices must share the same subnet mask
• All receivers must have the same level of firmware revision installed
• Look for the illuminated network icon on the front panel or display of each
device:
If the icon is not illuminated, check the cable connection and the LEDs
on the network jack.
If the LEDs are not on and the cable is plugged in, replace the cable and
recheck the LEDs and network icon.
To check connectivity of WWB6 to the network:
1. Start Wireless Workbench software and use Inventory view to see devices
connected to the network.
2. Find the IP address from one of the devices on the network and see if
you can ping it from the computer running Wireless Workbench.
3. From a WINDOWS/MAC command prompt, type ‘ping IPADDRESS’ of
the device (e.g. "ping 192.168.1.100").
4. If the ping returns success (no packet loss), then the computer can see
the device on the network. If the ping returns failure (100% packet loss),
then check the IP address of the computer to ensure it’s on the same
subnet.
5. If the pings are successful and the devices still do not show up in the
WWB6 inventory, check to ensure all firewalls are either disabled or allow
the WWB network traffic to pass to the application. Check that firewall
settings are not blocking network access.
Operation
Assigning a Device ID
Assigning custom names or IDs helps with monitoring and organizing when
the receiver is part of a large system.
1. From the Device Configuration menu: Device ID
2. Press and rotate the control wheel to edit the ID.
3. Press ENTER to save.
Assigning a Channel Name
Assigning unique names to each channel helps with identification and orga-
nization when the receiver is part of a large system.
1. Select a channel, and then navigate to Channel Name.
2. Press the control wheel to enable editing, and then turn and press the
wheel to edit.
3. When finished, press ENTER to save.
Locking and Unlocking the Controls
Use the locking feature to prevent accidental or unauthorized changes to
controls and settings. The front panel and power switch can be independently
locked or unlocked.
1. From the Device Configuration menu: Locks
2. Use the control wheel to change the lock status for the front panel controls
or the power switch.
3. Press ENTER to save.
Display Screen Options
The receiver offers the following display options:
• Brightness: Low, Medium, High, Auto
• Invert: White text on black or black text on white
• Display Sleep: Offers options to turn off display and front panel illumina-
tion after 10, 30, or 60 seconds
Tip: Press any front panel control to interrupt Display Sleep.
1. From the Device Configuration menu: Display
2. Use the control wheel to edit the settings for Brightness, Invert, or Sleep
Display.
3. Press ENTER to save.
Shure IncorporatedAD4Q Digital Quad Receiver
15/212017/10/25
 Loading...