Appendix B: Physical Installation on Siemens Regulators
Siemens Energy, Inc. 59
B Physical Installation on Siemens Regulators
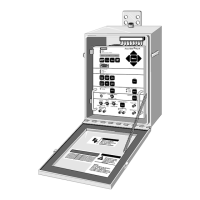
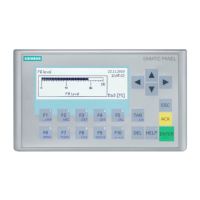
Physical installation consists of placing the MJ-4
Control
Panel in its weatherproof housing and connecting the
Polarized Disconnect Switch to the regulator. Customer-
supplied external connections to the terminal strip on the
back of the unit are made as required. Begin by discon-
necting and removing the panel you are replacing.
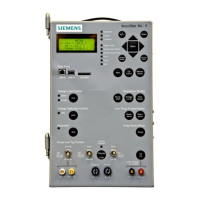
Switch Settings for MJ-4A (See Chapter 2)
As you prepare to install the MJ-4A Control Panel, the fol-
lowing switch settings should be observed:
Normal/External power switch OFF
Auto/Manual switch OFF
Tap Raise and Lower switch OFF
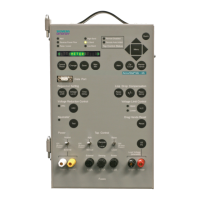
Switch Settingsfor MJ-4B (See Chapter 2)
As you prepare to install the MJ-4B
Control Panel, the fol-
lowing switch settings should be observed:
Normal/External power switch OFF
Auto/Manual switch AUTO DISABLED
Tap Raise and Lower switches OFF
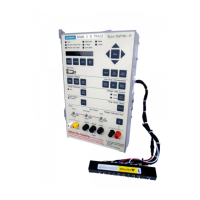
Polarized Disconnect Switch
A wing-nut-secured, ten-position, male Polarized Discon-
nect Switch (PDS) provides the interface to the regulator
sensing and control circuits.
The PDS is compatible with previous generation Accu-
Stat™ controllers. The PDS connections are:
U12 High side of neutral position indicator switch.
When closed to ground, indicates tap changer
in neutral. (Turns on Neutralite).
P2 AC side of Potential Transformer, if present.
C2 High side of Current Transformer.
E Collective neutral return for the control panel,
the Utility winding and PT winding.
E1 Low side of Current Transformer.
U2 AC high side of regulator Tertiary (Utility)
winding. Provides:
-Control Panel power source.
-Voltage reference.
-Voltage Phase reference for flow direction,
-Power factor
J Output from the panel to Raise
regulator tap position.
K Output from the panel to Lower
regulator tap position
U10 High side of Op Counter switch. (closes to
ground E)
U11 High side of regulator drag hands reset
solenoid (returns to E)
Replacing Older Control Units with the MJ-4A &
MJ-4B Control Panel
If the original control has modifications such as Auxiliary
Transformer, Auxiliary CT, Reverse Power Flow Detector,
Voltage Limit Control, or other accessories mounted in the
enclosure, special engineering instructions will be
required before the existing control is replaced.
Note 1: Some older controllers do not provide the neces-
sary signals to support all MJ-4
functions. (i.e., tap posi-
tion indication, operations counter, Neutralite, drag hands
reset.)
Note 2: The control being replaced may incorporate a
jumper between the P2 and U2 terminals on the female
(stationary) portion of the PDS. If and only if this jumper is
present:
1. Remove the jumper.
2. Remove the P2 lead from the P2 screw terminal.
Reconnect the P2 lead to the U2 screw terminal, leav-
ing the P2 terminal vacant.
Note 3: To replace panel types UA-23, UA-24, UA-25 (also
type UJ-1 used on S/N’s 9-0110-00159, 00163, and 00201)
a special adapter mounting kit is required. To make use of
this adapter kit (Cat. No. 1670) the MJ-4
Control Panel
must be installed complete with its enclosure.
Note 4: To replace panel types UJ-4 and UJ-5 with the MJ-
4, replace the ten-pin male portion of the PDS Supplied
with the MJ-4
Control Panel with the seven-pin male PDS
from the older control. Tape up the three unused leads
U10 (operation counter), U11 (drag hand reset) and U12
(Neutralite
TM
). Install a jumper wire from C1 to E on the
female portion of the PDS. For this installation, the MJ-4
will not track the tap position and will not update the oper-
ations counters.
Note 5: To replace controls other than those named, refer
to the factory for special engineering instructions.
Note 6: Regardless of the panel type being replaced, the
MJ-4
Control Panel must be configured to operate with
the particular regulator on which it is being installed. (See
Chapter 4).
CAUTION
Connecting of P2 and U2 lines from the
regulator will cause a direct short circuit of
the two voltage sources.
Will result in severe internal damage.
To Prevent:
Do not connect the P2 and U2 leads to the same
terminal.
 Loading...