21
GB
4. Items supplied
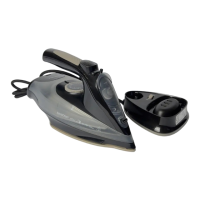
1 steam iron
1 stand7
1 measuring beaker21
1 set of operating instructions
5. Normal or cable-free
ironing
The steam iron can be operated cable-free.
This makes the steam iron a little lighter, and
the cable is no longer in the way during iron-
ing.
As soon as the steam iron is replaced on the
stand7, the sole plate is heated up again.
The temperature control lamp14 lights up
until the set temperature is reached.
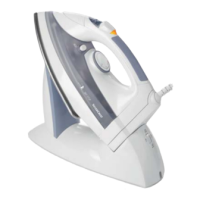
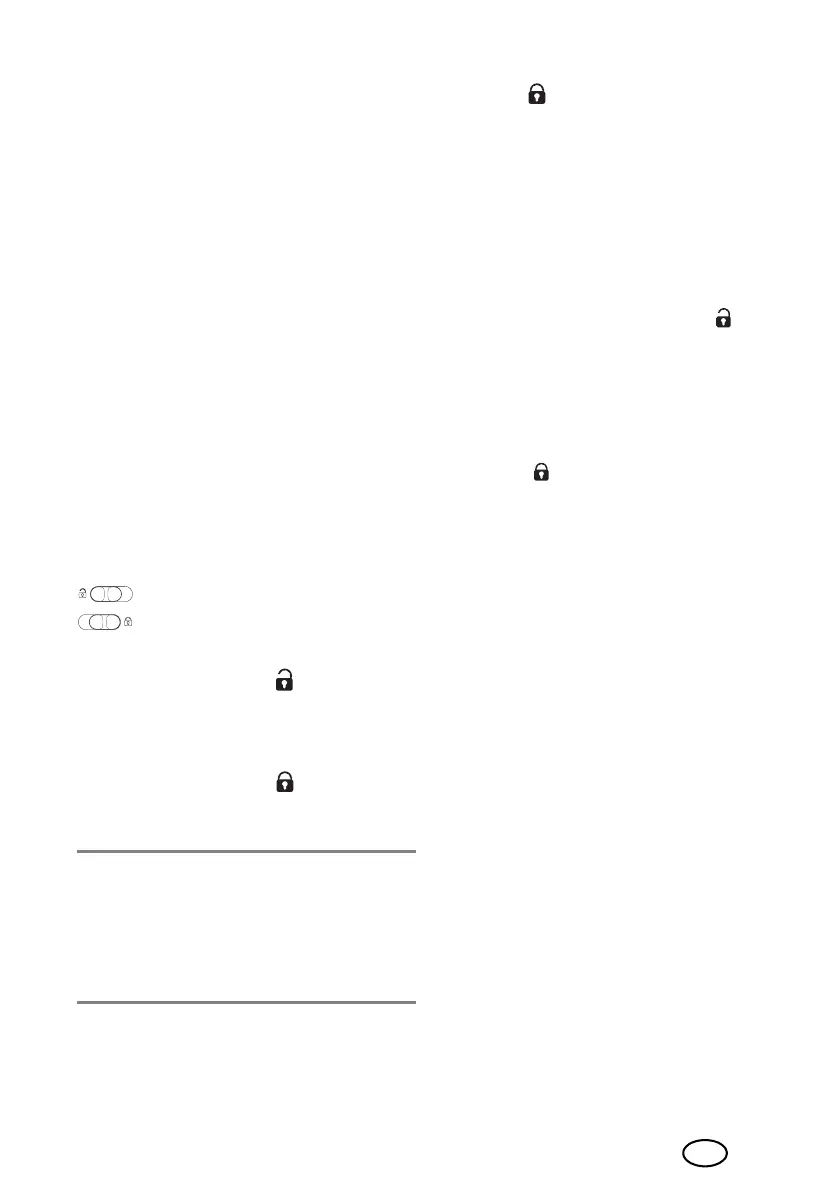
Settings on the stand
The switch11 on the stand7 allows you to
choose between 2 options:
= cable-free ironing
= ironing with cable and
Storage
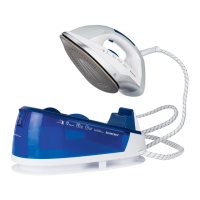
Cable-free ironing
Figure A: lift the steam iron out upwards.
The stand7 will remain standing without the
steam iron.
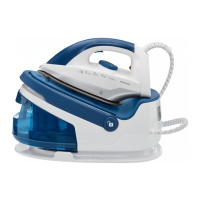
Ironing with cable
Figure B: raise the steam iron. The stand7
will stay on the steam iron.
NOTE: If you want to work with a great
many bursts of steam in quick succession,
ironing with the cable is recommended. This
is better because the sole plate20 may fall
below the set temperature faster than normal
as a result of the many steam bursts.
Storage
Figure B: the steam iron is locked in place
on the stand7.
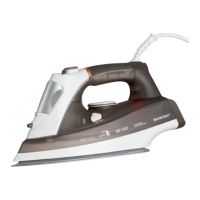
6. Before using for the
first time
1. Ensure that you have pulled out the
mains plug9.
2. The switch11 is in the position . Re-
move the steam iron from the stand7.
3. Open the lid2 (of the water tank).
4. Pour water into the measuring beaker 21
and half-fill the water tank15.
5. Place the steam iron in the stand7.
6. To lock the iron, set the switch11 to the
position .
7. Insert the mains plug9 into a wall sock-
et corresponding to the technical data.
8. Set the temperature controller17 to
MAX.
The temperature control lamp14 lights
up.
9. When the device has reached the de-
sired temperature (temperature control
lamp14 goes out), iron an old cotton
cloth in steam mode until the water
tank15 is empty.
__317392_Dampfbuegeleisen_B8.book Seite 21 Donnerstag, 20. Juni 2019 1:08 13
 Loading...