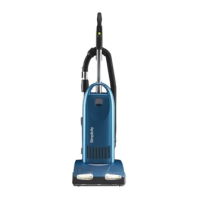
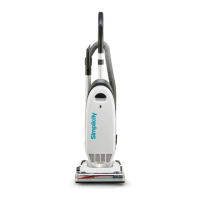
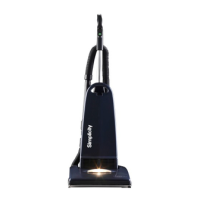
II� Full Size Canister Troubleshooting Guide07�03�07
13
H. Wire Harness Upgrade Instructions
H� Step 1. Remove cover assembly.
1� See page 5, A. Cover Dis-assembly Instructions Steps 1-5
H� Step 2� Remove cord reel assembly and wiring harness.
1� Lift cord reel assembly up, dis-connect the connector, and set aside�
2� Dis-connect the wiring harness from the PC board, lift body seal and slide harness out of canister� Throw old harness away�
H� Step 3� Upgrade wiring harness and install motor assembly.
1� Dis-connect motor wiring harness from the main PC board (Red connector)�
2� Lift motor assembly out of canister�
3� Remove the 4 screws holding the motor assembly together and separate the two halves�
4� Remove the two blue leads from the motor connectors and throw the old harness away�
5� Replace with new wiring harness, which will go straight to the PC board�
6� Remove the wiring harness on the thermal switch (thermostat) and replace it with the new harness, (which will plugs into the
wiring harness between the cord reel and the PC board)�
7� Put the motor back into the motor housing/mounts and install four screws (ensure that the wiring harness is in the slots in the
side of motor housing/mount)�
8. Ensure the rubber tube is connected between the dust compartment and PC board. (Connects to the white tting on the
sensor)
9� Install the motor�
10� Connect motor wires to the PC board� The red connector connects to the to pink connector on PC board�
H� Step 4� Replace cord reel wiring harness.
1� Install P/N 3622714720 new wiring harness� Lift rubber body seal and slide connector under and into slot in dust compartment�
Push rubber seal back into place� Place connector into slot under the cord reel with the wiring going to outside slot� (Connector
should be cross-ways inside of canister)
2� Connect the black connector on the new harness to the black connector on the thermal switch�
3� Connect the clear/yellowish connector to the white connector on the PC board�
4� Install the cord reel by pushing it down into position, while making sure the connectors line up�
Prior to installing the top cover check all connectors and position the main wiring harness 9-pin connector into the slot, (tabs
should be toward PC board and handle). The 9-pin connector on the cover assembly should be placed into the slot with the
locking tabs positioned to the inside and outside of the canister. Once the connectors are in place go to Step 5.
H� Step 5� Install top Cover
1� Place top cover into position, if the connectors are in their slots, they should line up� If you do not have a bag installed, you
will have to position the bag holder down to get the front to seat against the seal� Ensure the top cover is down against the
seal before proceeding�
2� Install 6 screws into the top cover (See Figure A. Main Parts Assembly, )�
3� Install the main switch cover making sure that the spring is in place (See Figure A. Main Parts Assembly, & )�
4. Install the HEPA lter and push the reset button (See Figure A. Main Parts Assembly, )�
5. Install the HEPA lter exhaust grill (See Figure A. Main Parts Assembly, )�
 Loading...