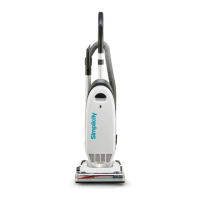
071807 III. General Troubleshooting
21
B.2. Direct Air Motor Will Not Run: Headlights are on
B.2. Step 1.
1. Check the position of tools activation dial/rotational valve handle. Tool dial must be in “OFF” position. Rotate the tool dial
fully counter clockwise and then back to full clockwise or “OFF” position.
2. If the vacuum runs reassemble and retest.
3. If the vacuum does NOT run, continue to B.2. Step 2.
B.2. Step 2.
1. Check the winged rocker switch to ensure it is not broken or
sticking and that the wing is extended and facing down.
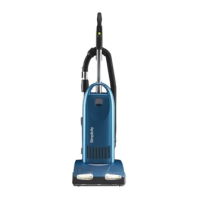
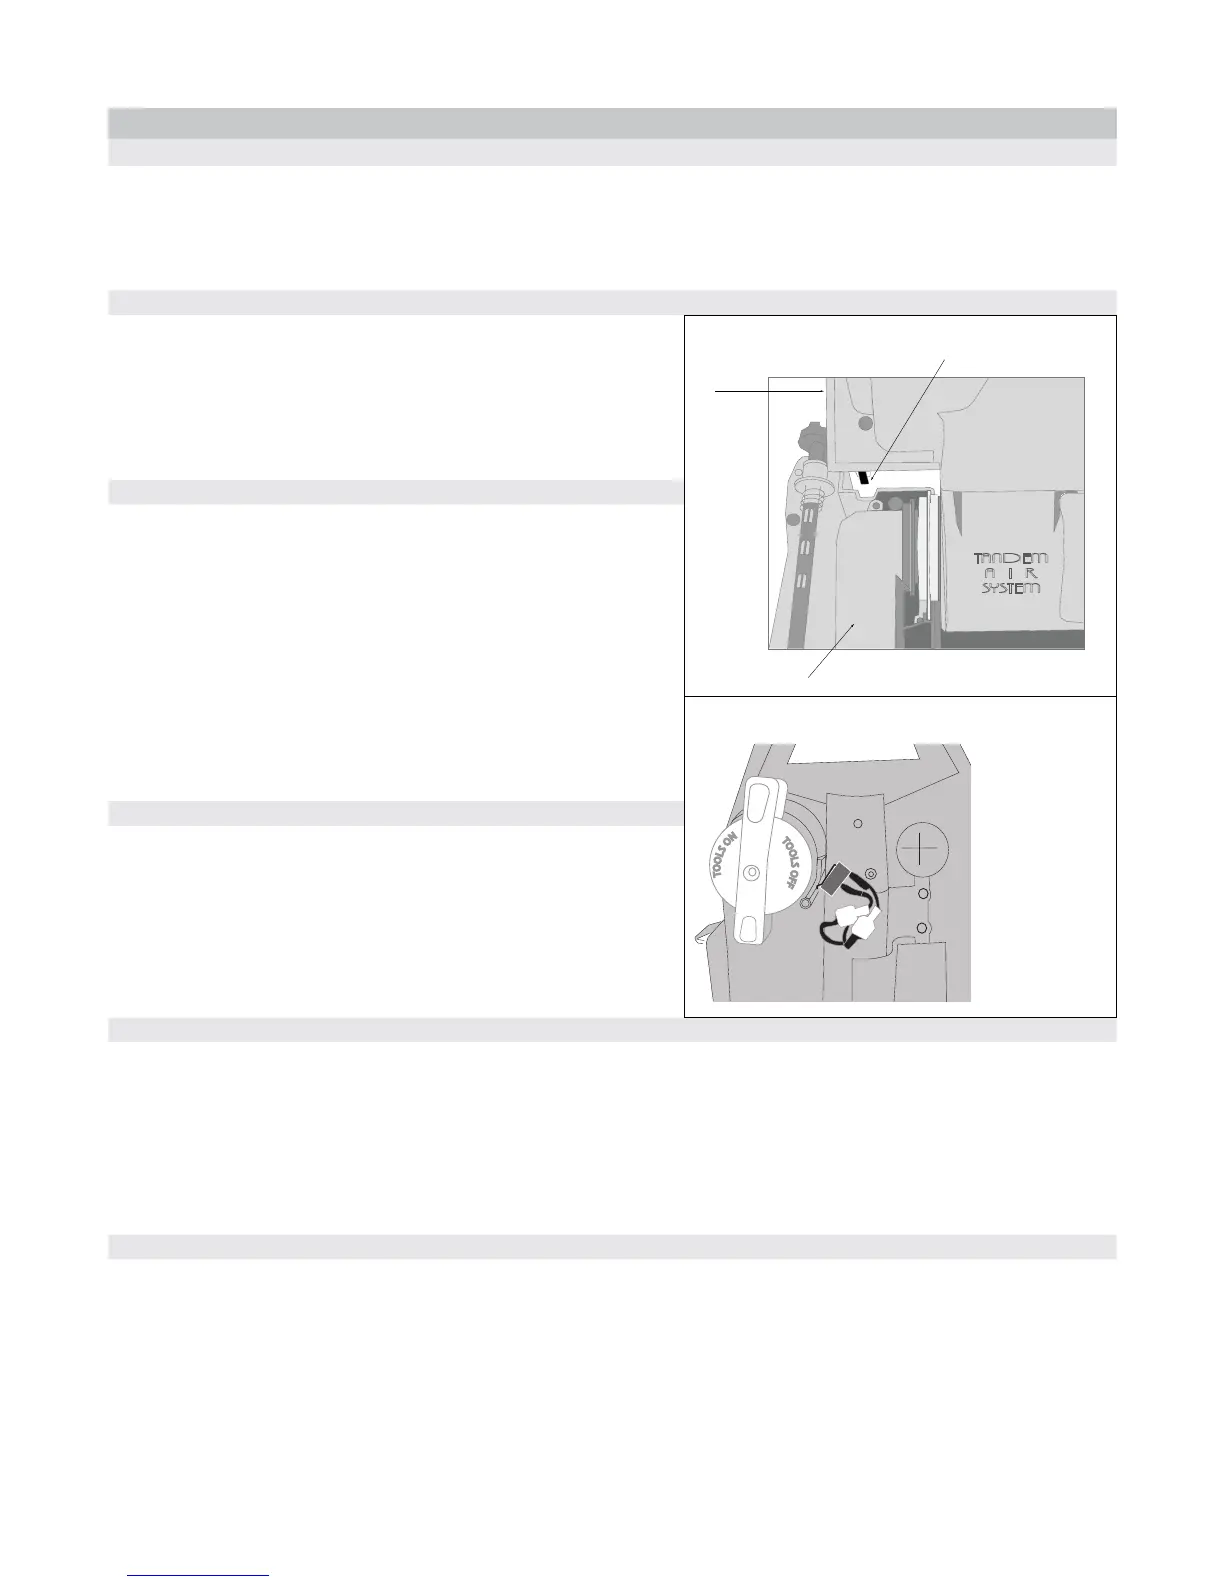
Figure J. Location of Winged Rocker Switch
TANDEM
A I R
SYSTEM
Main Body
Nozzle (shown without cover)
Winged Rocker Switch
2. Replace the switch if necessary and retest.
3. If the vacuum runs reassemble and retest.
4. If the vacuum does NOT run, continue to B.2. Step 3.
B.2. Step 3.
1. Looking at the back of the vacuum at the 3 o’clock position
of the tools activation dial/rotational valve handle, a spring is
visible which is part of the micro switch for the direct air motor.
With a small screw driver press the spring to the right to ensure
the micro switch is activated.
2. The tools dial and upper portion of the back path may be
removed to gain access to the micro switch.
3. Turn the vacuum on and press the micro switch.
Figure K. Location of Micro Switch
4. If the direct air motor starts, reassemble and retest.
T
O
O
L
S
O
N
T
O
O
L
S
O
F
F
A
B
To jump micro switch,
remove wires from
connectors A and B
and join them together.
Figure is shown
without Air Hose Path
Cover which normally
covers this switch.
5. If the direct air motor does not start continue to B.2. Step 4.
B.2. Step 4.
1. Bypass or jump the micro switch. (See Figure K. Location of
Micro Switch)
2. If the vacuum starts, replace the micro switch and then
reassemble the vacuum and retest.
3. If the vacuum does NOT start, continue to B.2. Step 5.
B. Step 5.
1. Remove the dust cover and then lay vacuum face down.
2. Remove the nozzle cover (5 screws).
3. Place the vacuum in the upright position and remove the 2 (two) screws from the assist spring.
4. Lay the vacuum at and remove the direct air motor inlet cover - 3 (three) screws in the inlet cover.
5. Remove the 2 (two) screws on each side of the dust compartment in brackets.
6. Remove the motor cover (4 (four) screws).
B.2. Step 6.
1. Check the wiring on the winged rocker switch for broken wires.
2. If all the wiring is good, continue to B.2. Step 9.
3. If any wiring is faulty, replace wiring or switch and retest.
 Loading...