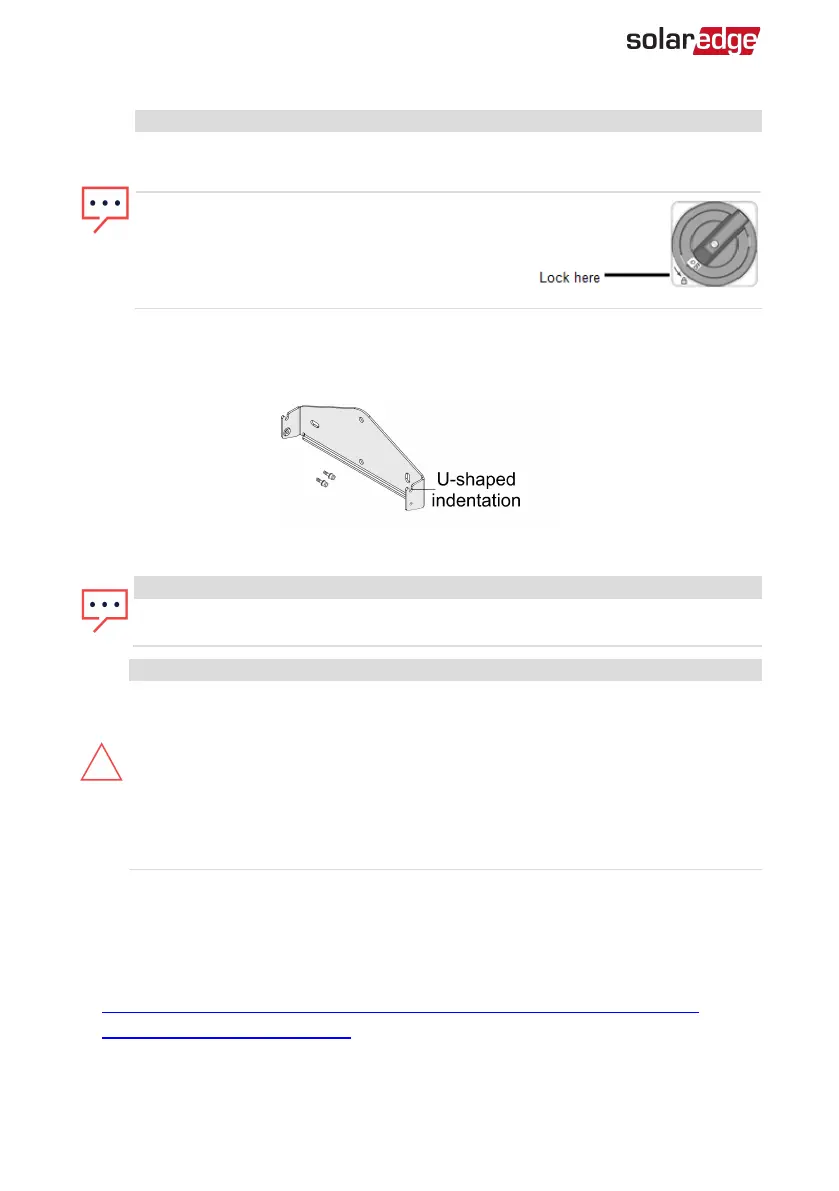
NOTE
When the DC Safety Unit is OFF (for example during maintenance) it may be
locked to prevent a safety hazard:
1. Move the switch to the lock position.
2. Insert the lock through the knob opening
and lock.
Mounting the Inverter
The inverter is supplied with a mounting bracket kit:
Figure 9: Mounting bracket kit
NOTE
Make sure the mounting surface or structure can support the weight of the
inverter.
CAUTION!
SolarEdge inverters and power optimizers can be installed at a minimum
distance of 50 m/ 164 ft from the shoreline of an ocean or other saline
environment, as long as there are no direct salt water splashes on the inverter or
power optimizer.
For SolarEdge inverters installed at a distance of 200 m / 655 ft or closer to the
shoreline, special brackets purchased separately from SolarEdge and SS304
stainless screws are required.
1. Determine the inverter mounting location, on a wall, stud framing or pole. It is
recommended to mount the inverter in a location protected from direct sunlight.
2.
To allow proper heat dissipation, maintain the following minimum clearance areas
between the inverter and other objects as described at:
https://www.solaredge.com/sites/default/files/se-clearance-guidelines-for-
multiple-inverter-mounting.pdf
Verify that the fan, located at the bottom of the inverter, is not blocked and that air
can flow freely.
Three Phase Inverter with SetApp Configuration PN: SEXXK-XXXXIXXXX
27 Mounting the Inverter
 Loading...