37
Connecting the Remote Control Unit (DSR-450WS/450WSP only)
Chapter 2 Preparation
4
Connect the tuner power cord to the DC OUT
connector of the camcorder, and the audio output cable
to the AUDIO IN CH-1 or CH-2 connector.
5
Set the switches as below.
• Set the AUDIO IN input selection switch to MIC for
the channel to which the audio out cable is
connected.
• Set the AUDIO IN (CH-1/CH-2) switch for the
channel to which the audio output cable is connected
to REAR.
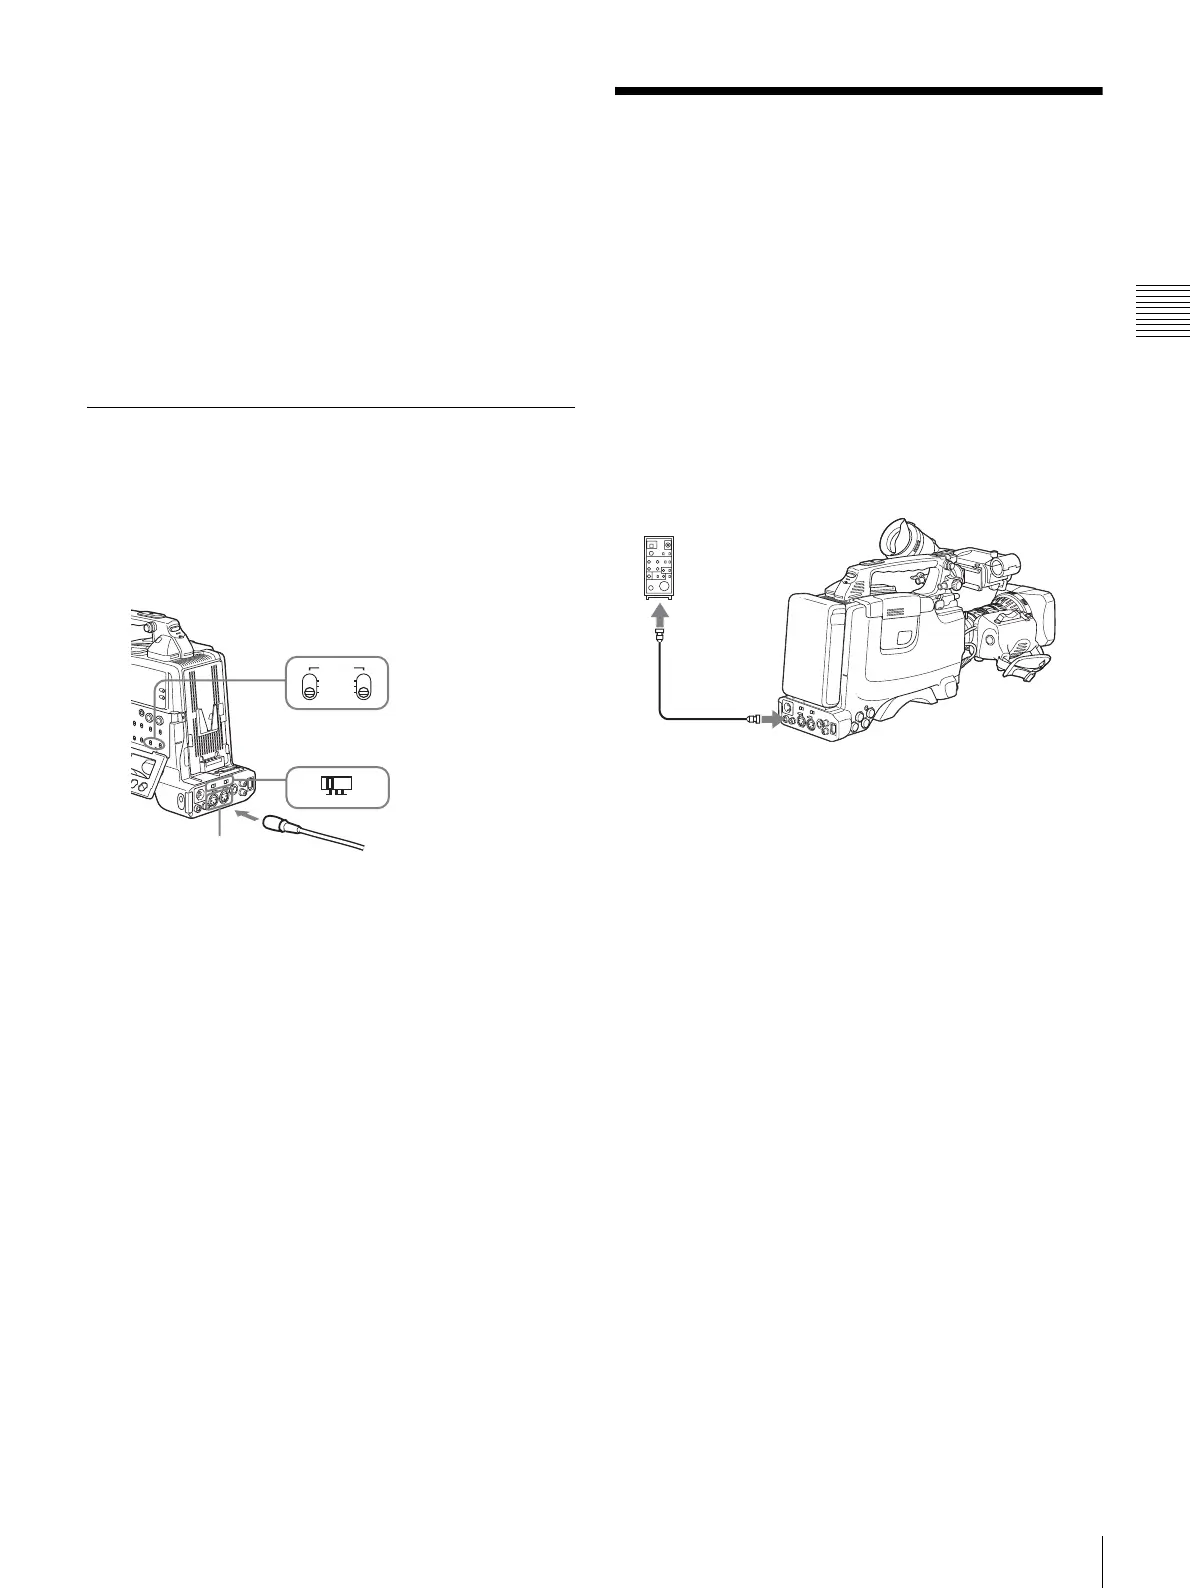
Connecting line input audio
equipment
1
Connect an audio mixer or other external audio system
component to the AUDIO IN CH-1/CH-2 connector as
shown below.
2
Set the AUDIO IN input selection switch to LINE for
the channel to which the external audio equipment is
connected.
Selection of the recording audio input
Set the AUDIO IN (CH-1/CH-2) switch to REAR for the
channel to which the external audio equipment is
connected.
If you record and adjust both channel 1 and 2, set both
AUDIO IN (CH-1/CH-2) switches to REAR.
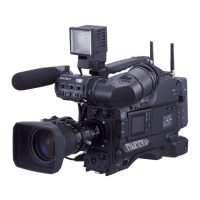
Connecting the Remote
Control Unit
(DSR-450WS/450WSP
only)
Connecting the RM-B150/B750 Remote Control Unit
enables remote control of the principal camera and VTR
functions.
Connecting the remote control unit to the REMOTE
connector (8-pin) automatically puts the camcorder into
remote control mode. If you disconnect the remote control
unit, the remote control mode is cancelled.
Camcorder switch functions when the
remote control unit is connected
The following switches on the camcorder do not function.
• GAIN switch
• OUTPUT/DCC switch
• WHITE BAL switch
• AUTO W/B BAL switch
• SHUTTER switch
• REC button (the VTR button on the lens and the
ASSIGN switch to which the REC SWITCH function is
assigned) when the RM REC START item is set to RM
on the FUNCTION 3 page of the MAINTENANCE
menu.
For details of the function of the REC button, see
“Function of the REC button when the remote control unit
is connected” on page 38.
Paint adjustment when the remote control
unit is connected
The settings of the paint adjustment that were in effect the
last time the remote control unit was used are recalled.
LINE MIC
+48V ON
FRONT
AUDIO IN
REAR
WRR
To audio mixer, etc.
AUDIO IN (CH-1/CH-2) switches:
Set to REAR.
AUDIO IN CH-1/CH-2
connectors
AUDIO IN input selection switch:
Set to LINE.
RM-B150/B750
Remote
connector
Remote control cable