46
Basic Procedure for Shooting
Chapter 4 Recording and Playback
inserted in the correct position or may cause a
malfunction.
• When inserting a cassette, hold the center of the cassette
and insert it straight toward the compartment. Holding
the side of the cassette may cause it to be inserted
incorrectly.
• When inserting a cassette, put the camcorder on a
horizontal and stable surface.
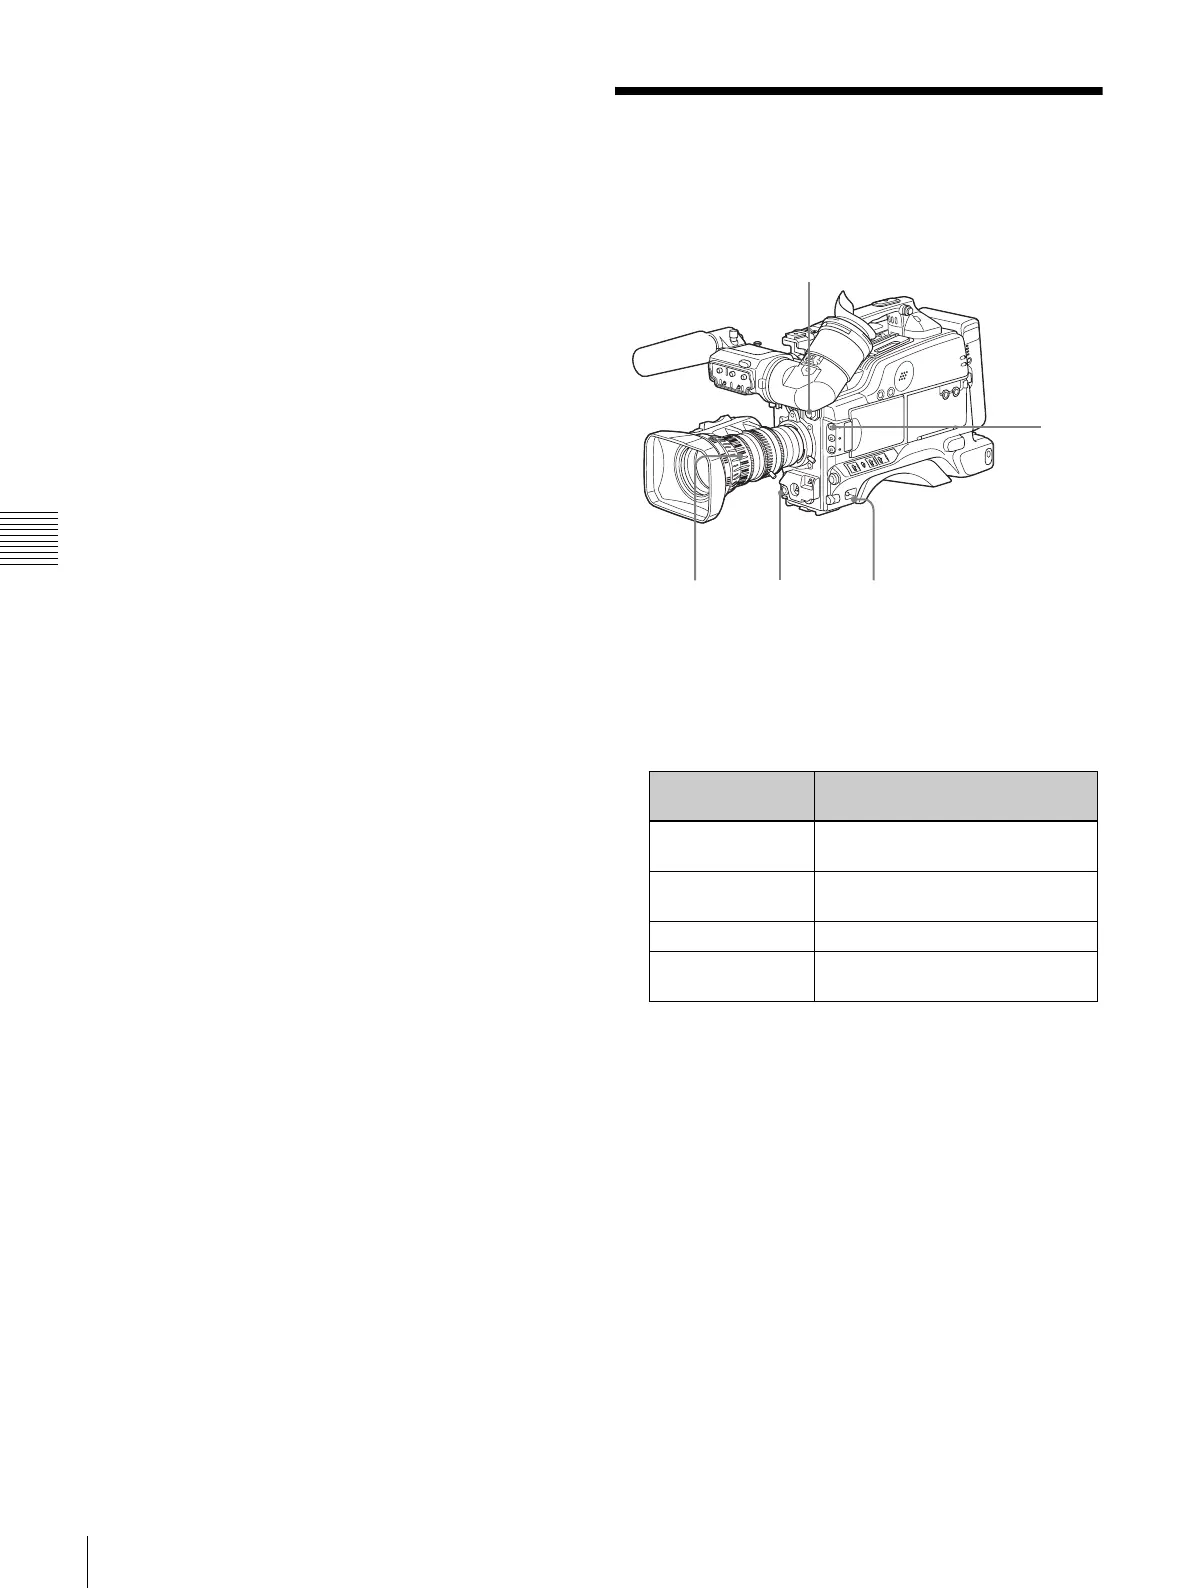
Basic Procedure for
Shooting
1
Set the POWER switch to ON.
2
Set the FILTER selector and the 5600K button
appropriately for the lighting conditions.
* The range over which the subject is sharply in focus. Thus, “reducing
the depth of field” means that the range is reduced as well, and
“increasing the depth of field” means that it is increasing as well.
3
Check the switch settings on the camcorder.
4
Check the settings in the menu.
5
Check the lens settings and flange focal length
adjustment
(page 28).
6
Adjust the eyepiece focus, and the contrast and
brightness of the viewfinder image
(page 30).
7
Check the sound system settings.
• Microphone connections (page 34)
• Settings on the VTR section (page 14)
FILTER selector
setting
Examples of shooting
conditions
1 (CLEAR) Studio halogen lighting
(incandescent)
2 (1/4 ND) Cloudy or rainy outdoor shooting,
or to reduce the depth of field*
3 (1/16 ND) Sunlight
4 (1/64 ND) To reduce the depth of field in
sunlight
1
2
8
11
12,13

 Loading...