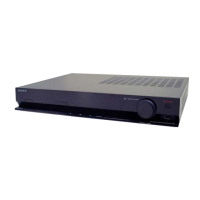
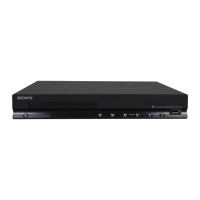
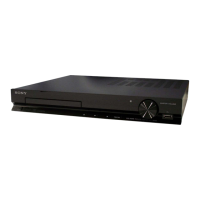
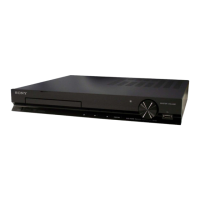
HBD-TZ215/TZ715
HBD-TZ215/TZ715
2121
DVD SECTION
When the optical pick-up assy is replaced, perform the “1. Execut-
ing IOP measurement” (page 20).
TUNER SECTION
FM TUNE LEVEL CHECK
unit
signal
generator
Procedure:
1. Turn the power on.
2. Input the following signal from signal generator to FM antenna
input directly.
Carrier frequency: A = 87.5 MHz, B = 98 MHz, C = 108 MHz
Deviation : 75 kHz
Modulation : 1 kHz
ANT input : 35 dB (EMF)
Note: Use 75 ohm coaxial cable to connect signal generator and the set.
You cannot use video cable for checking.
Use signal generator whose output impedance is 75 ohm.
3. Set to FM tuner function and tune A, B and C signals.
4. Confi rm “TUNED” is lit on the display for A, B and C signals.
When the selected station signal is received in good condition,
“TUNED” is displayed.
SECTION 4
ELECTRICAL CHECKS
The meaning of error code is as below:
01: Communication error (No reply from syscon)
02: Syscon hung up
03: Power OFF request when syscon hung up
19: Thermal shutdown
24: MoveSledHome error
25: Mechanical move error (5 Changer)
26: Mechanical move stack error
30: DC motor adjustment error
31: DPD offset adjustment error
32: TE balance adjustment error
33: TE sensor adjustment error
34: TE loop gain adjustment error
35: FE loop gain adjustment error
36: Bad jitter after adjustment
40: Focus NG
42: Focus layer jump NG
51: Spindle stop error
52: Open kick spindle error
60: Focus on error
61: Seek fail error
62: Read Q data/ID error
70: Lead in data read fail
71: TOC read time out (CD)
80: Can’t buffering
81: Unknown media type
2-1. Clear the laser hour
Press [ DISPLAY] button and then press [CLEAR] button on the
remote commander. The data for both CD and DVD data are reset.
Emg. History Check
01. 01 05 04 04
Laser Hours CD 0h 0min
DVD 0h 0min
00 92 46 00
00 00 00 00 00 00 23 45
02. 02 02 01 01 00 A9 4B 00
00 00 00 00 00 00 23 45
[Next] Next Page [Prev] Prev Page
[O] Return to Top Menu
2-2. Clear the emergency history
Press [DVD TOP MENU] button and then press [CLEAR] button
on the remote commander. The error code for all emergency his-
tory would be reset.
01. 00 00 00 00
Laser Hours CD 999h 59min
DVD 999h 59min
00 00 00 00
00 00 00 00 00 00 00 00
02. 00 00 00 00 00 00 00 00
00 00 00 00 00 00 00 00
[Next] Next Page [Prev] Prev Page
[O] Return to Top Menu
Emg. History Check
2-3. Clear the initialize setup data
Press [DVD MENU] button and then press [CLEAR] button on the
remote commander.
Emg. History Check
initialize setup data...
Laser Hours CD 999h 59min
DVD 999h 59min
[Next] Next Page [Prev] Prev Page
[O] Return to Top Menu
2-4. Return to the top menu of remocon diagnosis menu
Press [0] button on the remote commander.
3. CHECK VERSION INFORMATION
To check the version information, please follow the following pro-
cedure.
1. From the Top Menu of Remocon Diagnosis Menu, select “4.
Version Information” by pressing the [4] button on the remote
commander. The following screen appears on the on-screen
display.
Version information
[O] Return to Top Menu
Firm (Main) : Ver. xxxxx
Firm (Sub) : xxxxx
RISC : xxxxx
8032 : xxxxx
Audio DSP : xxxxx
Servo DSP : xxxxx
Phy,Adr, : F.F.F.F
2. Press the [0] button on the remote commander to return to Top
Menu.
 Loading...