8 (GB)
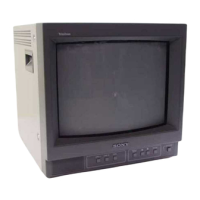
Location and Function of Parts and Controls
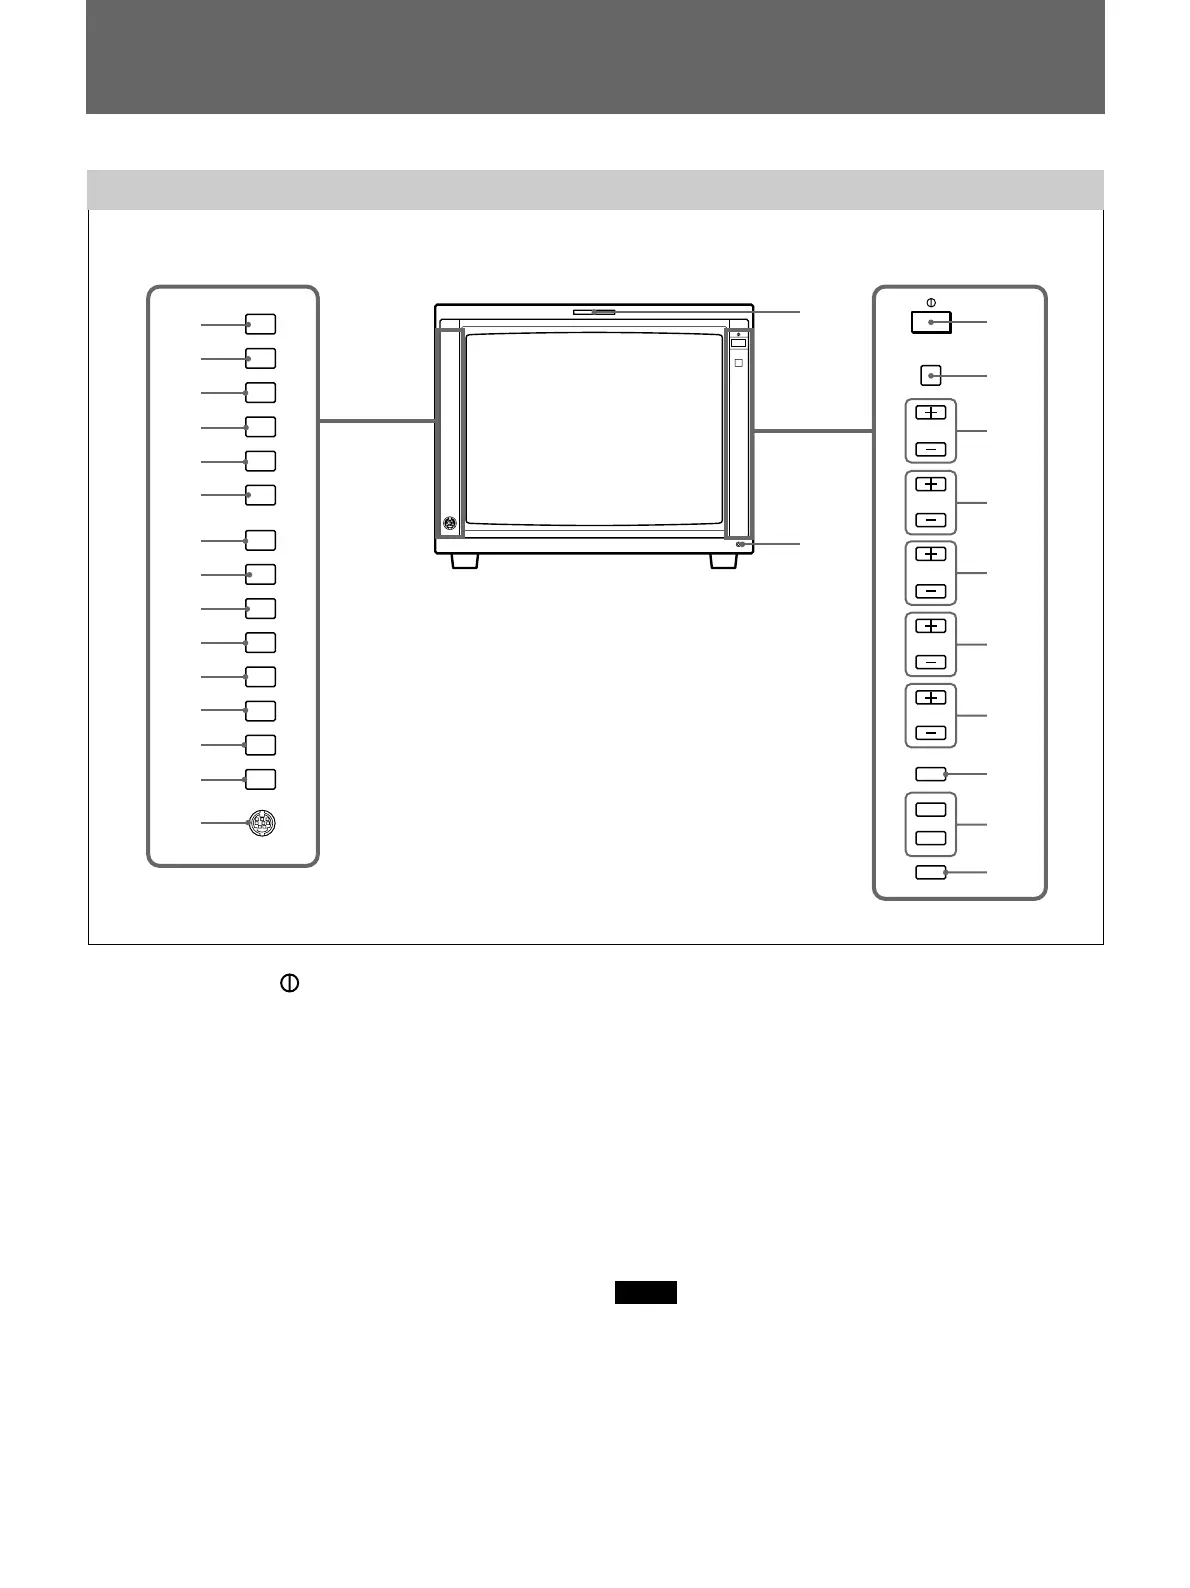
Location and Function of Parts and Controls
1 POWER switch ( )
Press the switch to turn on the power. The operation
buttons on both sides of the unit turn on. Press the
switch again to turn off the power.
2 CONTROL button
Press this button to turn on and enables the operation
button. Press this button again to turn off and disables
the operation buttons.
You can adjust the brightness of the operation buttons by
using the UP or DOWN buttons.
3 VOLUME control button
Press the + button to increase the volume or – button
to decrease the volume.
4 CONTRAST control button
Press the + button to make the contrast higher or the –
button to make it lower.
LINE
A
LINE
B
RGB/
COMP
OPTION
A
OPTION
B
EXT
SYNC
UNDER
SCAN
BLUE
ONLY
MONO
DEGAUSS
RESET
H/V
DELAY
4:3
MARKER
16:9
CONTROL
VOLUME
CONTRAST
PHASE
CHROMA
BRIGHT
MENU
UP
DOWN
ENTER
5 PHASE control button
Press the + button to make the complexion greenish or
the – button to make it purplish.
6 CHROMA control button
Press the + button to increase the color intensity or the
– button to decrease it.
7 BRIGHT (brightness) control button
Press the + button to increase the brightness or the –
button to decrease it.
Notes
•The PHASE (5) and CHROMA (6) control buttons
have no effect on the pictures of RGB signals.
•The PHASE (5) control button has no effect on the
PAL signals and pictures of component signals.
8 MENU button
Press this button to display or exit the main menu.
qf
qg
qh
qj
qk
ql
w;
qd
wa
ws
2
3
4
5
6
7
8
1
9
0
qs
qa
wd
wf
wg
wh
Control Panels
wj
 Loading...