Edition Manual Chapter Page
2014-09-09 Workshop Manual, GGP Park 6 Control wires 14
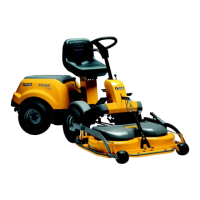
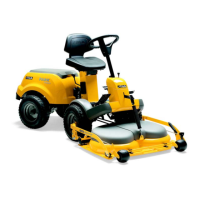
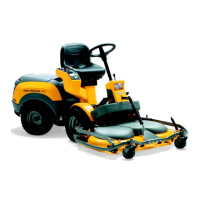
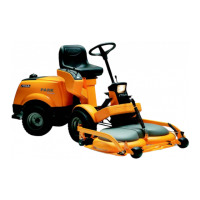
6.5.2 President, Royal, Pro 16,
Pro 20, Pro Diesel
5.9 Replacement of brake / clutch wire
1..Dismantle the wire.
Pay careful attention to how the wire is
routed. It simplifies fitting if the new wire is
routed the same way.
2. Fit the wire.
Make sure that the new wire is not bent
unnecessarily since this will shorten its
service life.
3. Hook the Z nipple in the brake arm and fit
the adjusting screw in the support.
4. Hook the Z nipple in the tensioning arm
and fit the adjusting screw in the support.
Note!
Refit all cable holders.
Follow-up work
Adjustment the brake and clutch, see below.
Adjustment of brake and clutch
The brake articulation consists of two parts. A
front brake wire and a rear pull bar. The relative
adjustment between these parts is very important
for the satisfactory functioning of the brake and
clutch. The governing principle is that the drive
belt should always be disengaged before the
brake comes into operation.
Warning!
It is extremely important that these
parts are correctly adjusted. Incor-
rect adjustment leads to increased
wear. The machine can also be diffi-
cult to manoeuvre.
 Loading...