•
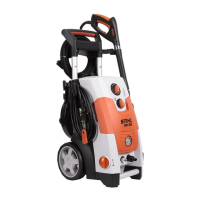
Turn spray lance (1) 90° anti-
clockwise to release from spray
gun (2) and remove it.
•
Priseoffcover(1)withasmall
screwdriver.
•
Prise off retainer (2) with a
screwdriver and remove it.
•
Pull high-pressure hose (3) out
of spray gun.
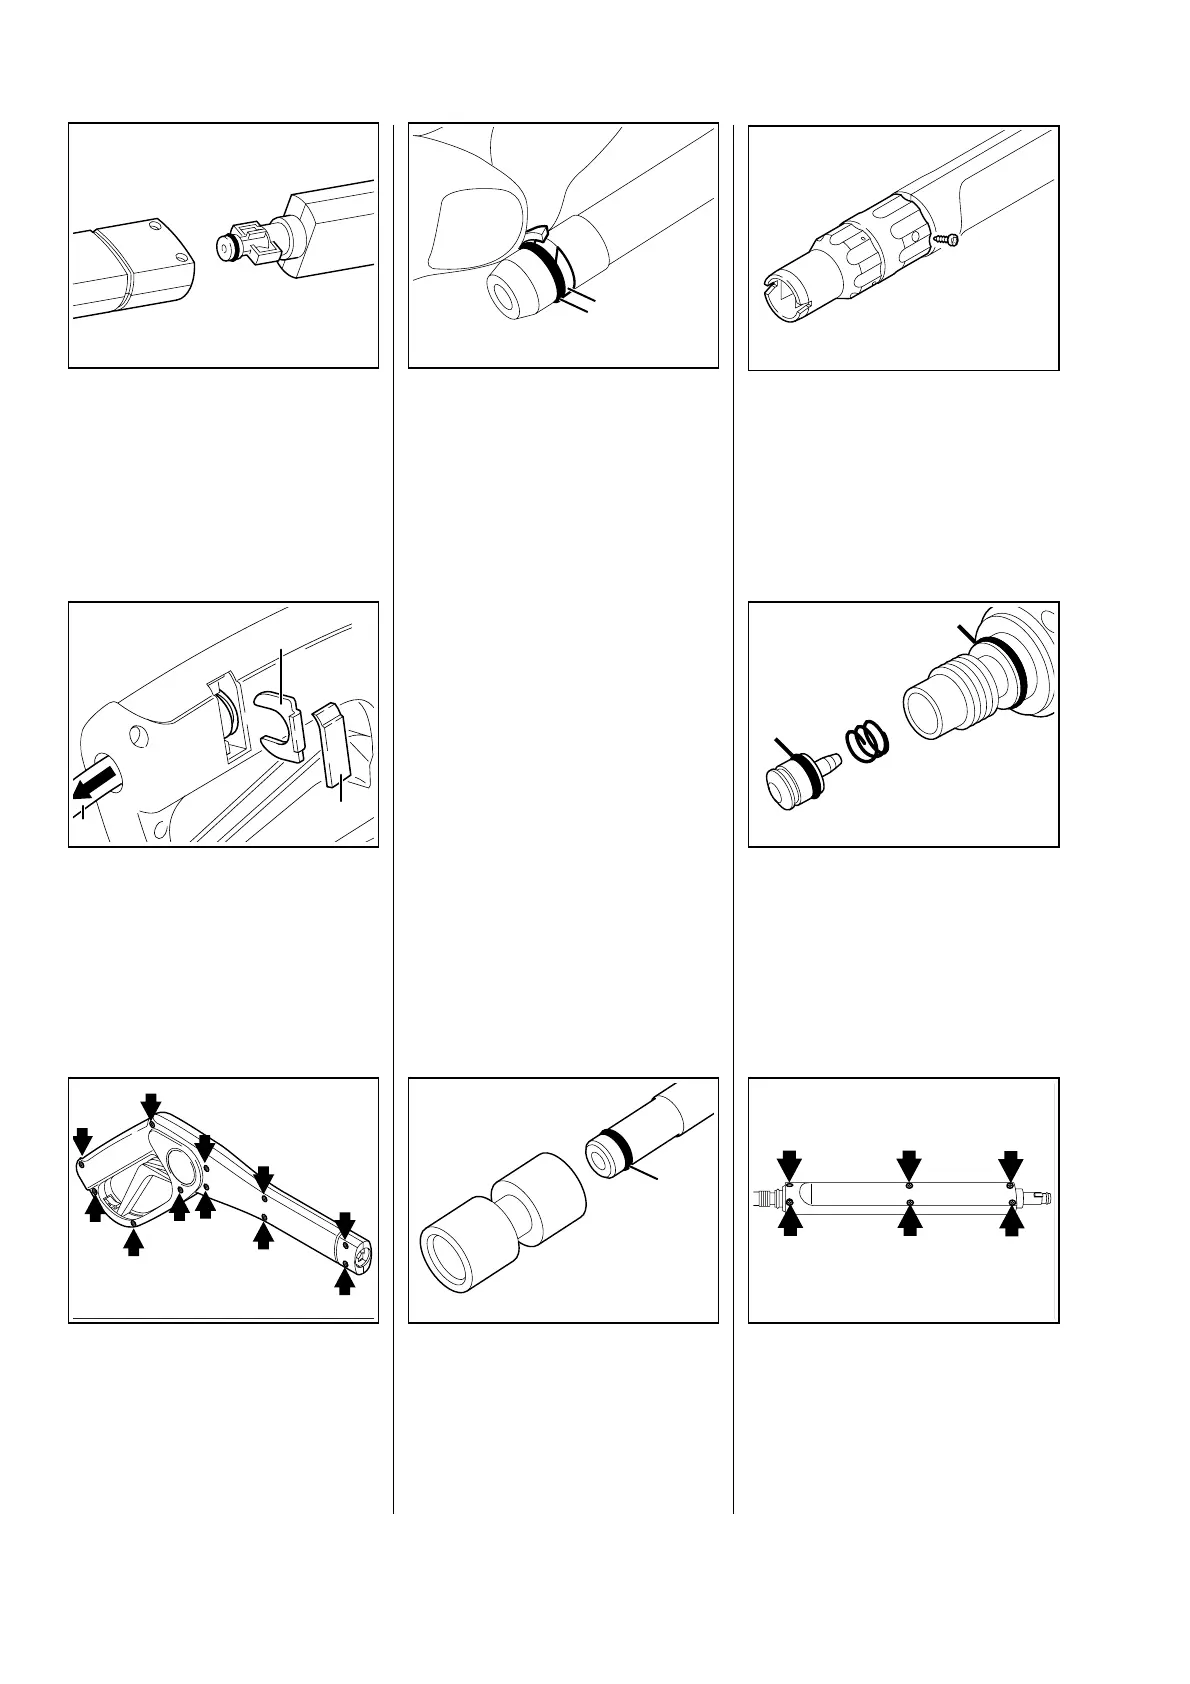
•
Undo fastening screws in
right-hand handle moulding.
- Remove right-hand handle
moulding, noting the valve, lever
and high-pressure port.
Note: A split support ring (1) is
fitted on the high-pressure
connection. To remove the ring, it
must be pushed apart at the gap
and then pulled off. The support
ring must not be overextended.
This is the case if it protrudes
strongly from the groove.
•
Replace O-ring (2).
The remaining procedure for
disassembling and assembling
the spray gun is the same as on
high-pressure cleaners of series
RE 101 K.
Additional steps:
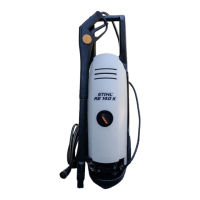
•
Remove connecting elements (1)
from spray lance (2).
•
Replace O-rings (3).
•
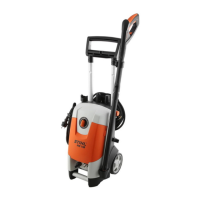
Undo locking screw (1) on spray
head.
- Unscrew spray head from spray
lance, noting the nozzle and
spring.
•
Remove nozzle (1) and
spring (2) from spray lance.
•
Replace O-rings (3, 4).
•
Undo fastening screws in handle
moulding of spray lance.
- Remove handle moulding.
10.1 Spray gun 10.2 Spray lance, spray head
621RA063 BL
1
2
621RA065 BL
1
2
1
2
3
621RA018 BL
621RA064 BL
621RA066 BL
1
3
2
621RA067 BL
1
621RA068 BL
1
2
3
4
621RA069 BL
28 RE 140 K, 160 K
 Loading...