14 GO XLR User Manual
5. App Basics
Be aware that all audio processing happens in the GO XLR unit itself. The GO XLR
unit’s processing and settings may be coordinated and controlled from your
computer via the GO XLR app, but all audio is manipulated in GO XLR and
therefore does not take up processing headroom in your computer.
5.1 The GO XLR App Interface
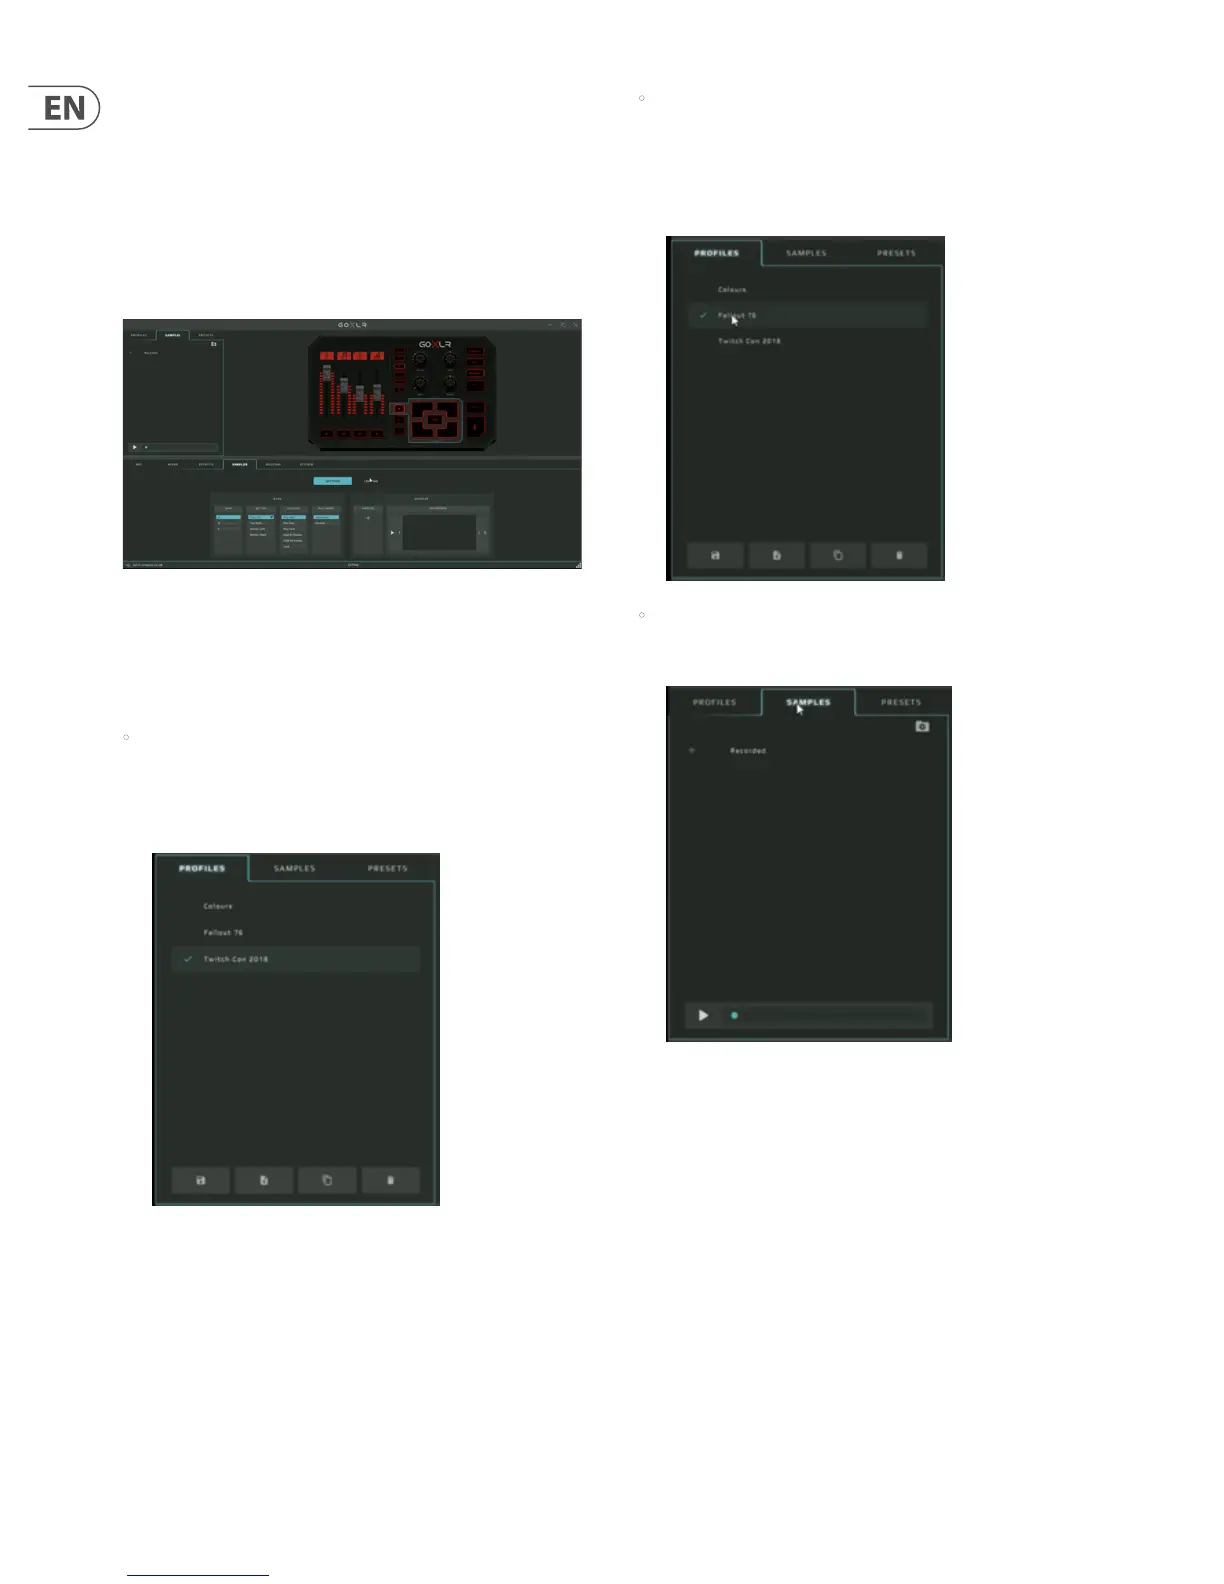
The GO XLR App’s interface breaks down into three main areas: Prole/Sample/
Preset Management, Live View Area, and Processing Tabs.
GO XLR App interface
5.2 Prole/Sample/Preset Management
The Prole/Sample/Preset Management area in the upper left area of the app
interface contains these tabs:
• Prole Tab—Located in the top-left corner, this area is where you can
create proles that store all the settings you need for particular tasks. For
example, by clicking on a prole, you can instantly load all of the routing,
level and processing settings you need, as well as any customized color
schemes and samples.
• Samples Tab—This tab is where you manage samples. Any samples you
have recorded “in the box” will live in this tab, and all sample will appear
time-stamped and dated, so you know when you created a sample. These
dated samples can be re-named later. This tab also has a le management
option so you can look through other folders and locations to nd and pull in
samples created elsewhere.
• Presets Tab—This area handles presets for your vocal eects section.
You can create and save new presets here and then load them up into GO XLR
when desired. Presets can also be dragged and dropped inside the app.
 Loading...