22 GO XLR User Manual
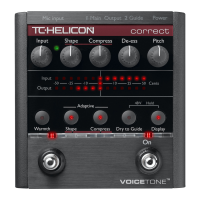
4. Select “Delay (ms)” by clicking on the selection box.
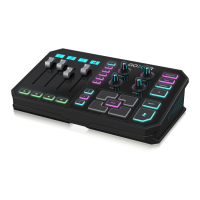
5. Use the selector box immediately to the right to add several milliseconds of
delay to the audio stream. Begin with about 10 ms of audio delay and
gradually add more delay as needed.
6. Check against the video playback to see if the audio of the clap is beginning
to come back into sync with the visual of the clap. You can also try adding
300-400 milliseconds of delay, to the point where the clap audio arrives after
the visual clap, and then back o to see if you can nd the sync “sweet spot.”
7. Keep adjusting the delay as needed until you are satised that the audio-
video sync feels just right.
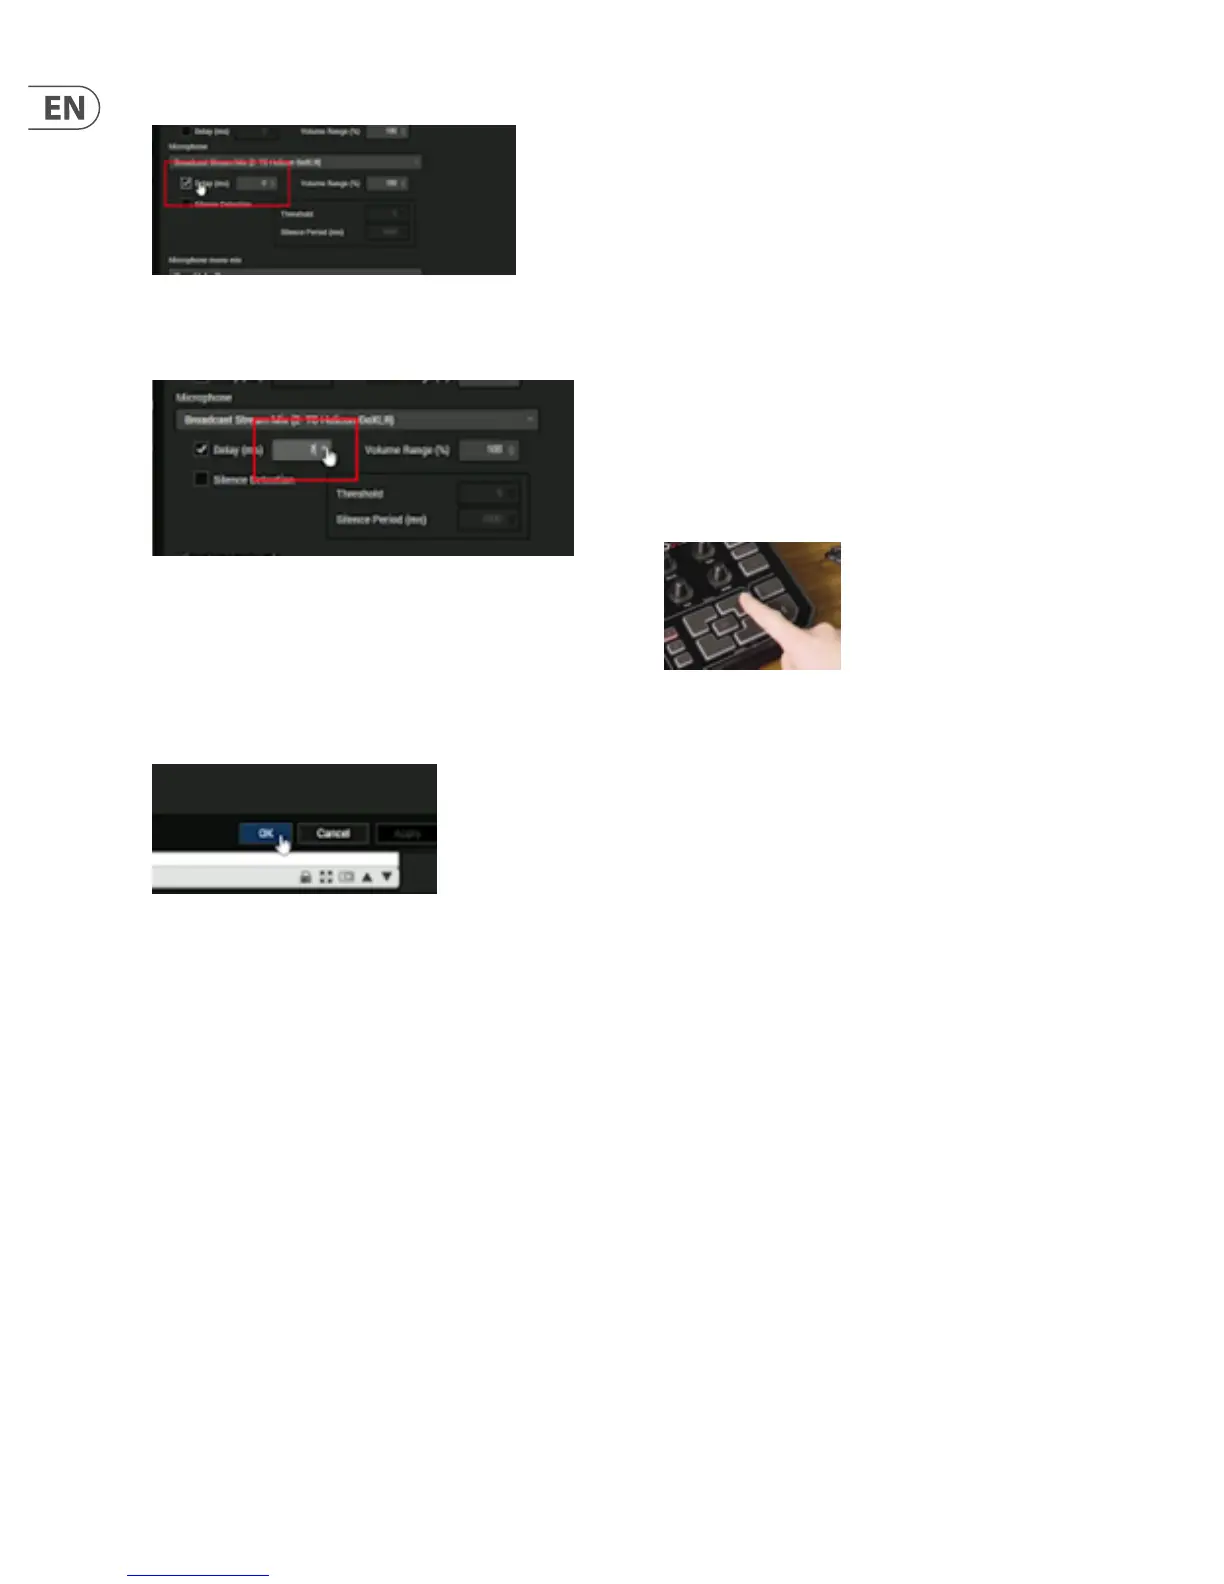
8. Press OK to exit.
Once you dial in the right amount of audio delay, your livestreams on XSplit and
OBS should now be perfectly synced.
10. Sampler Basics
The GO XLR sampler has three banks of samples (A, B and C). Each bank can
contain up to four samples (one for each of the Sample Pads on the GO XLR unit).
The GO XLR sampler is both a live sampler and sound board, which means
that you can record a sample in real time and play it back whenever you want.
Or, you can go out and grab a pre-made sample and assign this external sample
to one of GO XLR’s sample pads for playback.
GO XLR also includes a sound-leveling algorithm that will take dierent samples
with dierent volume levels—some loud, some quiet—and process those
samples so that they have the same apparent loudness to your ear. This way,
you can avoid nasty surprises, such as a sample that is too loud bursting through
your mix.
NOTE: Multiple samples can be triggered for playback at the same time.
10.1 Capturing a Sample
To capture a sample with GO XLR’s sample pads using your microphone, follow
these steps:
1. Press a sample pad and hold.
2. Speak into the microphone.
3. Release the sample pad.
4. Press the sample pad again to conrm you have captured an audio sample.
The waveform for the captured sample will appear in the Waveform window in
the GO XLR app.
 Loading...