5 GO XLR User Manual
1.6 Why is a dual-PC setup special?
First, understand that all audio processing is done inside GO XLR, and you
end up with a USB audio stream called “Broadcast Mix.” This Broadcast Mix
would normally go through a one-PC setup directly to OBS, XSplit or whatever
livestreaming service you plan to use.
However, with a dual-PC setup, you need to get that Broadcast Mix audio out of
GO XLR and into your streaming computer.
To accomplish this re-channeling of the Broadcast Mix to your streaming PC,
you will need two 3.5 mm stereo cables:
1. Run the rst cable from the LINE OUT jack on GO XLR to the LINE IN jack on
your streaming computer.
2. Run the second cable from the LINE OUT on your streaming computer to the
LINE IN jack on the rear panel of GO XLR. This second connection will allow
you to route in all streaming alerts or other audio from your streaming
computer back into GO XLR so you can hear them over your headphones.
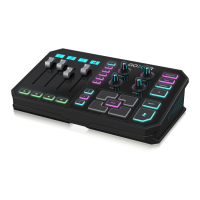
1.7 Basic Audio Connections
The following connections will work for a single-PC setup, and they can be
adapted for a dual-PC setup if you also use the LINE IN and LINE OUT jacks to
connect to your streaming computer.
To get started, follow these steps:
1. Plug one end of your XLR microphone cable into your microphone.
2. Connect the other end of your XLR cable into the XLR jack on the back panel
of GO XLR.
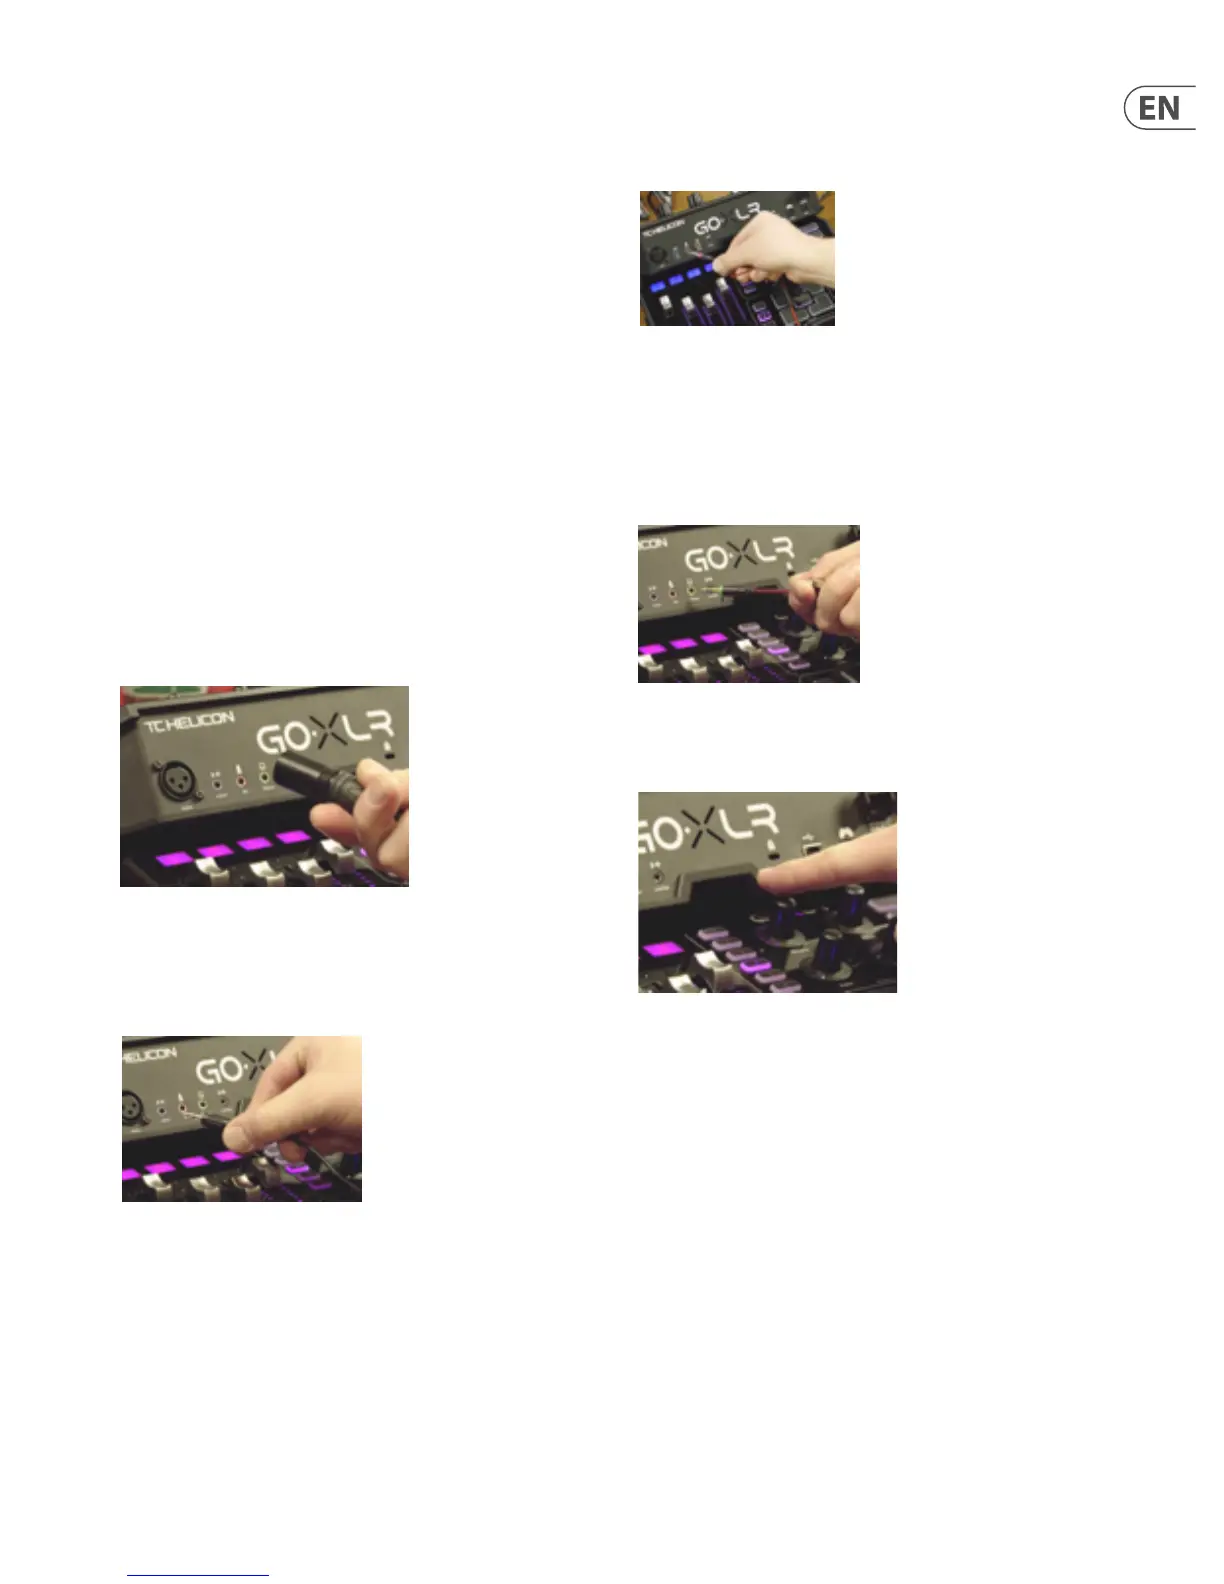
3. Connect any auxiliary audio devices to the LINE IN 3.5 mm jack on the back
panel. Auxiliary audio devices could include your phone, a tablet computer,
and so on. For a dual-PC setup, the LINE IN jack will be used to route
streaming alerts and other audio from your streaming computer back into
GO XLR.
4. If your microphone does not have an XLR connection, you can connect the
microphone to the MIC input with the pink ring immediately to the right of
the LINE IN jack. This MIC connection can also work with the
Blue Yeti* microphone.
NOTE: If you intend to use the popular Blue Yeti* microphone, which has its
own built-in headphone output, you should run that built-in headphone output
into the GO XLR’s MIC input. For Blue Yeti mics powered via USB, plug the USB
connector directly into your computer for power, but do not select the Blue Yeti
as an audio source on the computer. Instead, the Blue Yeti’s headphone output
will be the audio source for mixing inside GO XLR.
5. Plug your headphones into the PHONES output.
Pro Tip: You may also run your headphone cable underneath GO XLR by using
the cable channel designed into the underside of the unit, so that you do not
have to wrap your headphone cable around the GO XLR mixer.
Cable channel
 Loading...