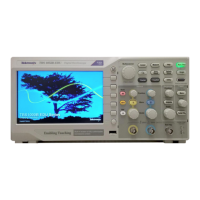
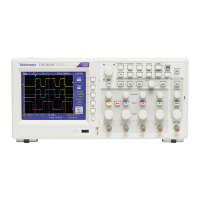
Maintenance
Rear C ase
You will need a t
orque-limiting Torx T-15 screw driver and p liers for this
procedure.
Refer to the ex
ploded view diagram for the back case and trim. (See page 8-10.)
Removal.
1. Remove the p
ower button. (See page 6-9, Power Button.)
2. Place the oscilloscope face down on a soft surface such as an anti-static m at.
3. Remove the two ESD protection covers from the rear case to expose two
screws.
4. Remove the five scre ws located on the rear case. Tilt the handle to gain access
to the top two screws.
5. Lift the rear case off of the oscilloscope.
Instal
lation.
1. Place the oscilloscope face down on a soft surface (such as an anti-static mat).
CAUTION. Be careful not to pinch any wires or other parts between the front
and re
ar cases.
2. Place the rear case onto the assembled oscilloscope and v erify that:
All of the edges align with the front case.
The Li-ION battery is vertical in the battery location.
The slots a
lign near the USB connec t or an d near the battery.
CAUTION. Avoid cross-threading the screws that attach the rear case to the front
case. An easy way to avoid this is to slip the screw into the hole and, using slight
pressure, slowly rotate the screw counterclockwise until you feel the screw slip
into the screw threads. Then tighten the screw clockwise. A properly started scre w
will exhibit very little resistance going in.
3. Install the five screws in the rear case. Tilt the handle to access the top two
holes.
4. Install the two E SD protection covers.
5. Install the power button. (See page 6-9, Power Button.)
6–10 TBS1000 Series Oscilloscope Service Manual
 Loading...