Maintenance
6-18
TDS3000B Series Service Manual
Parallel Port Cable, AC Filter, and Fan Removal. Use the following steps to remove
the parallel port cable, AC filter, and fan from the rear chassis.
1. Use the
3
@
16
inch nut driver to remove the two jack posts that secure the
parallel port cable to the rear chassis. Do not lose the washers.
2. Remove the AC line power cable from the line filter and from the tab on the
chassis.
3. Remove the two screws that secure the line filter to the rear chassis.
4. Carefully bend the tabs that secure the fan to the rear chassis and remove
the fan.
Installation. Use this procedure to install the fan, line filter, parallel printer port
cable, external power jack, power supply, battery board, and rear chassis. Skip
the steps for modules that are already installed.
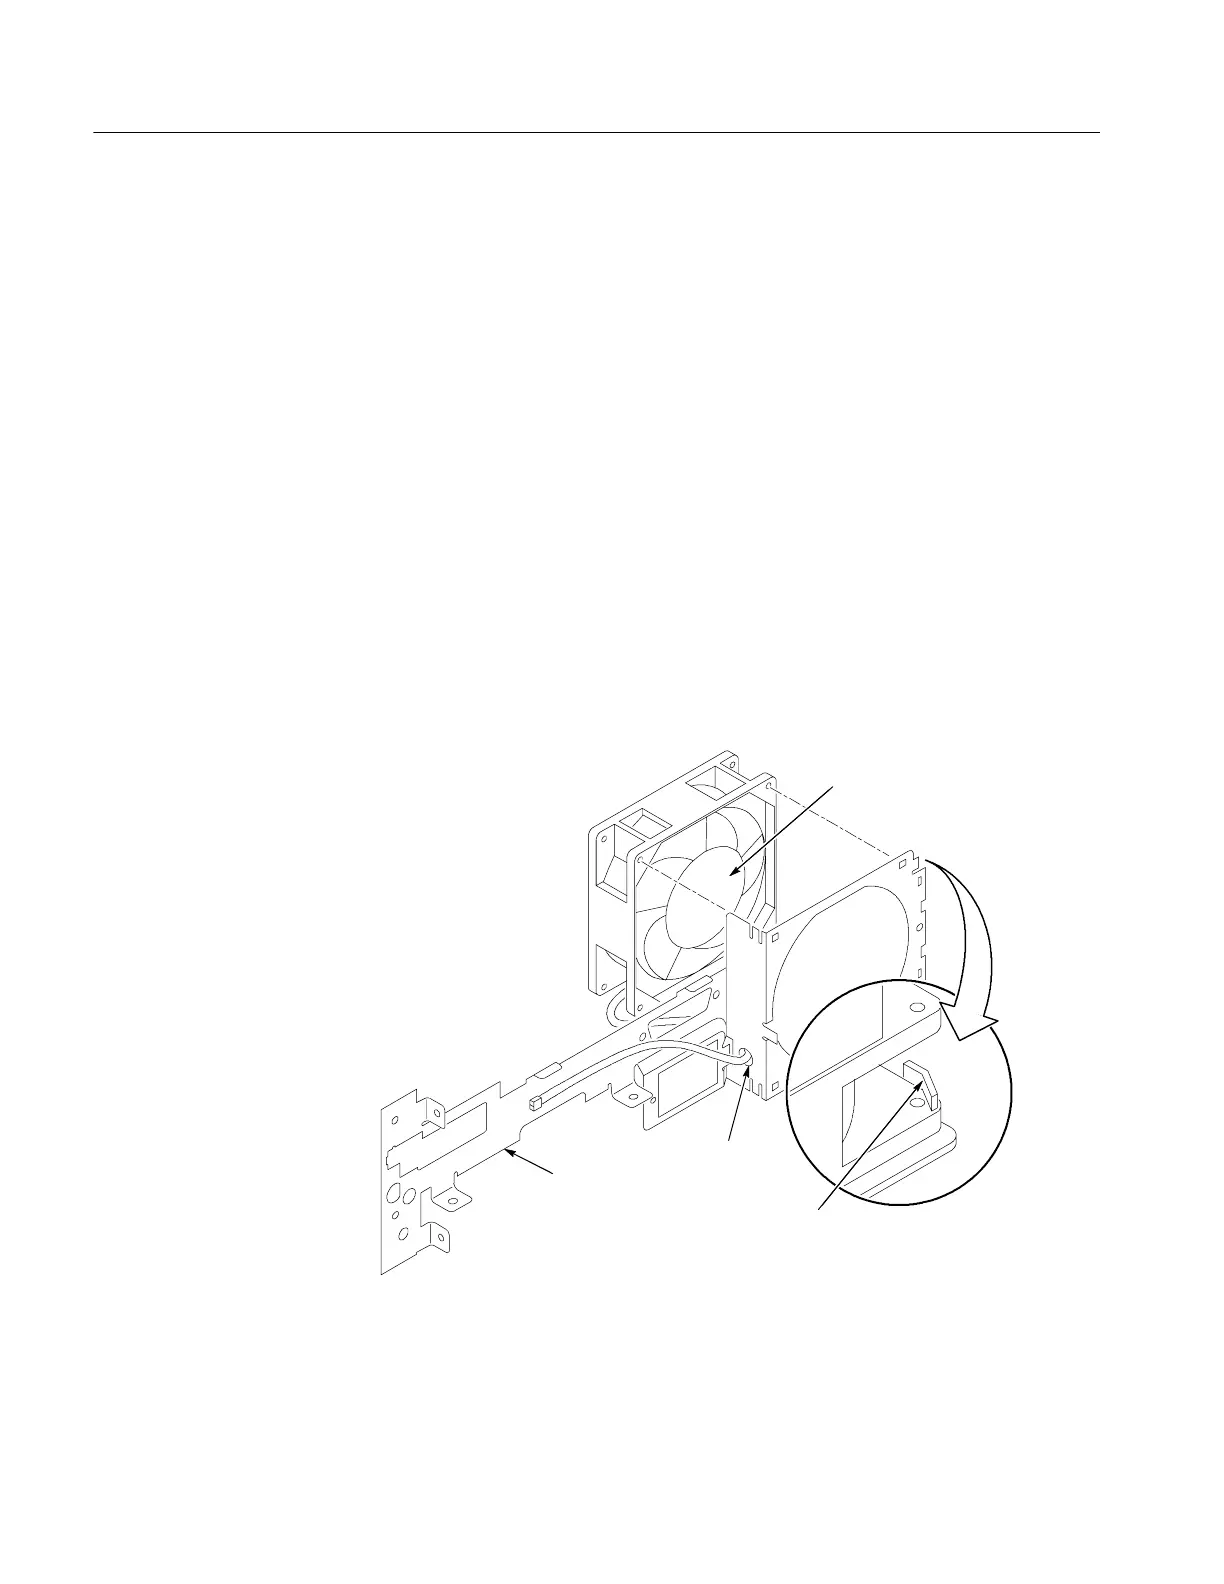
1. Insert the fan cable through the hole in the rear chassis and place the fan in
its cavity. The fan label should face toward the rear chassis. See Figure 6 --8.
Bend the tabs
Rear chassis
Fan cable
hole
Label
Figure 6- 8: Installing the fan, line filter, and line power cable
 Loading...