Installation Instructions
WVR6UP, WVR70UP, and WVR7UP Upgrades
17
EYE Board Installation (EYE and PHY Options Only)
This section describes how to install Option EYE and Option PHY only. These
options can only be installed on WVR6100 and WVR7100 instruments.
NOTE. When you install Option EY E or PHY on a WVR7100 with a serial
number of B029999 or below, you must install the new Loop-through board and
Power Supply cable which are s upplied in this kit. To determine the serial
number of your instrument, refer to Serial Numbers on page 9.
When you install Option PHY on instruments that already have Option EYE
installed, you must replace the Eye board with the new board supplied in this kit.
1. Arrange access to the top of the WVR6100 or WVR7100 (remove from rack
as needed).
2. Remove the 18 T-10 screws that secure the cabinet top cover to its chassis
and lift the cover off.
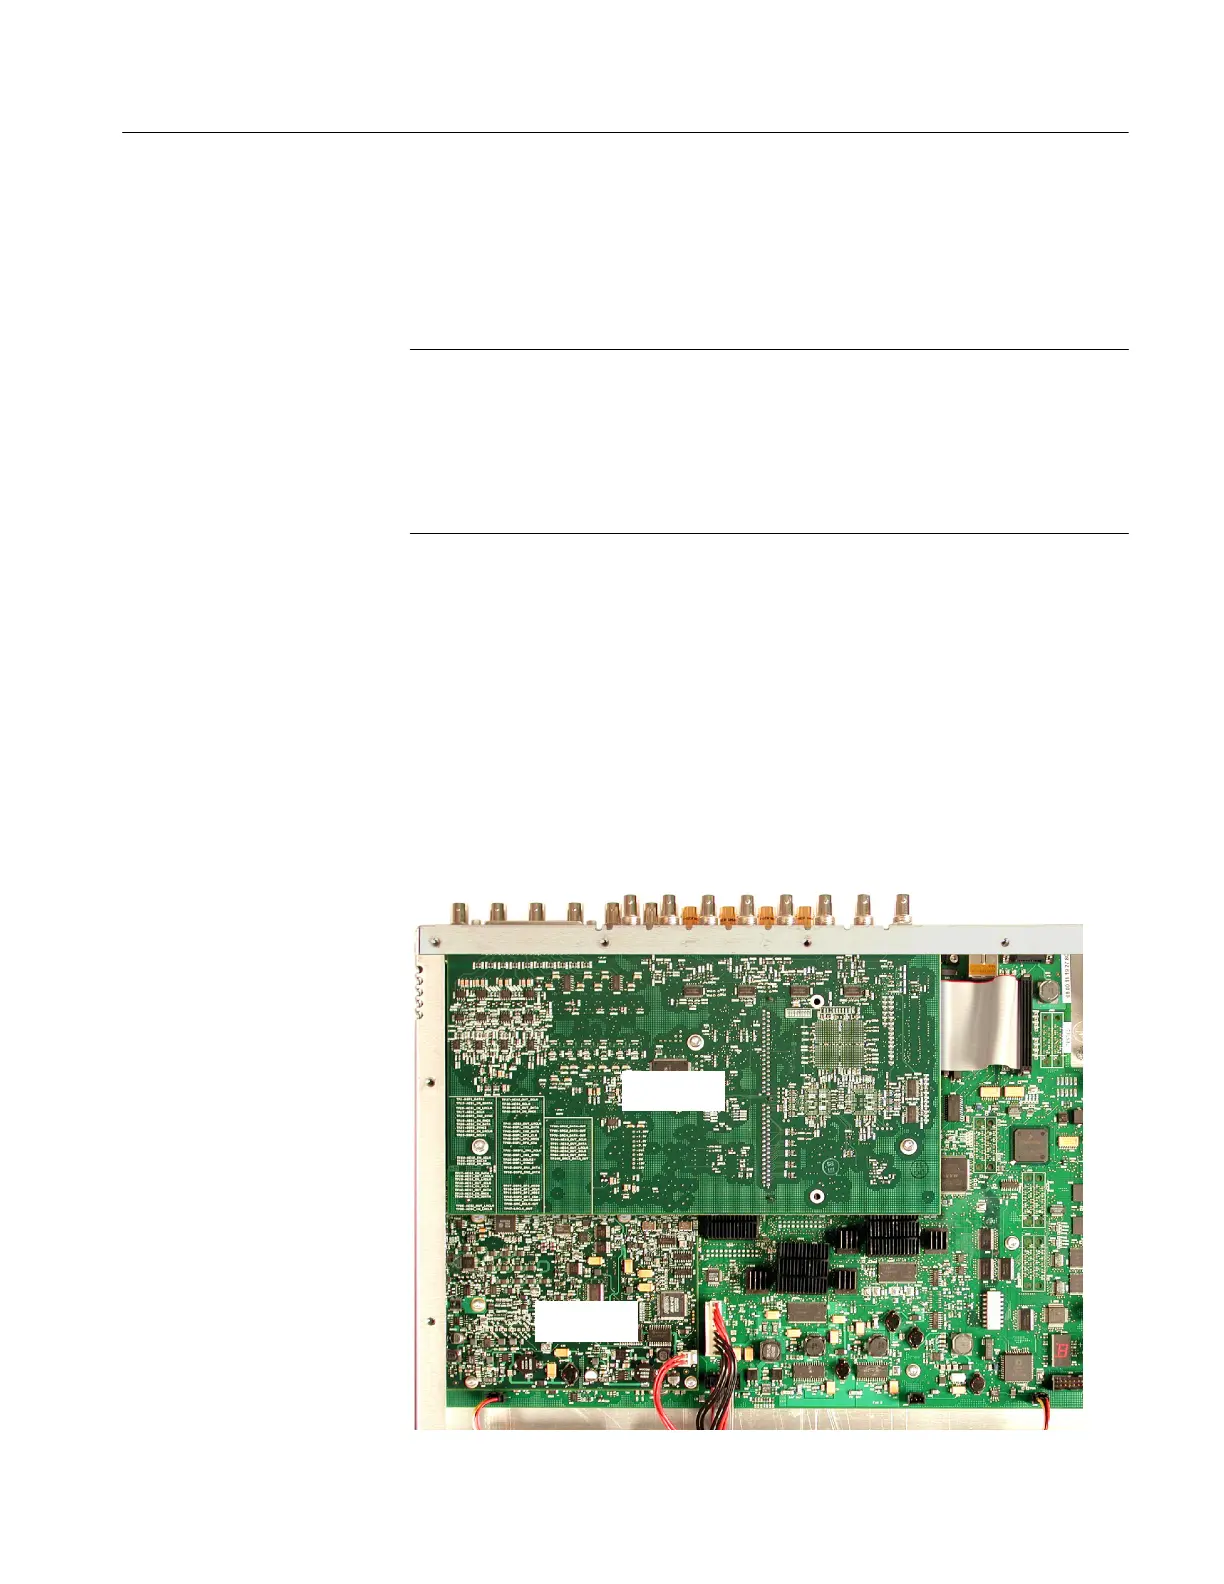
3. Use the illustration below to inspect the instrument for the presence of an
existing Audio board.
4. If an Audio board is installed, perform the Remove Old Audio Board
procedure starting on page 12.
Audio board
Eye board
WVR6100 and W VR7100
 Loading...