www.ti.com
bq34110EVM Quick Start Guide
5
SLUUBI1A–October 2016–Revised July 2018
Submit Documentation Feedback
Copyright © 2016–2018, Texas Instruments Incorporated
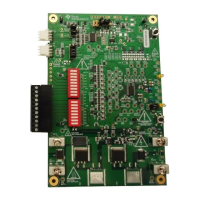
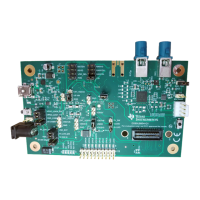
bq34110EVM-796 Evaluation Module
• I2C communication port (J1): I2C bus
Attach the communications interface adapter cable to J1 and to the I2C port on the EV2400.
• Chip Enable (J4): CE
Place a jumper on CE enabling the REG25 regulator to power the bq34110.
• External Learning Load: LOAD jumper and J8.
The external learning load can be configured using the on-board 20-Ω load resistor or an external
resistor attached to J8. The 20-Ω resistor can support a 2000-mAh single-cell configuration. Other
configurations require that a resistor be attached to J8. The LOAD jumper must be removed when
using the external load resistor.
• ALERT1, ALERT2 (J6)
Place jumpers on J4 PU1 and PU2 to apply pull-up resistors to open drain outputs ALERT1 and
ALERT2. Monitor the outputs monitored on J6.
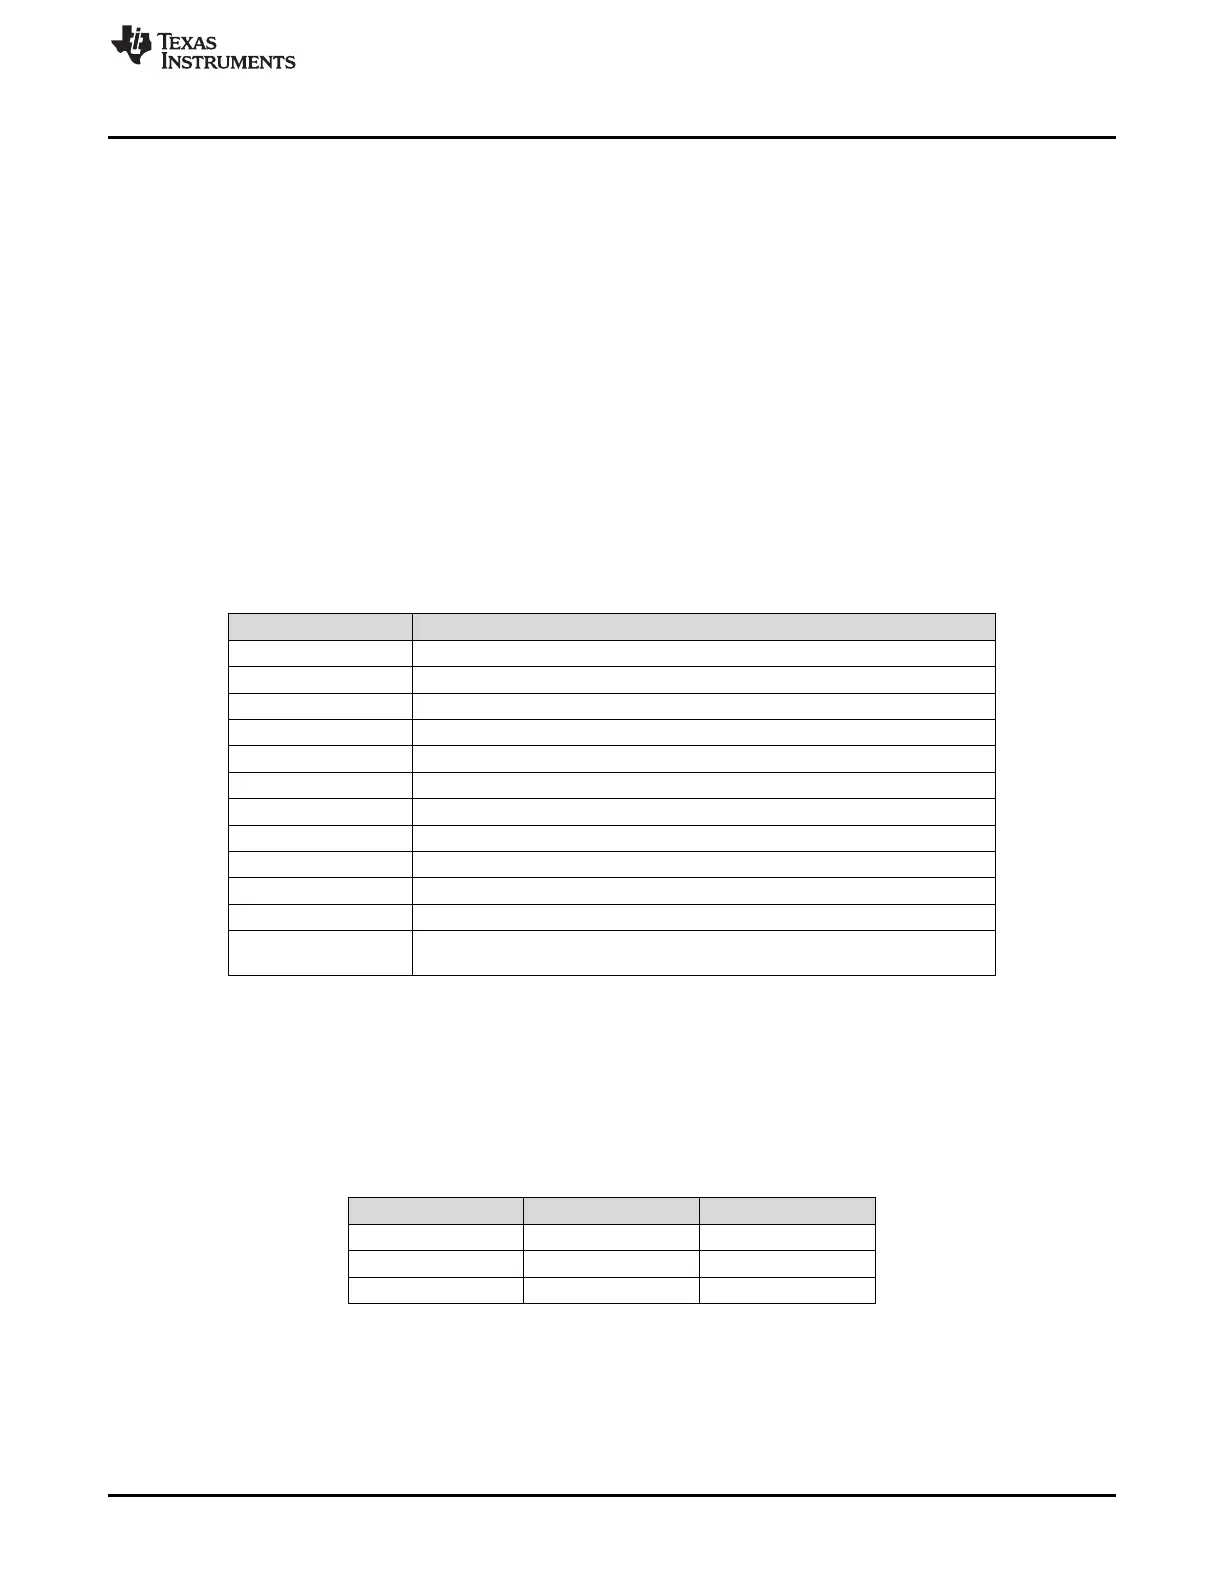
2.5.3 Pin Description
Table 4 lists the EVM pin descriptions.
Table 4. EVM Pin Descriptions
Pin Name Description
ALERT1 Open drain alert output
ALERT2 Open drain alert output
BAT+ Battery stack positive terminal
BAT– Battery stack negative terminal
CE Chip Enable
GND Ground return
LEN Optional LEN GPIO
PACK– Pack negative terminal
OPT EXT LOAD Connection to apply an external learning load
SCL I
2
C clock signal
SDA I
2
C data signal
VEN Optional VEN GPIO. When set, this pin is used to control the external voltage
divider for the BAT pin and disables the internal voltage divider.
2.6 PC Interface Connection
The following steps configure the hardware for interfacing with the PC:
1. Connect the bq34110 EVM to the EV2400 using wire leads as shown in Table 3.
2. Connect the PC USB cable to the EV2400 and the PC USB port.
Table 5. Circuit Module to EV2400 Connections
bq34110EVM EV2300 EV2400
SDA SDA PORT2 - SDA
SCL SCL PORT2 - SCL
VSS GND PORT2 - VSS
The bq34110EVM-796 is now set up for operation.

 Loading...