31
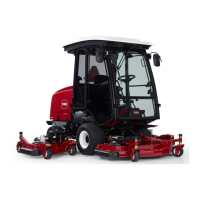
3. Be sure arrow on side of filter points toward the
carburetor. Slide hose clamps onto ends of fuel lines
and push fuel lines onto fuel filter. Tighten clamps.
1
Figure 32
1. Fuel filter
4. Tighten casing clamp screw.
Servicing Belts
Check tension of all belts initially after the first day of
operation and every 100 hours thereafter.
Alternator Belt
To Check Tension:
1. Check tension by depressing belt midway of span with
18 lb of force. Belt should deflect 3/8 in. to 1/2 in. If
deflection is incorrect, proceed to step 2. If correct,
continue operation.
2. Loosen bolt securing brace to engine and bolt securing
alternator to brace (Fig. 33).
1
2
Figure 33
1. Alternator belt 2. Tension adjustment bolt
3. Insert pry bar between alternator and engine and pry out
on alternator.
4. Hold alternator in position after proper belt tension
setting is achieved and tighten alternator and brace bolts
to secure adjustment.
To Replace Belt:
1. Loosen bolts securing brace to engine and alternator to
brace (Fig. 33).
2. Remove two capscrews holding the transmission drive
shaft coupler to the engine pulley. Do not remove the
drive shaft from the transmission.
3. Move the drive shaft out of the way sot that the fan belt
can be removed and a new belt installed. Install the new
belt around the fan before positioning it around the
drive pulley.
4. Reinstall the drive shaft. Tension the new belt.
5. Check the belt tension after one day’s use.
PTO Belt
To Check Tension:
1. Turn engine off and remove the ignition key. Set the
parking brake. Raise the engine hood and allow the
engine to cool.
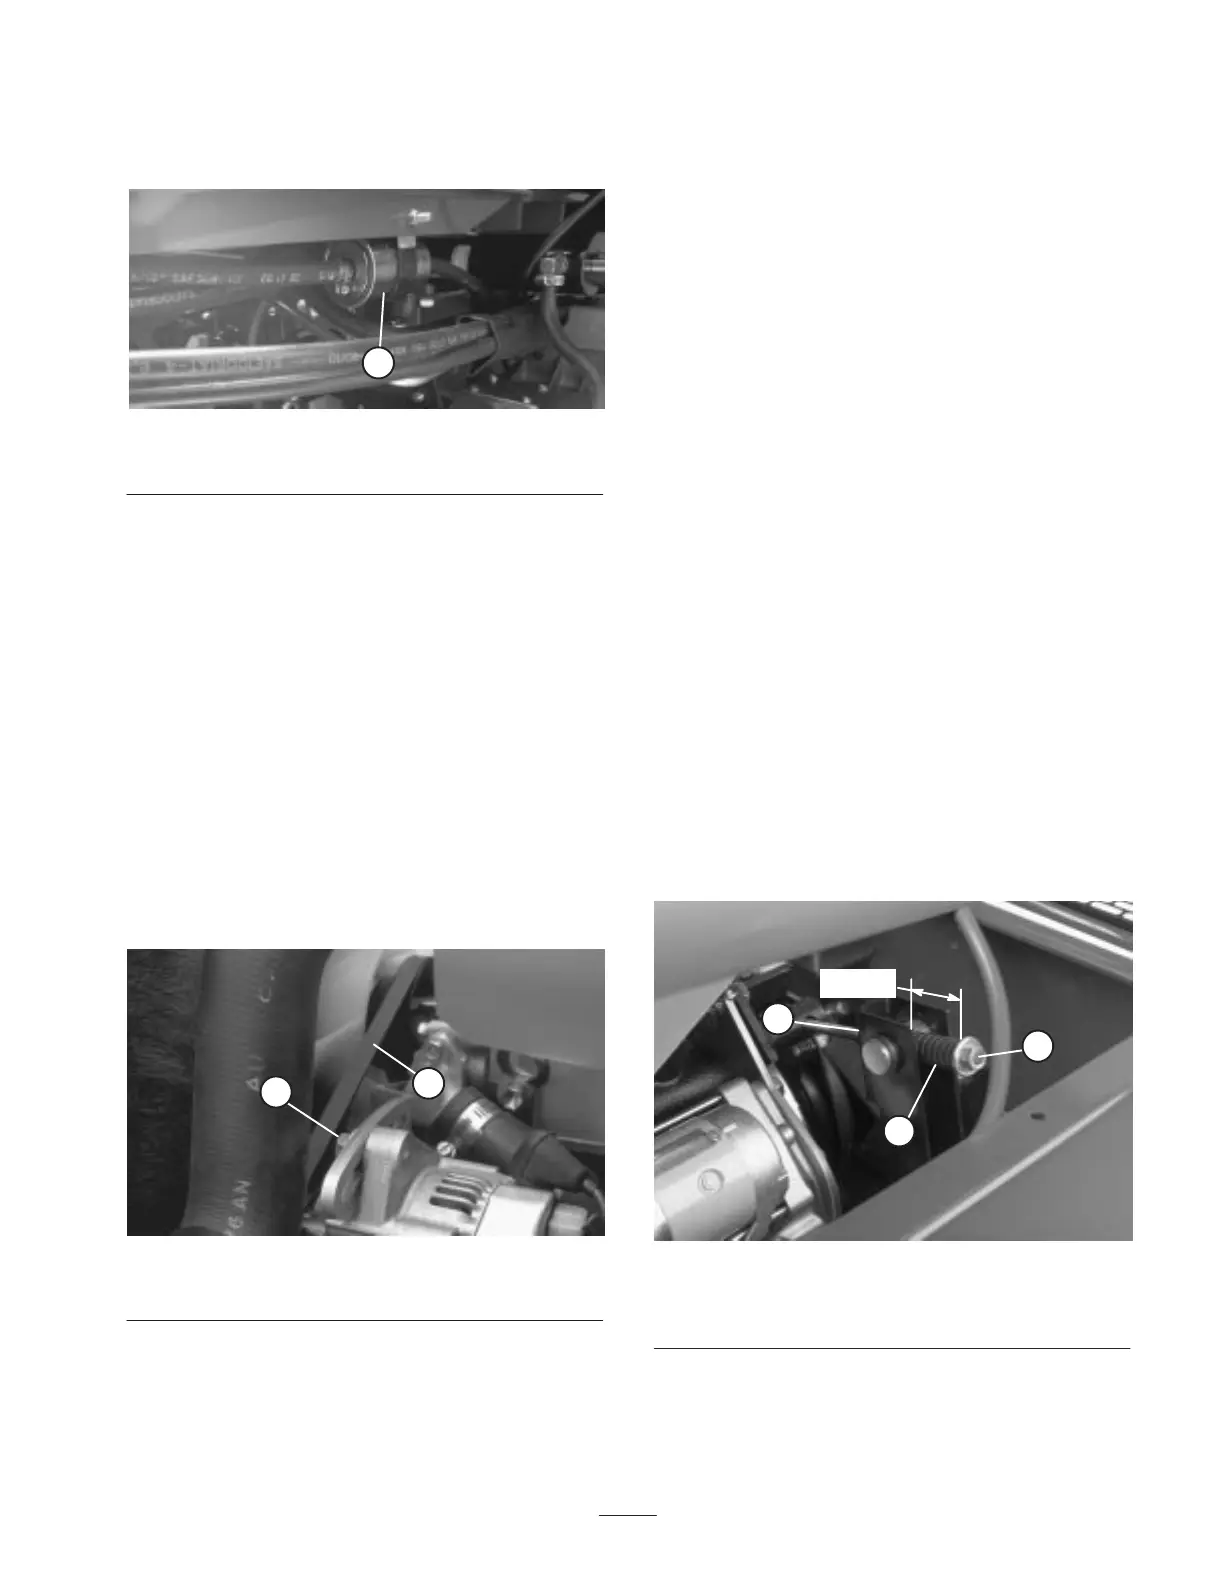
2. Loosen the tensioning rod jam nut (Fig. 34).
3. Use a 1/2” wrench to tighten or loosen the belt
tensioning spring (Fig. 34). Adjust spring to a length of
1-1/2” (38 mm).
1
2
3
1-1/2"
Figure 34
1. Tensioning spring
2. Tensioning rod jam nut
3. Tension adjusting bolt
4. Tighten jam nut.
 Loading...