ENGINE REMOVAL / INSTALLATION
3 - 6 Snow Commander Service Manual
2. Remove fuel tank.
3. Remove the recoil support. You can remove the 2
bottom nuts and bolts and leave the support
attached to the recoil or remove all 3 and separate
the support (Figure 28).
4. Remove the self-tapping screws that secure the
blower housing to the engine (Figure 34).
Figure 34
3428-0249
NOTE: One screw must be accessed by tipping the
machine. Drain fuel from the tank if necessary (Figure
35).
Figure 35
5. The recoil and blower housing can be removed.
Assembly
Reverse the above steps.
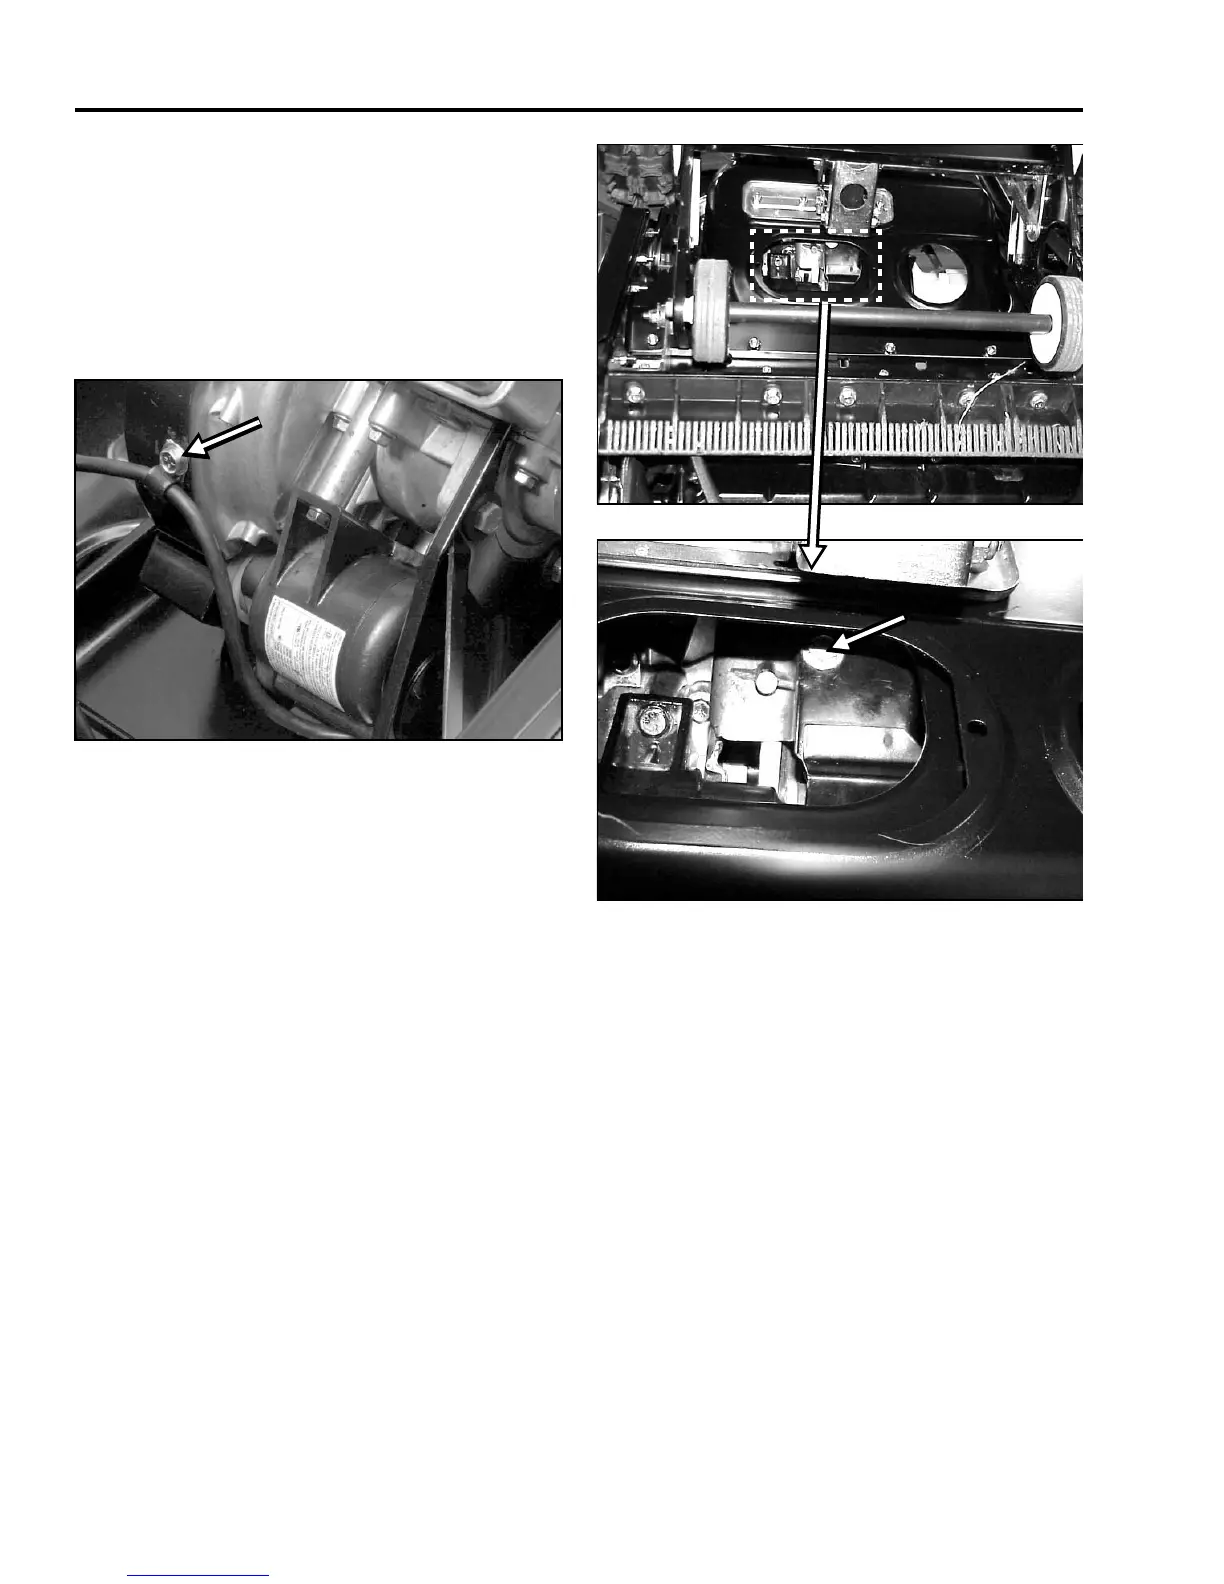
Note wiring routing on electric start units. When
reinstalling the wire harness on electric start models,
route the wire as follows: The wire must come out of
the starter motor to one of the blower housing screws
(Figure 32). It then must run under the fuel tank up to
the left rear mount for the fuel tank (Figure 33), then up
to the switch box. Assure that the wires will not rub on
the starter rope or other moving objects.
 Loading...