ELECTRIC START SYSTEM
5 - 2 Snow Commander Service Manual
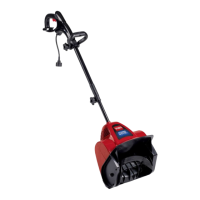
3. Remove the left rear fuel tank mounting bolt
securing the wire harness clamp (Figure 59).
Figure 59
3428-0223
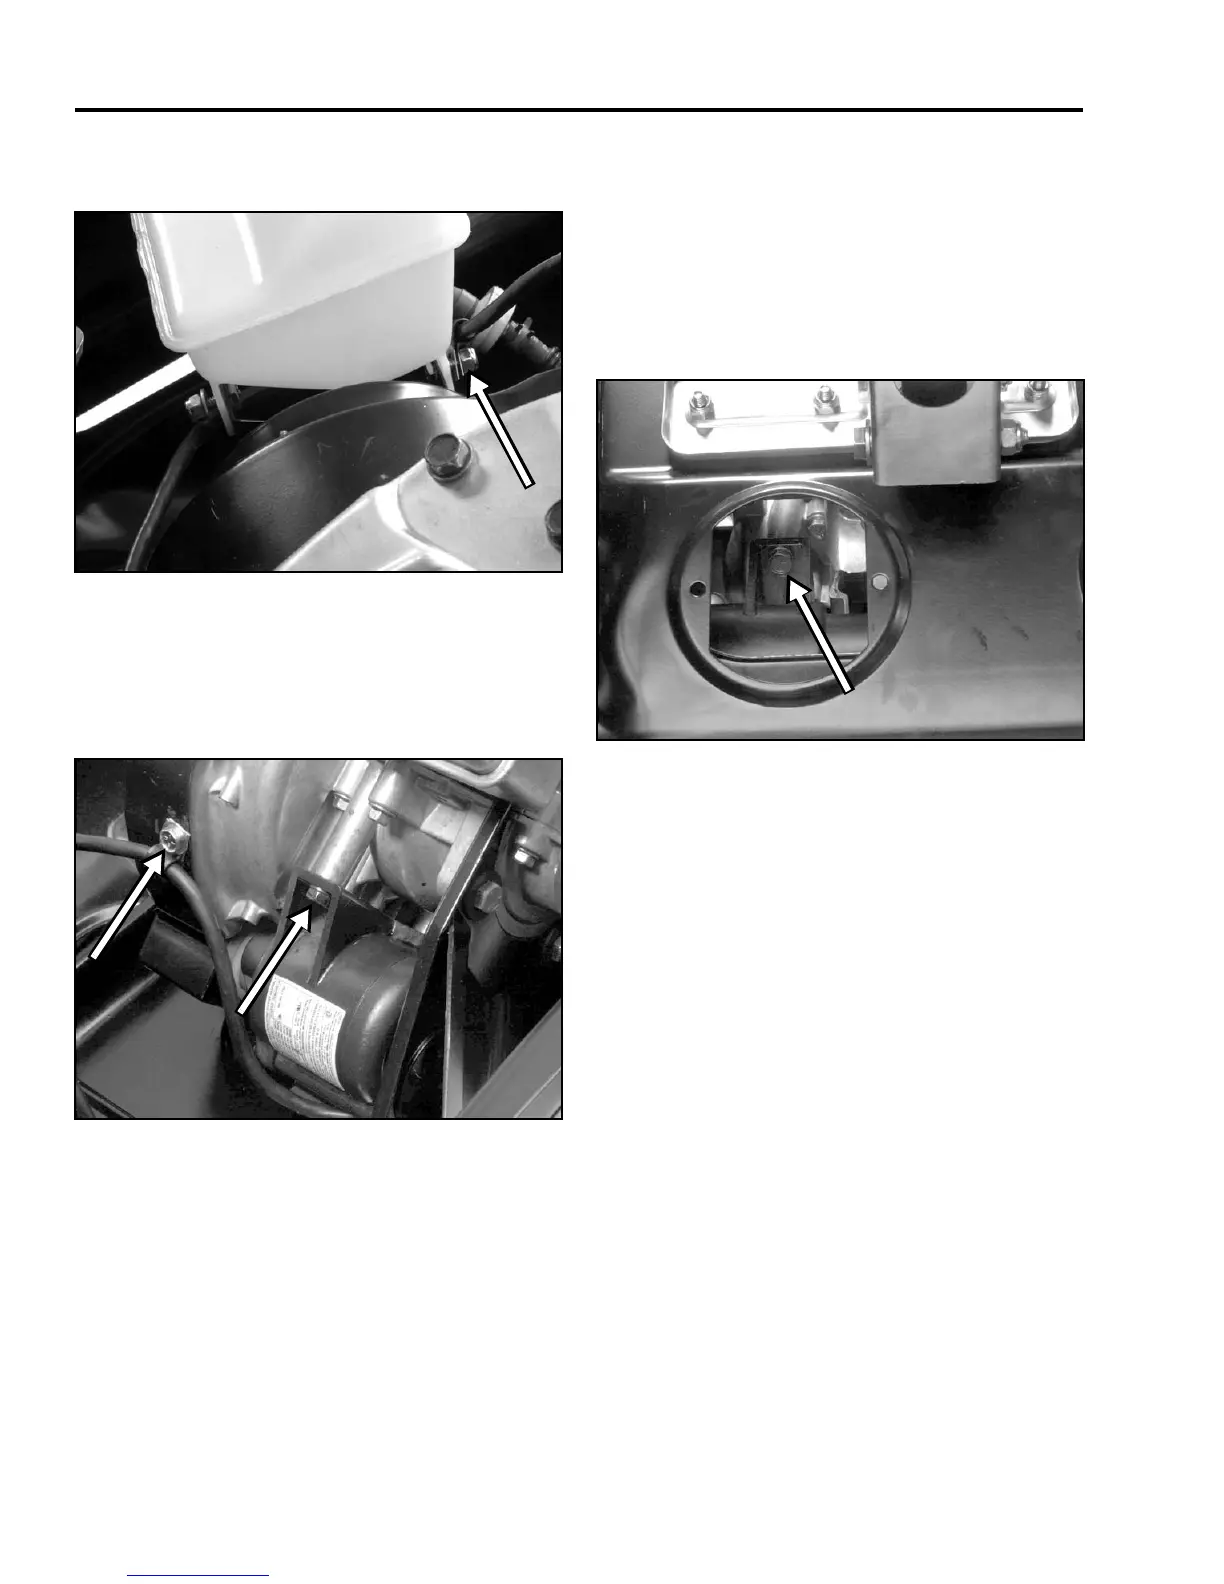
4. Remove one screw (A) (Figure 60) which holds
the wire harness to the blower housing.
5. Remove one starter motor mounting screw (B)
(Figure 60) from the front.
Figure 60
3428-0249
6. To access the other motor mounting screw, the
machine must be tipped forward. Depending on
how much fuel is in the tank it may be necessary
to drain the tank.
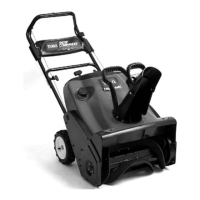
7. Tip the machine forward and reach in with a
ratchet and extension to remove the last motor
mounting screw through the access hole provided
(Figure 61).
Figure 61
3428-0253
8. The motor, wire harness and switch box can now
be removed from the chassis.
Assembly
Assemble in reverse order. When mounting the starter
motor itself, we suggest that you loosely install the front
or top mounting screw first. This will make it easier to
line up the motor and start the rear mounting screw.
A
B
 Loading...