1 PREPARATION
22 Description of Each Component
Description of Each Component
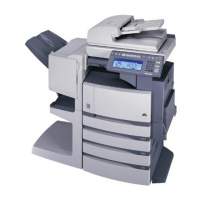
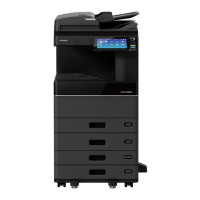
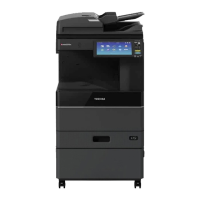
Front / Right side
1. Platen Cover
Place an original on the original glass and start copying with this cover closed.
2. Automatic Document Feeder (optional, MR-2017)
A stack of originals placed on this are scanned one sheet after another. Maximum 100
sheets (or stack height 16 mm) of originals can be placed in one go.
(The maximum number of sheets can be placed may vary depending on the media type of
the originals.)
P.46 “Placing originals on Automatic Document Feeder (optional)”
P.82 “Paper jams within Automatic Document Feeder (optional)”
3. Operator’s Manual pocket (Back side) (optional, KK-1660)
Keep the Operator’s Manual in this.
4. Side cover
5. Bypass tray
Use this to make copies on special media types such as thick paper, overhead transparen-
cies or tracing paper.
P.50 “Using Bypass Tray”
P.84 “Paper jams on bypass tray”
6. Paper feed cover (of the Paper Feed Unit (optional))
7. Paper size indicator
8. Paper Feed Unit (optional, MY-1027)
Use this to add one more drawer to the equipment. A maximum of 250 sheets of plain paper
can be placed in one go.
2
1
3
4
5
6
7
8
9
10

 Loading...