EasyManua.ls Logo

Toshiba RAS-10GAVP-E User Manual

Toshiba RAS-10GAVP-E
116 pages
To Next Page IconTo Next Page
To Previous Page IconTo Previous Page
Page #34 background imageLoading...
Page #34 background image
34
Horizontal
blowing
Inclined
blowing
Blowing
downward
Air direction
Inclined
blowing
Horizontal
blowing
Powerful
Room temp. (Ta) < Set temp. (Tsc) + 3.5 Room temp. (Ta) Set temp. (Tsc) + 3.5
Initial setting of Cooling storage position
Louver : Directs downward (9˚)
Initial setting of Cooling storage position
Louver : Directs downward (9˚)
Inclined blowing
Louver : Directs downward (14˚)
Heating operation/
AUTO (HEAT)
ECO operation
Room temp. (Ta) < Set temp. (Tsc) 3
or 25 minutes after start of operation
Room temp. (Ta) Set temp. (Tsc) 3
Initial setting of Heating storage position
Louver : Directs downward (76˚)
Heating storage position
Louver : Directs downward (76˚)
Cooling storage position
Louver : Directs downward (9˚)
Cooling/AUTO
(COOL)/DRY operation
Powerful
operation
Cooling memory
position
Room temp. Set temp. +3.5
Cooling memory
position
Inclined
blowing
Room temp.
Set temp. +3.5
YES
YES
NO
YES
NO
NO
Heating operation
ECO
operation
Heating memory
position
Horizontal
position
Heating memory
position
Room temp.
Set temp. 3.0
Room temp. Set temp. 3.0
YES
YES
YES
NO
NO
NO
Louver angle
Horizontal
(0˚)
Item
9. Louver control
1) Louver
position
Operation flow and applicable data, etc.
This function controls the air direction of the indoor unit.
Description
Swing operation is performed in width 35° with the stop position as
the center.
If the stop position exceeds either upper or lower limit position,
swing operation is performed in width 35° from the limit which the
stop position exceeded.
3) Swing
2) Louver position in heating operation
Swing
When pressing
[SWING] button during
operation, the louver
starts swinging.
The position is automatically controlled according to the operation mode (COOL/HEAT).
The set louver position is stored in memory by the microcomputer, and the louver returns to the
stored position when the next operation is performed. (Cooling/heating memory position)
The angle of the louver is indicated as the horizontal angle is 0°.
When the louver closes fully, it directs approx. 49° upward.
1) Louver position in cooling operation
2) Air direction adjustment
The louver position can
be arbitrarily set up by
pressing [FIX] button.

Table of Contents

Question and Answer IconNeed help?

Do you have a question about the Toshiba RAS-10GAVP-E and is the answer not in the manual?
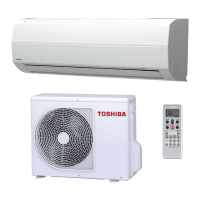
Toshiba RAS-10GAVP-E Specifications

General IconGeneral
TypeSplit System
Cooling Capacity2.5 kW
Heating Capacity3.2 kW
Power Supply220-240V, 50Hz
RefrigerantR410A
Energy Efficiency Ratio (EER)3.21
Coefficient of Performance (COP)3.61
Indoor Unit Dimensions (W x H x D)798 x 293 x 230 mm
Indoor Unit Weight9 kg
Noise Level (Outdoor Unit)49 dB(A)

Summary

1. SAFETY PRECAUTIONS

New Refrigerant Air Conditioner Installation

Safety precautions for installing R410A air conditioners.

2. SPECIFICATIONS

General Specifications

Detailed technical specifications for indoor and outdoor units.

Operation Characteristic Curves

Graphical representation of cooling and heating performance curves.

Capacity Variation by Temperature

Shows how capacity changes with outdoor temperature.

3. REFRIGERANT R410A

Safety During Installation and Servicing

Safety precautions for handling R410A refrigerant during installation and servicing.

Refrigerant Piping Installation

Guidelines for installing refrigerant piping, including materials and joints.

Required Tools

Lists tools necessary for R410A installation and servicing.

4. CONSTRUCTION VIEWS

Indoor Unit Construction Views

Exploded views and diagrams of the indoor unit's internal components.

Outdoor Unit Construction Views

Exploded views and diagrams of the outdoor unit's internal components.

5. WIRING DIAGRAM

Outdoor Unit Wiring Diagram

Electrical wiring schematic for the outdoor unit.

Indoor Unit Wiring Diagram

Electrical wiring schematic for the indoor unit.

6. SPECIFICATIONS OF ELECTRICAL PARTS

Indoor Unit Electrical Parts Specifications

List of indoor unit electrical components and their specifications.

Outdoor Unit Electrical Parts Specifications

List of outdoor unit electrical components and their specifications.

7. REFRIGERANT CYCLE DIAGRAM

Refrigerant Cycle Diagram

Schematic showing the refrigerant flow and system components.

Operation Data

Data on operating conditions, pressures, temperatures, and fan speeds.

8. CONTROL BLOCK DIAGRAM

Indoor Unit Control Block Diagram

Diagram illustrating control logic and signal flow within the indoor unit.

Outdoor Unit Control Block Diagram

Diagram illustrating control logic and signal flow within the outdoor unit.

9. OPERATION DESCRIPTION

Outline of Air Conditioner Control

Overview of the air conditioner's control system and component functions.

Detailed Operation Modes

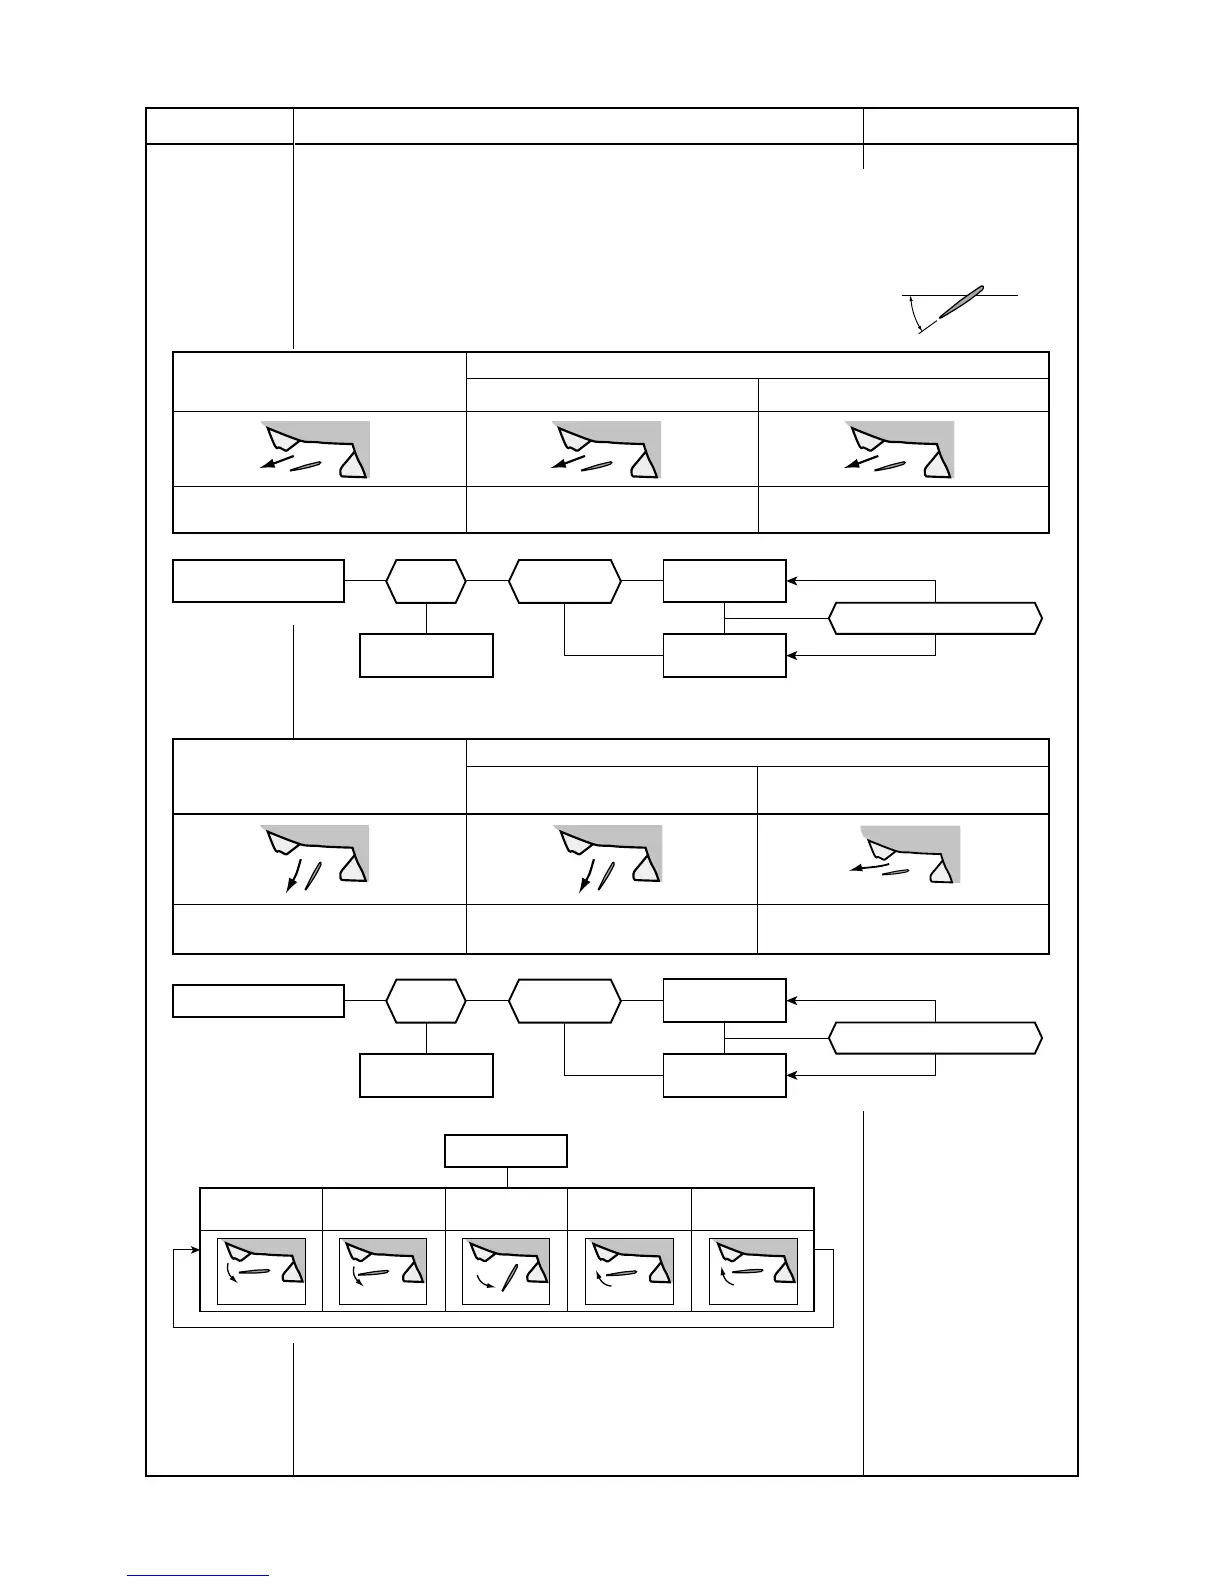
Explains various operation modes like Cooling, Heating, AUTO, DRY, ECO.

10. INSTALLATION PROCEDURE

Installation Safety Cautions

Important safety warnings and precautions for installation.

Optional Parts, Accessories, and Tools

Lists optional parts, accessories, and necessary tools for installation.

Indoor Unit Installation

Detailed steps and considerations for installing the indoor unit.

Outdoor Unit Installation

Detailed steps and considerations for installing the outdoor unit.

11. HOW TO DIAGNOSE THE TROUBLE

Initial Confirmation Steps

Preliminary checks for power supply and basic operation.

Indoor Unit LED Flashing Judgment

Interpreting flashing LED codes for indoor unit self-diagnosis.

Remote Controller Self-Diagnosis

Using remote controller service mode to retrieve check codes for diagnosis.

Wiring Failures

Troubleshooting guide for interconnecting and serial signal wiring issues.

Inverter Assembly Diagnosis

Diagnostic flowchart for the outdoor unit inverter assembly.

Indoor Unit P.C. Board Check

Procedures for checking the indoor unit's Printed Circuit Board.

Outdoor Fan Motor Check

Steps to diagnose the outdoor fan motor's functionality.

12. HOW TO REPLACE THE MAIN PARTS

Indoor Unit Part Replacement

Procedures for replacing main parts of the indoor unit.

Microcomputer Replacement

Procedure for replacing the microcomputer assembly.

Outdoor Unit Part Replacement

Procedures for disassembling and attaching outdoor unit components.

13. EXPLODED VIEWS AND PARTS LIST

Indoor Unit Exploded Views and Parts List

Exploded diagrams and parts list for the indoor unit.

Outdoor Unit Exploded Views and Parts List

Exploded diagrams and parts list for the outdoor unit.

P.C. Board Layout

Diagram showing component layout on the Printed Circuit Board.

Cord Heater Installation Work

Required Parts for Cord Heater Installation

List of recommended parts for cord heater installation.

Required Tools for Cord Heater Installation

List of tools needed for cord heater installation.

Cord Heater Wiring Diagram

Wiring diagram for the cord heater installation.

Cord Heater Installation Procedure

Step-by-step guide for installing the cord heater.

Related product manuals