EasyManuals Logo

TP-Link Archer AX3000 User Manual

TP-Link Archer AX3000
118 pages
To Next Page IconTo Next Page
To Previous Page IconTo Previous Page
Page #24 background image
20
Chapter 4
Set Up Internet Connection
6. Confirm the information and click Save. Now, you can enjoy Wi-Fi.
Tips:
Functions, such as Parental Controls, Qos and NAT Forwarding, are not supported in the Access Point mode.
Functions, such as Guest Network, are the same as those in the Router mode.
4. 5. Set Up an IPv6 Internet Connection
Your ISP provides information about one of the following IPv6 internet connection types:
PPPoE, Dynamic IP(SLAAC/DHCPv6), Static IP, 6to4 tunnel, Pass-Through (Bridge).
1. Visit http://tplinkwifi.net, and log in with your TP-Link ID or the password you set for
the router.
2. Go to Advanced > IPv6.
3. Enable IPv6 and select the internet connection type provided by your ISP.

Table of Contents

Questions and Answers:

Question and Answer IconNeed help?

Do you have a question about the TP-Link Archer AX3000 and is the answer not in the manual?
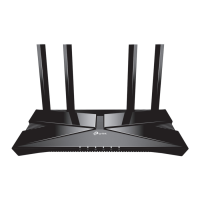
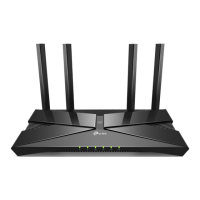
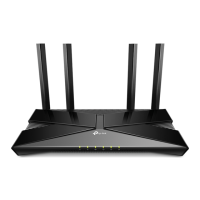
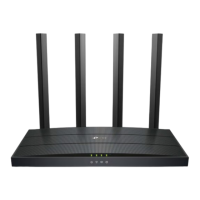
TP-Link Archer AX3000 Specifications

General IconGeneral
Wi-Fi StandardWi-Fi 6 (802.11ax)
BandsDual-band
Maximum Wi-Fi Speed3000 Mbps
Ethernet Ports1x Gigabit WAN, 4x Gigabit LAN
Processor1.5 GHz Triple-Core CPU
Antenna4 external antennas
MU-MIMOYes
BeamformingYes
OFDMAYes
USB Ports1x USB 3.0
SecurityWPA3, WPA2, WPA
FeaturesQoS, VPN Server
Dimensions10.2 x 5.3 x 1.5 inches

Related product manuals