Step 1: Installing the EAP Controller
On the PC, download the EAP Controller installation file from
http://www.tp-link.com/en/download/EAP-Controller.html. Run
the file and follow the wizard to install the EAP Controller.
Step 2: Configuring the EAP Controller
Launch the EAP Controller and follow the step-by-step
instructions to complete the Quick Setup. After the wizard is
finished, a login screen will appear.
Step 3: Logging in to the EAP Controller
Enter the admin name and password you created and click Sign
In. Then you can further configure the EAP Controller.
Software Conguration
11
To configure and manage mass EAPs via centralized controller software, please
refer to Option 1.
To configure a single EAP via a web browser directly, please refer to Option 2.
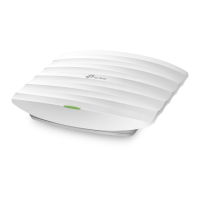
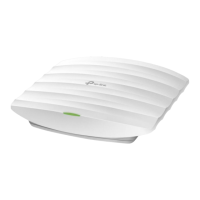
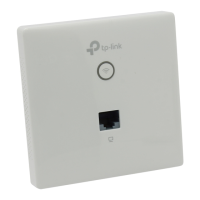
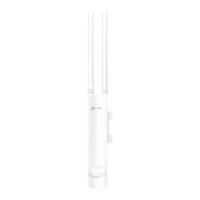
The EAP supports two configuring options:
Option 1: Via EAP Controller
For detailed congurations, please visit
http://www.tp-link.com/support to download the User Guide of
EAP Controller in the download center.
Step 1: Connecting to the EAP Device
Power on the EAP and connect wirelessly by using the default
SSID (format: TP-Link_2.4GHz_XXXXXX) printed on the product
label.
Option 2: Via Web Browser
 Loading...
