Installation
AFDH-SVN03H-EN 25
connecting the panel to the Z-bracket on the motor
flange.
5. While steadying the starter panel to prevent it from
tipping forward, carefully begin removing the
retaining bolts that connect it to the Z-bracket.
Note: The
existing Z-bracket and transition cover will
be reused and do not need to be removed
unless greater access is required to the motor
terminals during drive installation.
6. Remove the bolts securing the bottom of the LiquiFlo
drive
to the brackets on the evaporator.
7. Carefully remove the starter panel from the chiller and
set
it down in a safe location.
Important:
• Do
not cut off the starter panel brackets that are welded
to the evaporator shell as they will be reused!
• Do not discard any of the nuts, bolts, washers, or the
angle-iron clips that were used to attach the starter
panel tabs to the evaporator bracket as they will all be
reused!
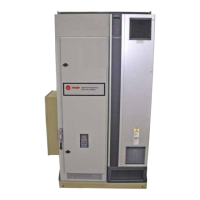
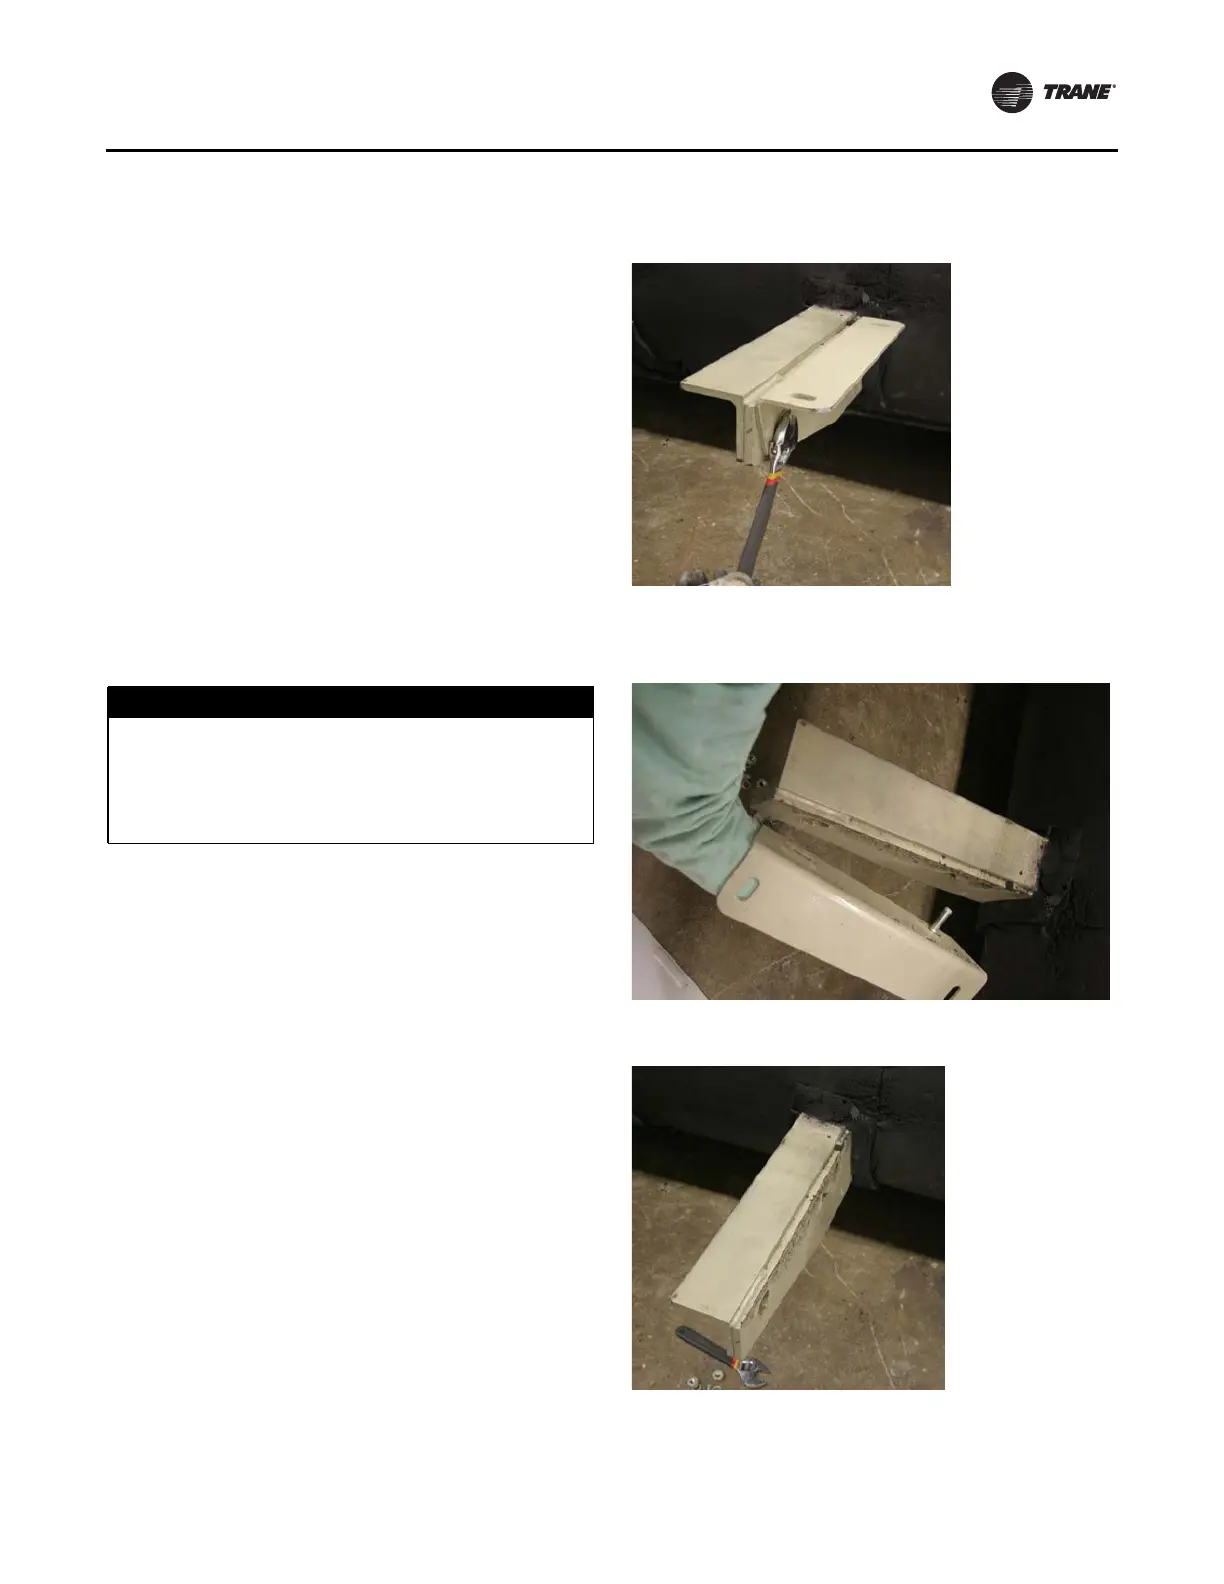
8. Remove the bottom panel bracket from the starter
panel
brackets as shown in Figure 14. If panel brackets
are not removed, the AFDH cooling airflow will be
blocked.
NOTICE:
Remove Panel Bracket For Proper
Airflow!
Failure to remove panel bracket could result in
equipment damage as there is a minimum airflow
required to properly cool the AFD.
Figure 14. Removing bottom panel bracket from starter
panel brackets
 Loading...