178
RT-SVX24Q-EN
pressure reading to a corresponding saturated
vapor temperature.
3. Measure the suction line temperature as close to
the expansion valve bulb, as possible. Use a
thermocouple type probe for an accurate reading.
4. Subtract the saturated vapor temperature obtained
in step 2 from the actual suction line temperature
obtained in step 3. The difference between the two
temperatures is known as “superheat”.
When adjusting superheat, recheck the system
subcooling before shutting the system “Off”.
NNoottee:: If unit includes the modulating reheat
dehumidification option, adjust superheat only
in the cooling mode of operation.
Charging by Subcooling
The outdoor ambient temperature must be between 65
and 105°F and the relative humidity of the air entering
the evaporator must be above 40 percent. When the
temperatures are outside of these ranges, measuring
the operating pressures can be meaningless. Make
sure hot gas bypass (if applicable) is not flowing when
taking performance measurements. With the unit
operating at “Full Circuit Capacity”, acceptable
subcooling ranges for air-cooled units is between 10°F
to 18°F. For evaporative condenser units, acceptable
subcooling range is between 8°F to 14°F.
Measuring Subcooling
1. At the liquid line service port, measure the liquid
line pressure. Using an R–410A pressure/
temperature chart, convert the pressure reading
into the corresponding saturated temperature.
2. Measure the actual liquid line temperature as close
to the liquid line service port as possible. To ensure
an accurate reading, clean the line thoroughly
where the temperature sensor will be attached.
After securing the sensor to the line, insulate the
sensor and line to isolate it from the ambient air.
Use a thermocouple type probe for an accurate
reading.
NNoottee:: Glass thermometers do not have sufficient
contact area to give an accurate reading.
3. Determine the system subcooling by subtracting
the actual liquid line temperature (measured in step
2) from the saturated liquid temperature (converted
in step 1).
Standard Ambient Units
The following Table gives the minimum starting
temperatures for Standard Ambient Units. Do not start
the unit in the cooling mode if the ambient temperature
is below the recommended operating temperatures.
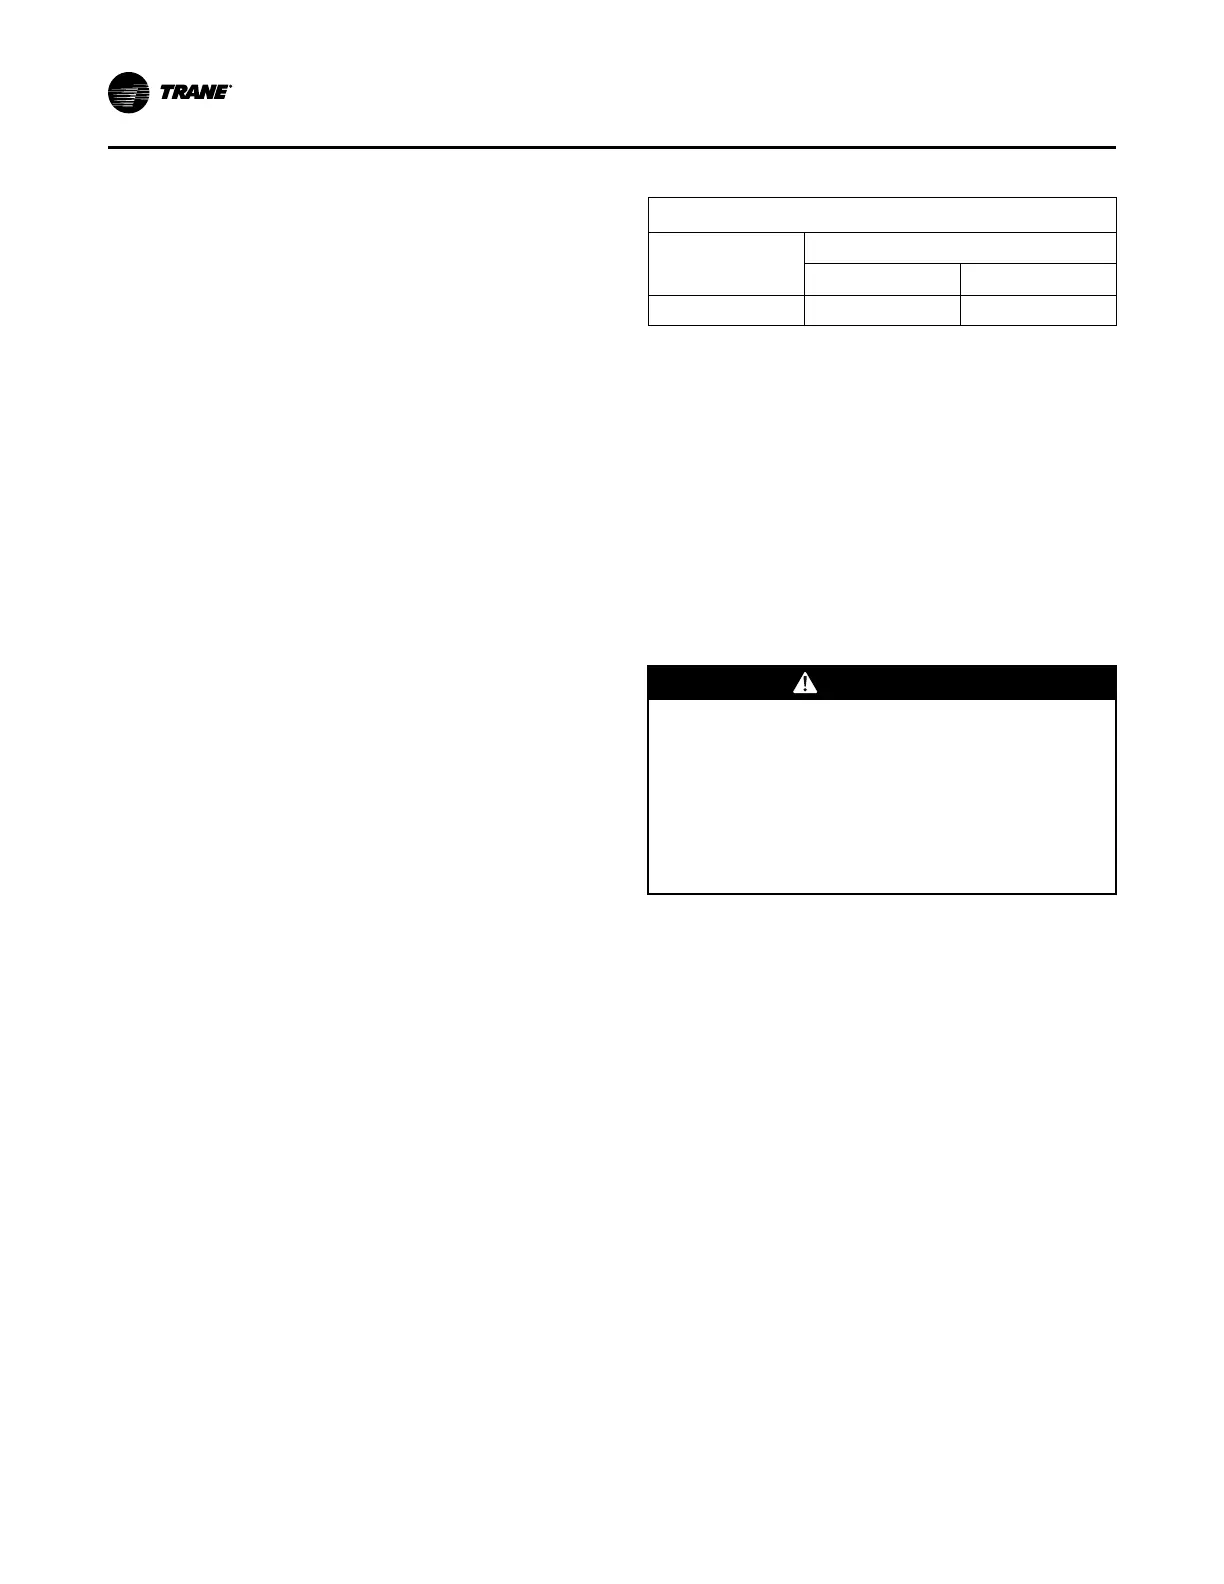
Table 62. Minimum ambient
Minimum Starting Ambient
Unit Size
Standard Ambient
with HGBP without HGBP
90-162 40 55
Note: Minimum starting ambients in degrees F and is based on
unit operating at min. step of unloading, and unloading and
5 mph wind across condenser
Electric, Steam and Hot Water Start-Up
(Constant Volume & Variable Air Volume
Systems)
1. Ensure that the “System” selection switch at the
remote panel is in the Off position.
2. Close the disconnect switch or circuit protector
switch that provides the supply power to the unit
terminal block or the unit-mounted disconnect
switch.
WWAARRNNIINNGG
HHaazzaarrddoouuss VVoollttaaggee!!
FFaaiilluurree ttoo ddiissccoonnnneecctt ppoowweerr bbeeffoorree sseerrvviicciinngg ccoouulldd
rreessuulltt iinn ddeeaatthh oorr sseerriioouuss iinnjjuurryy..
DDiissccoonnnneecctt aallll eelleeccttrriicc ppoowweerr,, iinncclluuddiinngg rreemmoottee
ddiissccoonnnneeccttss bbeeffoorree sseerrvviicciinngg.. FFoollllooww pprrooppeerr
lloocckkoouutt//ttaaggoouutt pprroocceedduurreess ttoo eennssuurree tthhee ppoowweerr
ccaann nnoott bbee iinnaaddvveerrtteennttllyy eenneerrggiizzeedd.. VVeerriiffyy tthhaatt nnoo
ppoowweerr iiss pprreesseenntt wwiitthh aa vvoollttmmeetteerr..
IImmppoorrttaanntt:: Do not open the service access doors
while the unit is operating. HIGH
VOLTAGE IS PRESENT AT TERMINAL
BLOCK OR UNIT DISCONNECT
SWITCH.
3. Turn the 115 volt control circuit switch and the 24
volt control circuit switch to the On position.
4. Open the Human Interface access door, located in
the unit control panel, and press the SERVICE
MODE key to display the first service screen. Refer
to the latest edition of the appropriate
programming manual for CV or VAV applications
for the SERVICE TEST screens and programming
instructions.
5. Use tables in “Voltage Imbalance,” p. 105 to
program the following system components for
operation by scrolling through the Human Interface
displays:
EElleeccttrriicc HHeeaatt
Supply Fan (On)
Variable Frequency Drive (100% Output, if
applicable)
RTM Occ/Unocc Output (Unoccupied)
UUnniitt SSttaarrttuupp

 Loading...