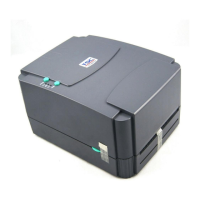
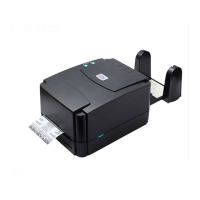
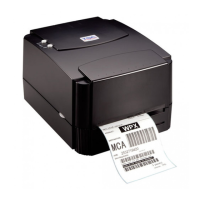
TTP-243 Plus/ 243E Plus/
342 Plus Bar Code Printer
11. Remove the screw of ground wire on the mainboard.
12. Remove all connectors on the mainboard. (JP1, JP2, JP3, JP4, JP5, JP6, JP7, JP11, JP7,
JP9, JP12)
External button, LED connector
Ribbon sensor receiver connector
Cutter and Peel off sensor connector
Black mark sensor connector
Gap / ribbon transmit sensor
connector
DC motor and encoder connector
TPH head up switch connector
Memory cartridge connector
13. Take out the mechanism.
14. Remove the rest three screws on the mainboard.
Fig. 3.20 Upper-Left, Upper-Right, Lower-Right Corner Screw
15. Replace the mainboard.
16. Reassemble the mechanism and internal label roll mount in the reverse procedures of the removal.
 Loading...