4.6 Stepping Motor Replacement
1. Turn off the printer power.
2. Remove the power cord and RS-232 and/or Parallel port cable.
3. Open the top cover of the printer.
4. Remove the printer front panel. (Cf. Fig. 3.14)
5. Remove the two screws and the metal cover. (Cf. Fig. 3.15)
6. Release the cable tie and remove the peel-off sensor connector. (Cf. Fig. 3.16)
7. Remove the screw on the PCB of peel-off and cutter connector.
8. Remove the screws in the lower left, lower right corners of the main mechanism. (Cf. Fig.
3.17)
9. Remove all four screws of the internal label roll mount. (Cf. Fig. 3.18)
10. Move the mechanism in the label feed direction about 5 mm.
11. Take out the internal label roll mount and remove the connector. (Cf. Fig. 3.19)
12. Remove the screw of ground wire on the mainboard.
13. Remove all the connectors on mainboard. (JP1, JP2, JP3, JP4, JP5, JP6, JP7, JP11, JP7,
JP9, JP12)
14. Take out the mechanism.
15. Remove the rest three screws on the mainboard.
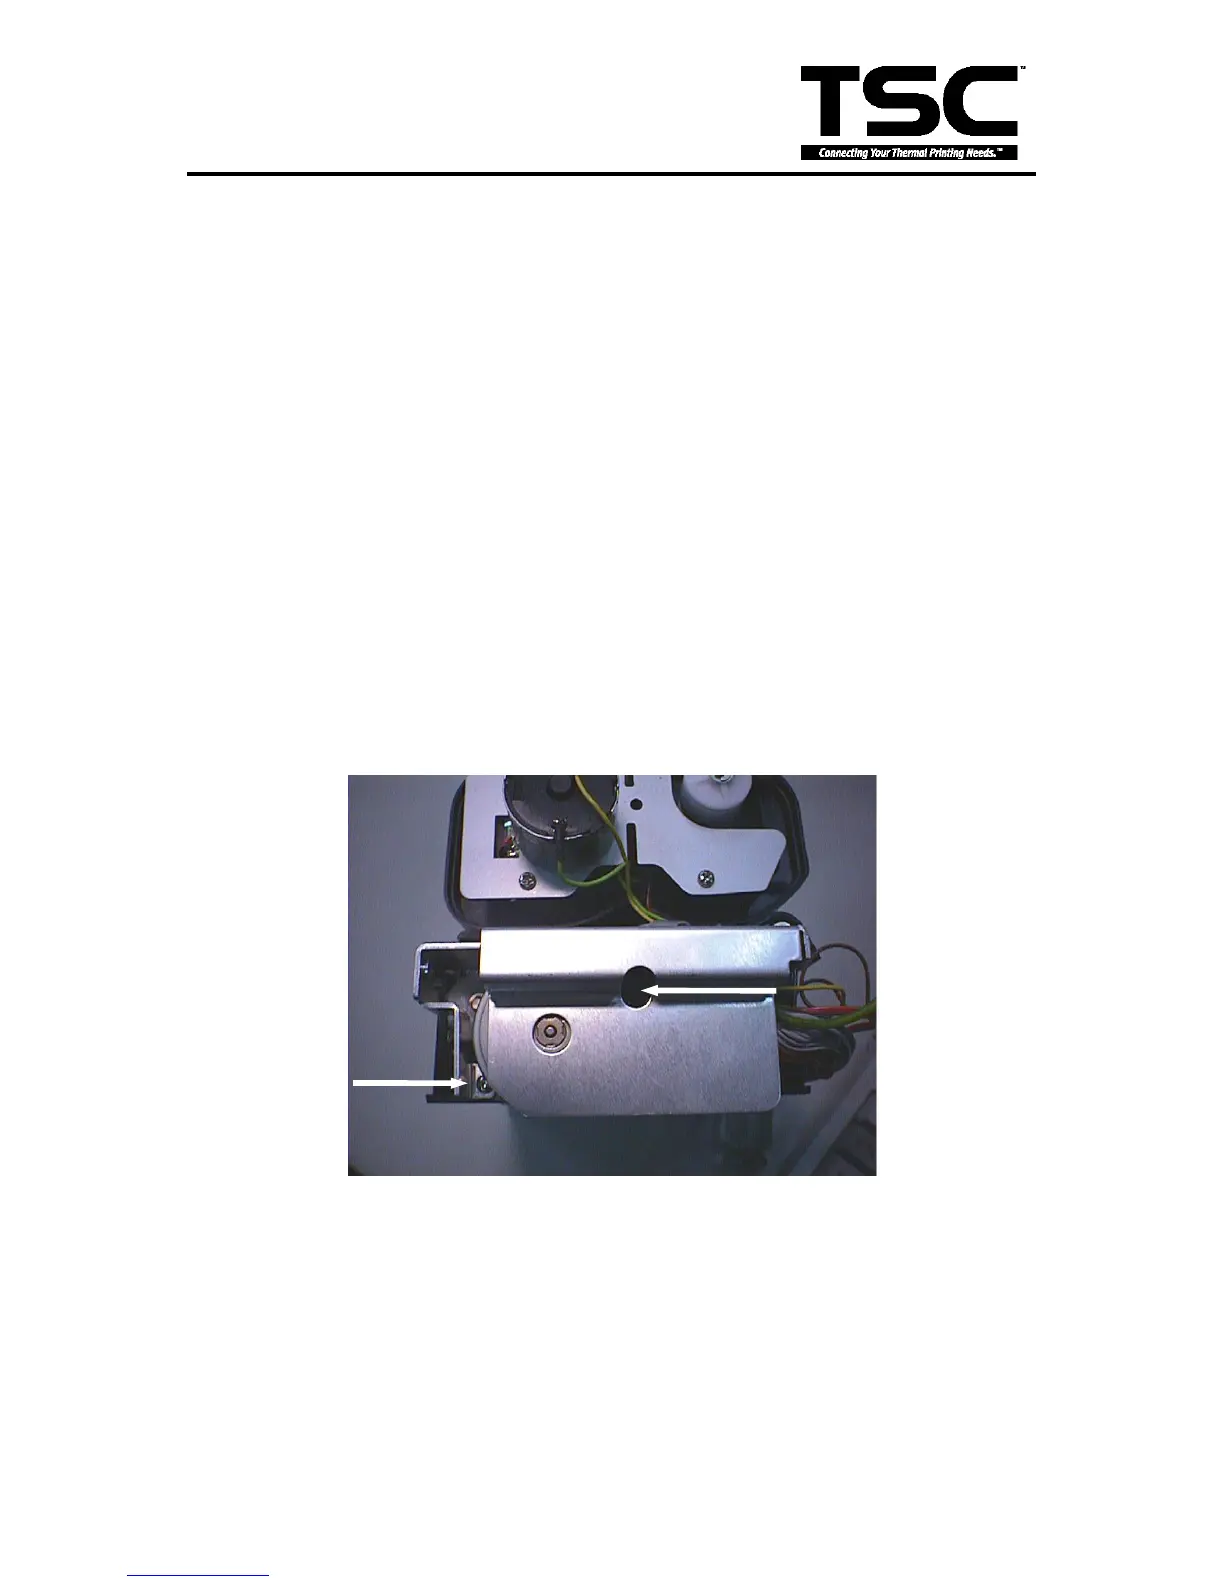
16. Remove the two screws of the stepping motor.
Fig. 4.9 Stepping Motor
17. Replace the stepping motor and reassemble the removed parts in the reverse order of
removal.
 Loading...