20 3: Operation
3.5 Required Pre-test Calibrations
3.5.1 Low-Pressure Transducer Zero Calibration
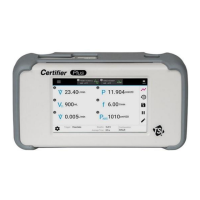
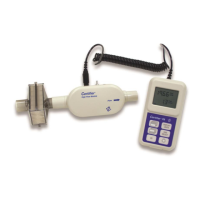
The Certifier
®
FA Test System automatically performs a low-pressure
transducer zero calibration at power up. Check the low pressure zero
by disconnecting the pressure tubing from the flow module before
each low-pressure measurement after initial power up to ensure the
most accurate readings. If low pressure is not reading zero, perform
the following steps to zero the transducer.
1. Disconnect the pressure tubing from the flow module to expose
the flow module to ambient air.
2. Momentarily press the Bottom line select key until low pressure
(see Section 3.4.7) is shown on the display.
3. Press and hold the Bottom line select key for 2 to 3 seconds.
The display shows ZERO to indicate that the zero calibration is in
progress.
4. When ZERO is no longer displayed, the low-pressure transducer
zero calibration is complete.
NOTE: The barometric pressure transducer does not require a zero
calibration.
3.5.2 Oxygen Sensor Calibration
Follow these steps daily and following an altitude change or sensor
replacement to calibrate the oxygen sensor:
1. Power up the Certifier
®
FA Test System with the High Flow
module and oxygen sensor attached, then allow about one
minute to warm up. The oxygen sensor symbol flashes if the
controller module detects the sensor needs calibration or has
expired.
2. Momentarily press the Top line select or Bottom line select key
to show %O
2
on the display.
3. Press and hold the GAS SELECT key for 2 to 3 seconds. Expose
the oxygen sensor to room air when you see 21.0 %O
2
and CAL
on the display. The 21% calibration is complete when 100.0 %O
2
lights up on the top line and CAL flashes on the display. This can
take several minutes while the oxygen concentration and sensor
stabilize.
4. Expose the oxygen sensor to 100% oxygen of at least 5 liters per
minute. Press and release the GAS SELECT key to begin the
100% calibration. CAL stops flashing when the 100% calibration
begins.
 Loading...