22 3: Operation
Follow these steps to view or adjust the flow trigger level.
1. Momentarily press the Top line select key until volume
parameter is on the display, see Section 3.4.3.
2. Press and hold the Top line select key until the “trig” appears on
the bottom of the display.
3. The trigger value will appear on the top line of the display which
will be one of the following: “20 PEAK” (20% Auto trigger),
“1 LPM”, “2 LPM”, “3 LPM”, “4 LPM”, “5 LPM”, “6 LPM”, “7 LPM”,
“8 LPM”, “9 LPM”, “10 LPM”, “12 LPM”, “15 LPM”, “17 LPM”,
“20 LPM”, “22 LPM”, “25 LPM”, “30 LPM”, “40 LPM”, or
“10 PEAK” (10% Auto trigger).
4. To adjust the value, press and release the Top line select or
Bottom line select to scroll through the list of values in step 3.
After 3 seconds the new trigger level will be set and the interface
module will return to displaying volume.
NOTE: The default value of 20% auto trigger is restored once the
controller module is turned off.
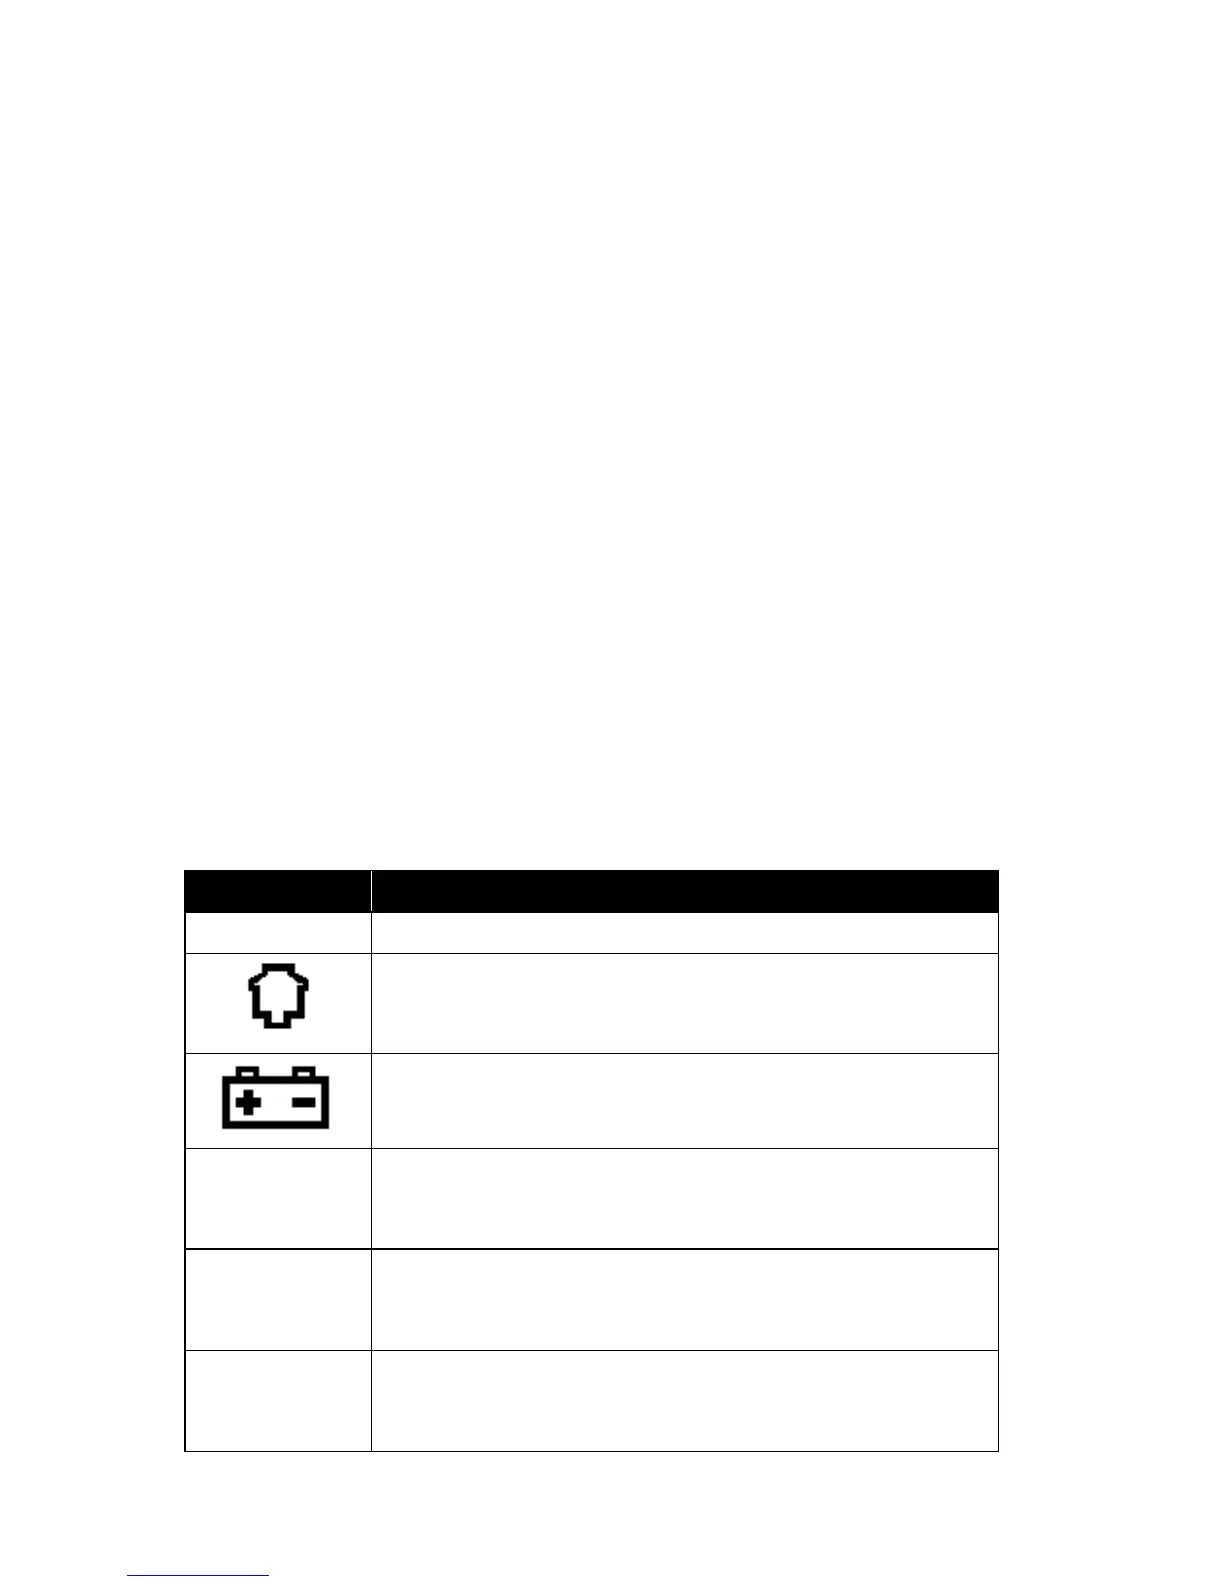
3.7 Display Information
Table 3 describes information that can appear on the controller
module screen.
 Loading...