Push button Configuring
Before proceeding with the steps below, please finish the hardware and
software installation first. Refer to Quick Start Guide.
For Windows users
Configuring the Scan button Values
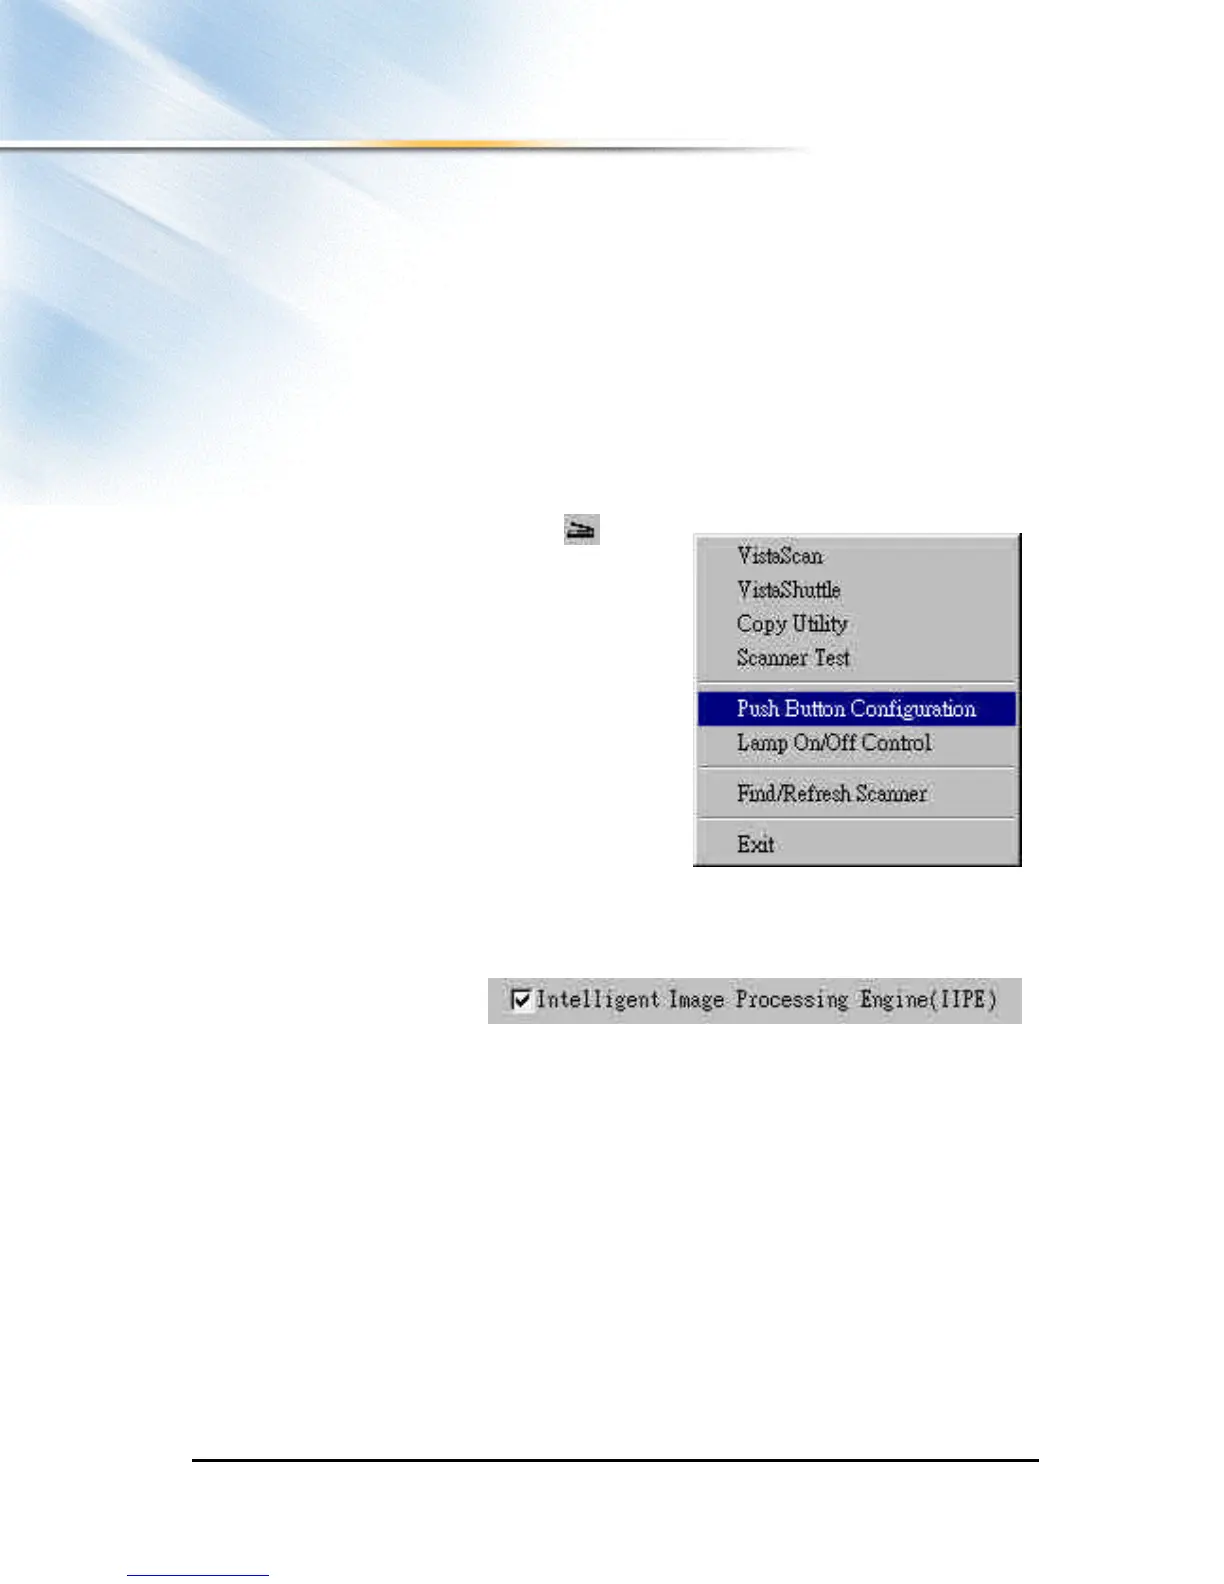
1. Click on the VistaAccess icon in the
Taskbar with the right mouse button. A
pop -up menu as shown on the right
appears.
2. Click the Push button Configuration
option. The Push Button configuration
window appears.
3. To Configure the Scanner button values.
Select the image editing software you
want to scan to when you press the Scan
Push button, and the type of image you
are scanning, the desired resolution, the scanning intensity level, the size of
the original image by clicking on the arrow to the right in each field.
4. You could also click
the check box
“ Intelligent Image Process Engine” in the “Push button Configuration”
dialogue box to let the scanner do all the settings for you automatically.
When you click the check box, all relevant fields will turn gray and the
scanner does the correct Document Type, Resolution, Brightness, and scan
Area settings, according to the item you want to scan. Moreover, even if the
document on the scanner is skewed, the scanned image will be adjusted at the
right angle by this feature.
5. Click the OK button to save the Scan Push Button configuration settings.
These settings will be used whenever you press the Scan button on the front
of the scanner.
 Loading...