Battery low warning
If the icon flashes in the handset
display you will need to recharge the
handset before you can use it again.
You also hear a low battery warning
beep once every 60 seconds.
During charging, the icon will scroll
in the display.
Battery performance
In ideal conditions, a fully charged
battery should give up to 10 hours talk
time or 100 hours standby time on a
single charge.
Note that new batteries do not reach
full capacity until they have been in
normal use for several days.
To keep the battery in the best
condition, leave the handset off the
base for a few hours at a time.
Running the battery right down at
least once a week will help it last as
long as possible.
The charge capacity of rechargeable
batteries will reduce with time as they
wear out, giving the handset less
talk/standby time. Eventually they will
need to be replaced. New batteries are
available from the V
T9011
Helpline on (852)
2776 3223.
After charging your handset for the
first time, subsequent charging time is
about 6–8 hours a day. Batteries and
handset may become warm during
charging. This is normal.
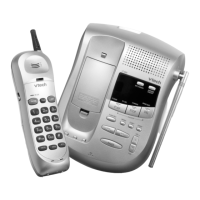
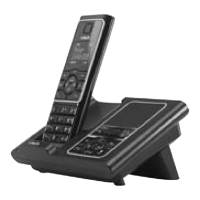
The base indicator lights up. The answering machine is
switched on.
2. The NiMH battery is already fitted in the handset. Remove the
battery compartment cover, by sliding it downward and lifting
off. Locate the battery lead and connector and plug it into the
socket inside the battery compartment (the red wire should be
on the left). Tuck the battery leads in the space above the
battery and slide the battery compartment cover back on.
3. Place the handset on the base to charge for at least 20 hours.
When the handset is fully charged the icon will be
displayed.
4. When the battery is fully charged, plug one end of the
telephone line cord into the socket marked on the rear of
the base and the other end into the telephone wall socket.
Getting started
BT Verve 450 – Edition 4 – 14.05.07.07 – 8179
8179 Verve 450 UG [4] 14/5/07 16:06 Page 8
2
 Loading...