Scanner Options, Maintenance and Troubleshooting Xerox
®
DocuMate
®
4799
User Guide 6-23
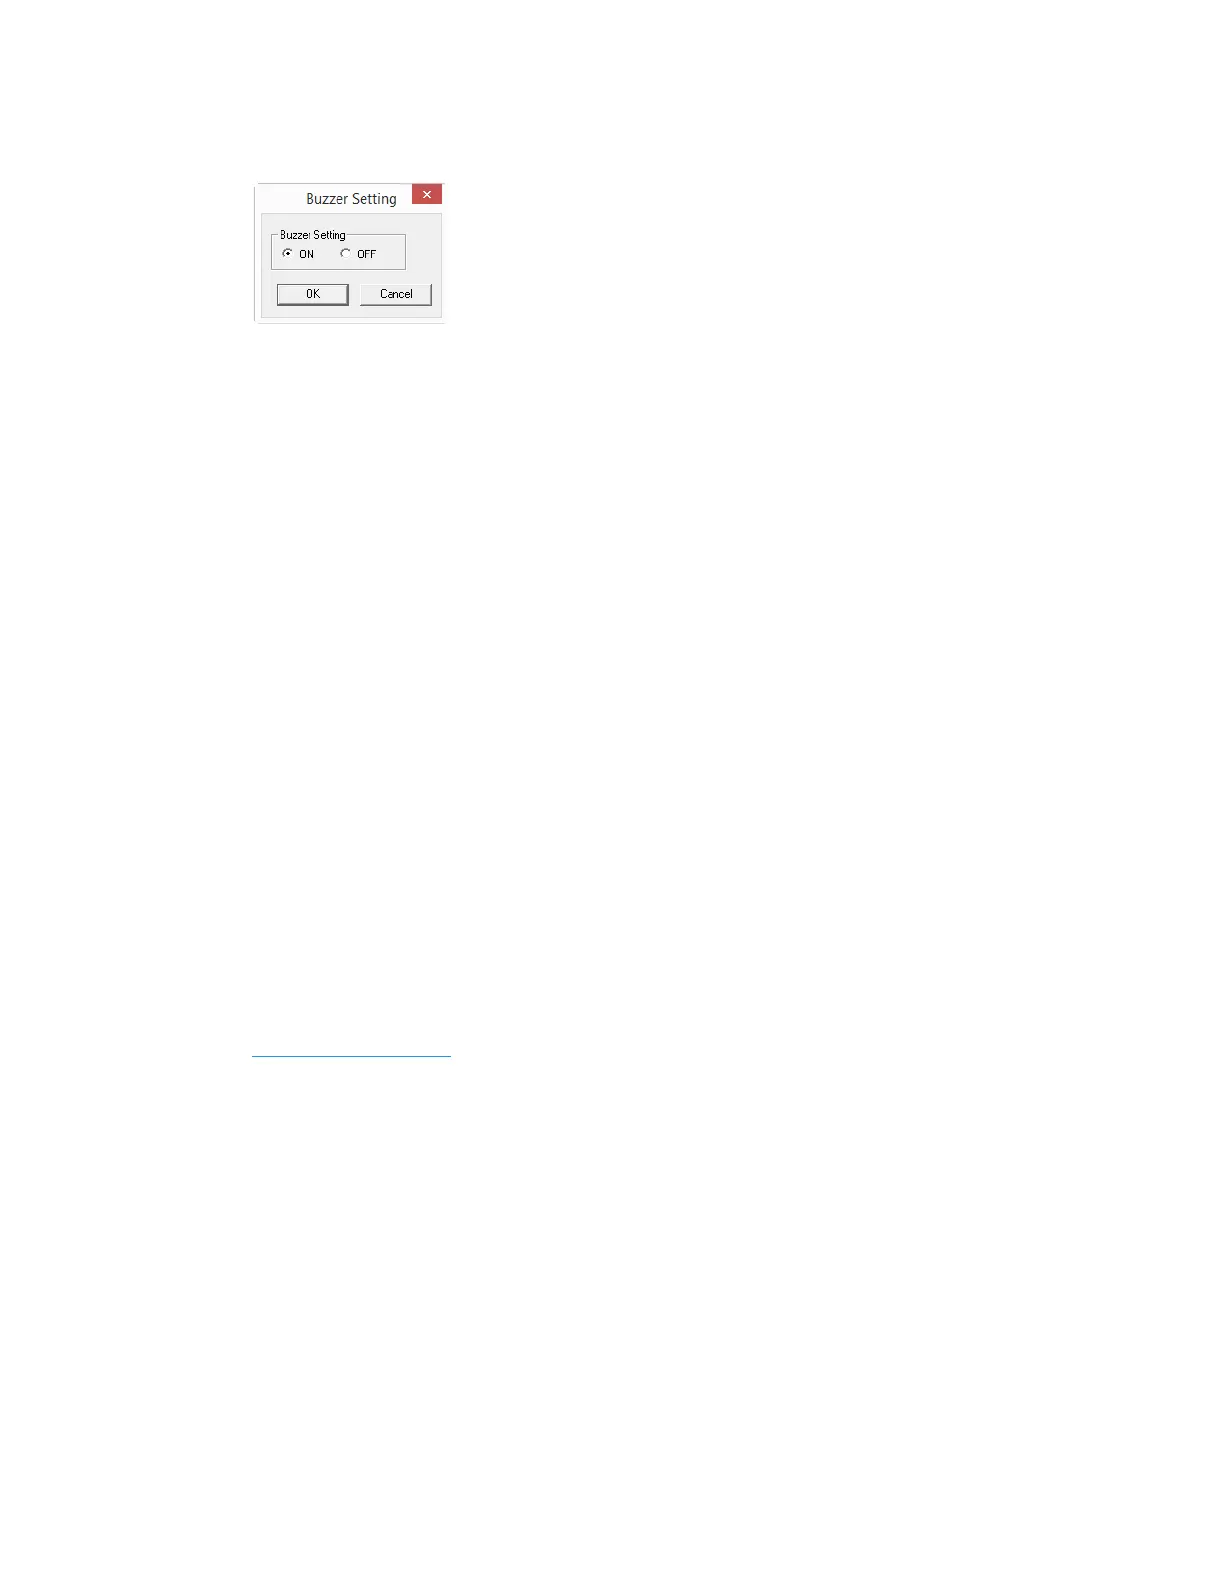
3. When the Buzzer Setting window opens, select the option you want.
Buzzer Setting—click on either On or Off to set the scanner alert sounds. Scanner alert
sounds include double-page-feed detection, paper jam error, lamp errors, etc...
4. Click on OK to save the changes and close the window.
Shading Adjustment
The shading adjustment is used to improve the image quality of the scanned documents. If your
final scanned files are of poor quality, such as perpendicular lines or the image clarity is uneven
across the page, you may need to perform a shading adjustment on the scanner.
To prepare for shading adjustment:
• Clean the scanner rollers, image sensors, glass and reference plates, as described in the
section “Cleaning the Inside of the Scanner” on page 6-6.
• After cleaning the scanner, do a test scan and view the final image file. Do not perform a
shading adjustment until after you clean the scanner and test scan. A shading adjustment
performed before cleaning the scanner may result in degraded image quality.
• Have the Shading Paper, provided with your scanner, ready as the software will tell you when
to insert it into the scanner.
• Make sure the Shading Paper is in-like new condition.
The Shading Paper should be kept in the plastic bag between the stiff cardboard when not in
use.
If the Shading Paper is creased, torn, soiled, crumpled or dirty, the image quality will degrade
instead of improve after performing the Shading Adjustment.
If your Shading Paper is not in like-new condition, please order a replacement at
www.xeroxscanners.com
in the Parts & Accessories page for your scanner.
• Change the front and back background reference plates to white. Please refer to the
instructions in section “Changing the Background Color” on page 6-4. During the shading
adjustment you will need to change the background color to white then to black. After the
shading adjustment is complete, choose the color you want the background to be.
To complete a shading adjustment:
1. Open the scanner User Utility application.
2. On the main window click on the User Shading... button.
 Loading...