Xerox
®
VersaLink
®
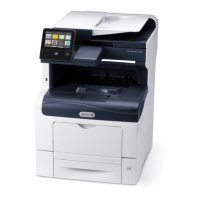
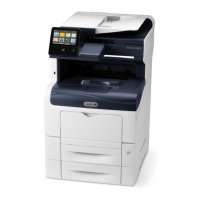
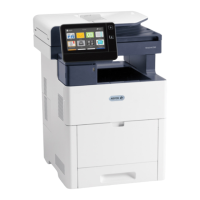
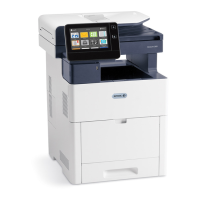
C405/B405 Multifunction Printer
Security Function Supplementary Guide
21
Set Direct Fax
For the secure operation of the machine, follow the procedure below to set
Direct Fax
to
Disabled
.
1.
Select
Apps
.
2.
Select
Fax
.
3.
Select
Direct Fax
.
4.
Select
Not Allowed
.
5.
Select
OK
.
6.
Select
Restart Later
if prompted.
Set Secure Fax Receive
Follow the procedure below to configure the Secure Fax Receive settings.
1.
Select
Apps
.
2.
Select
Fax
.
3.
Select
Secure Fax Receive
.
4.
Enable this service
5.
Set a passcode.
6.
Select
OK
.
7.
Select
Restart Now
if prompted.
Set Service Representative Restricted Operation
Follow the procedure below to restrict the operation of service representatives.
1.
Select
System
.
2.
Select
Security
.
3.
Select
Customer Service Engineer Access Restriction
.
4.
Enable this service.
5.
Enter a password of 9 or more characters in
Maintenance Password
and
Retype Maintenance
Password
.
6.
Select
OK
.
7.
Select
Enable
twice.
8.
Select
Restart Later
if prompted.
Set Self Test
Follow the procedure below to configure the Self Test settings.
1.
Select
System
.
2.
Select
Security
.
3.
Select
Firmware Verification
.
4.
Select
On
.
5.
Select
OK
.
6.
Select
Restart Later
if prompted.
 Loading...


