FT2DR/DE Technical Supplement
Alignment
ALIGNMENT-2
Internal System Alignment Routine
This uses a programmed routine in the transceiver
which simplies many previously complex discrete
component seings and adjustments with digital-
ly-controlled settings via front panel buttons and
LCD indications.
1. To begin, set the transceiver to the VFO mode
on the "A-Band, FM-mode" in the "Mono" band
mode.
2. Program a password for the Alignment
(AH060M) according to the following proce-
dure:
1) Press and hold the
[
DISP
]
key for one second
to enter the Set mode.
2) Touch [
DISPLAY
] briefly to enable adjust-
ment of this Set Mode Item.
3) Rotate the
DIAL
knob to select Set Mode Item
8: OPENING MESSAGE.
4) Press the
[
DISP
]
key briey to enable adjust-
ment of this Set Mode Item.
5) Rotate the
DIAL
knob to select Set Mode Item
MESSAGE.
6) Press the
[
DISP
]
key briey to enable adjust-
ment of this Set Mode Item.
7) Input the password "AH060M" (toggle the
alphabet input screen, and the number input
screen when necessary).
8) When you have completed the password,
press the
[
DISP
]
key briefly, then press the
PTT
switch to exit to normal operation.
Note: Remember to delete the password "AH060M"
from the Set Mode Item 8: OPENING MESSAGE when
the alignment adjustments are nished by pressing and
holding in the
[
GM
]
key for two seconds (as in step 8
above).
3. Press the
[
PWR
]
switch for two seconds to turn
the transceiver "o".
4. Press and hold in the
[
GM
]
key while powering
the transceiver "on" again. The transceiver will
enter the adjustment mode, and the display
will show the rst alignment seing. Thereaf-
ter, the frequencies used during alignment will
automatically be set without action by the tech-
nician.
In the alignment process, each adjustment is se-
lected by rotating the
DIAL
knob. The alignment
is performed by: pressing the
[
V/M
]
key injecting a
signal of the required frequency and level; making
the adjustment; and then pressing the
[
V/M
]
key
again (the "Data" will disappear from the display),
to store the adjustment.
To exit the alignment routine, press the
[
GM
]
key.
After performing the system alignment in its en-
tirety, individual settings can be returned to and
adjusted individually, should the need arise.
As each transceiver is individually optimized at
the factory, the precise seings for the transceiver
on your bench may be slightly dierent.
PLL Reference Frequency Adjustment (PLL REF)
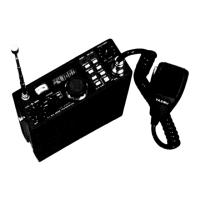
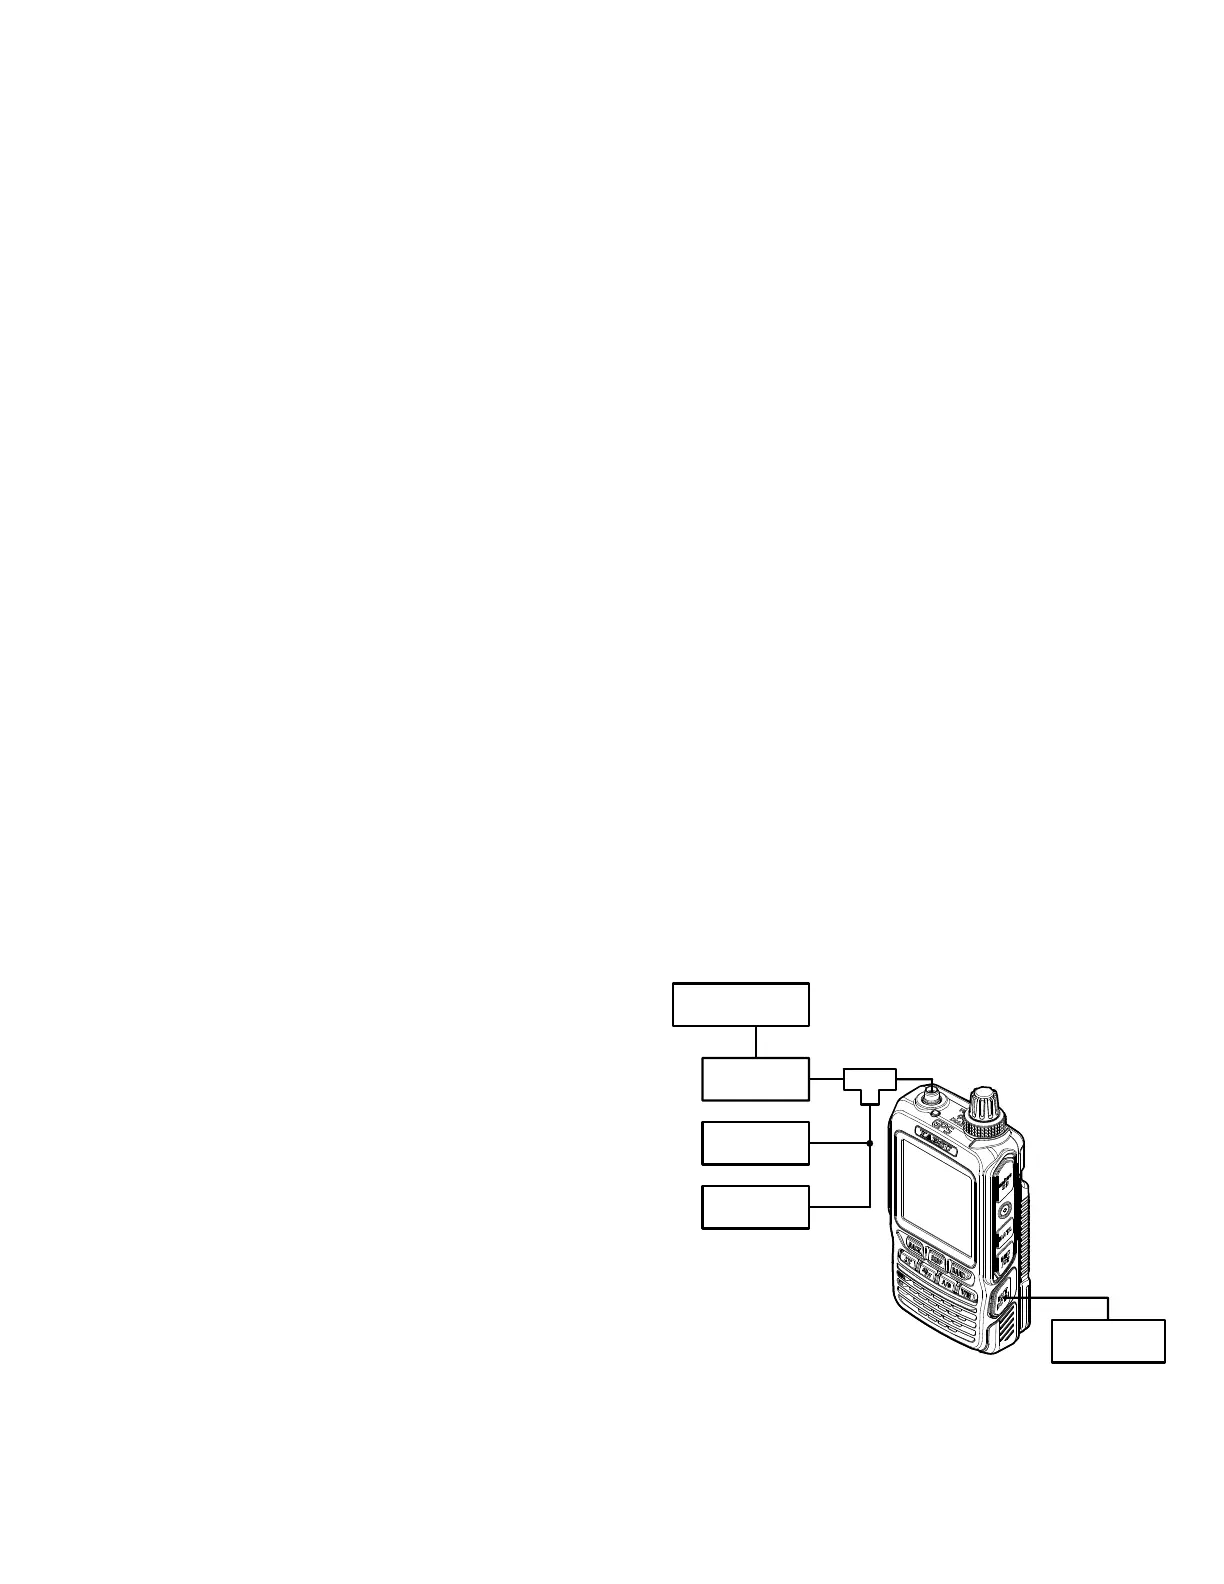
Connect the test equipment as shown in Figure 1:
TX Alignment Setup.
Rotate the
DIAL
knob to select the Alignment
Menu "PLL REF".
Press the
[
V/M
]
button (the "Data" will appear
on the display).
Press the
PTT
switch to transmit and rotate the
DIAL
knob so that the frequency counter seing
is 440.000 MHz (±100 Hz).
Release the
PTT
switch, then press the
[
V/M
]
buon (the "Data" will disappear from the dis-
play).
Figure 1: TX Alignment Setup
Regulated
9.4 VDC P.S.
Sampling
Coupler
50-ohm RF
Dummy Load
In-Line
Wattmeter
Deviation
Meter
Frequency
Counter
 Loading...