19
3. Installation
3. Installation3. Installation
3. Installation
3.1 Method of transport
3.1 Method of transport 3.1 Method of transport
3.1 Method of transport
•When lifting the pump using a chain hoist or crane before transporting it, be sure to lift it by the
specified lift point (see “1. Names of parts and materials” after p.8).
WARNING
WARNINGWARNING
WARNING
•Be careful that nobody will pass under the pump when you lift it. It would be very dangerous
if the pump should fall.
CAUTION
CAUTIONCAUTION
CAUTION
•See 10.1 Main specifications after p.26. Remember that the pump is heavy, so extreme care
must be taken when lifting it.
•When moving the pump with a forklift or truck, make sure that the pump will not fall. If it does,
it may be damaged and/or cause bodily injury.
•NEVER try to move the pump by pulling the hose connected to the pump. The hose or the pump
may be damaged.
3.2 Installing the pump
3.2 Installing the pump 3.2 Installing the pump
3.2 Installing the pump
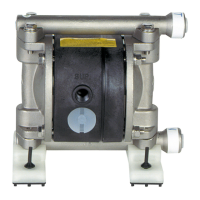
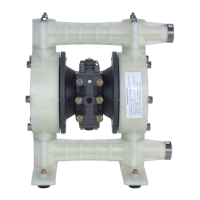
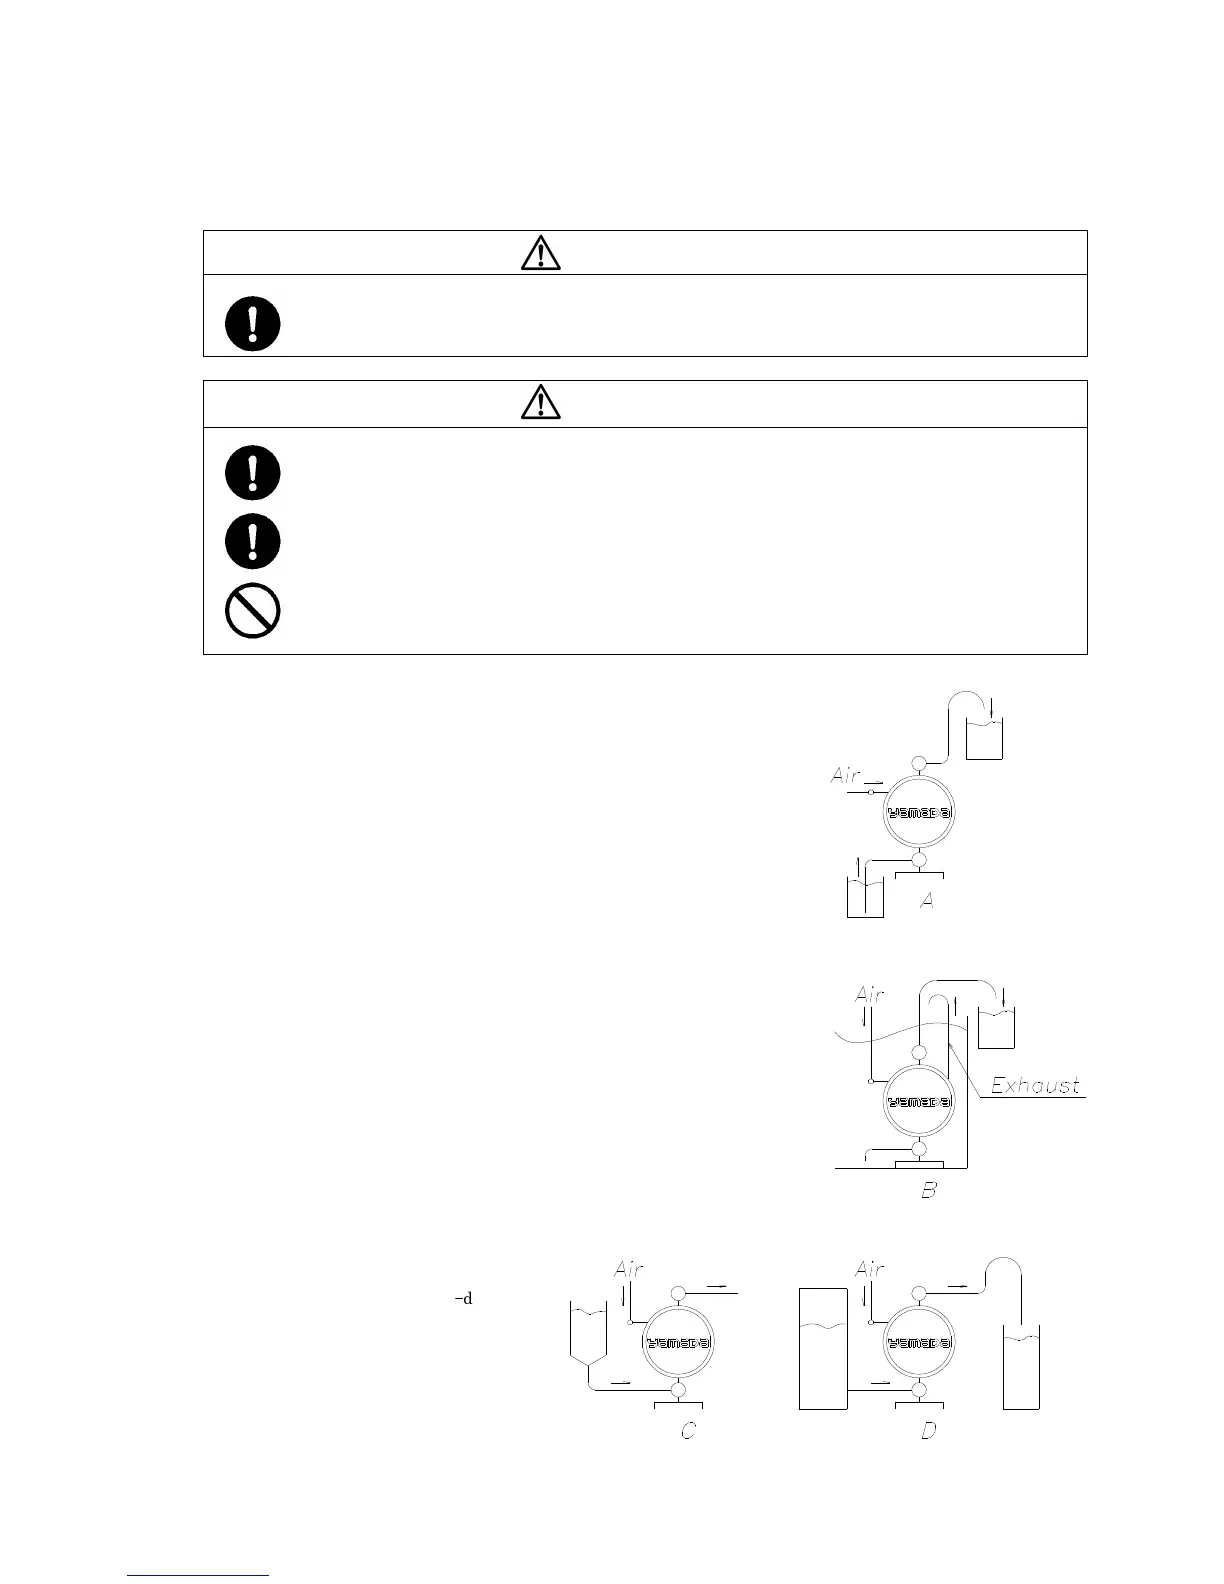
1) Decide where the pump should be installed and secure a suitable space
(see Fig. 3.1 A to D).
Note:
Note: Note:
Note:
•Try to keep the suction lift as short as possible.
Protect diaphragm from abnormal breakage, inlet pressure must be
kept below the following values:
*PTFE diaphragm: 0.02MPa (height 2m) During operation
: 0.05MPa (height 5m) Not in operation
*Other diaphragms: 0.1MPa (height 10m)
(Condition with fresh water under ambient temperature)
•Remember to provide sufficient space around the pump for
maintenance.
•Can be changed the direction of the fluid intake port and the discharge
port opposite from each other. (For switching, see the maintenance
manual.)
•The exhaust from the pump will contain some sludge.
When operating the pump where it would have an impact on the
environment, the exhaust should be directed to a place where there will
be no environmental impact.
2) Remove the pump from the package and install it in the designated location.
3) When fixing the pump in place, use the
cushions on the pump base, and secure
pump by tightening the tied
-
down
bolts a little at a time.
Fig. 3.1
 Loading...