Appendix
CVP-305/303/301 Owner’s Manual
208
Installing the Floppy Disk Drive (Included/Optional)
The floppy disk drive can be installed to the bottom of
the instrument by using the included floppy disk drive
case and screws. For a list of optional floppy disk drives
available for this instrument, see “Optional Accesso-
ries” (page 210).
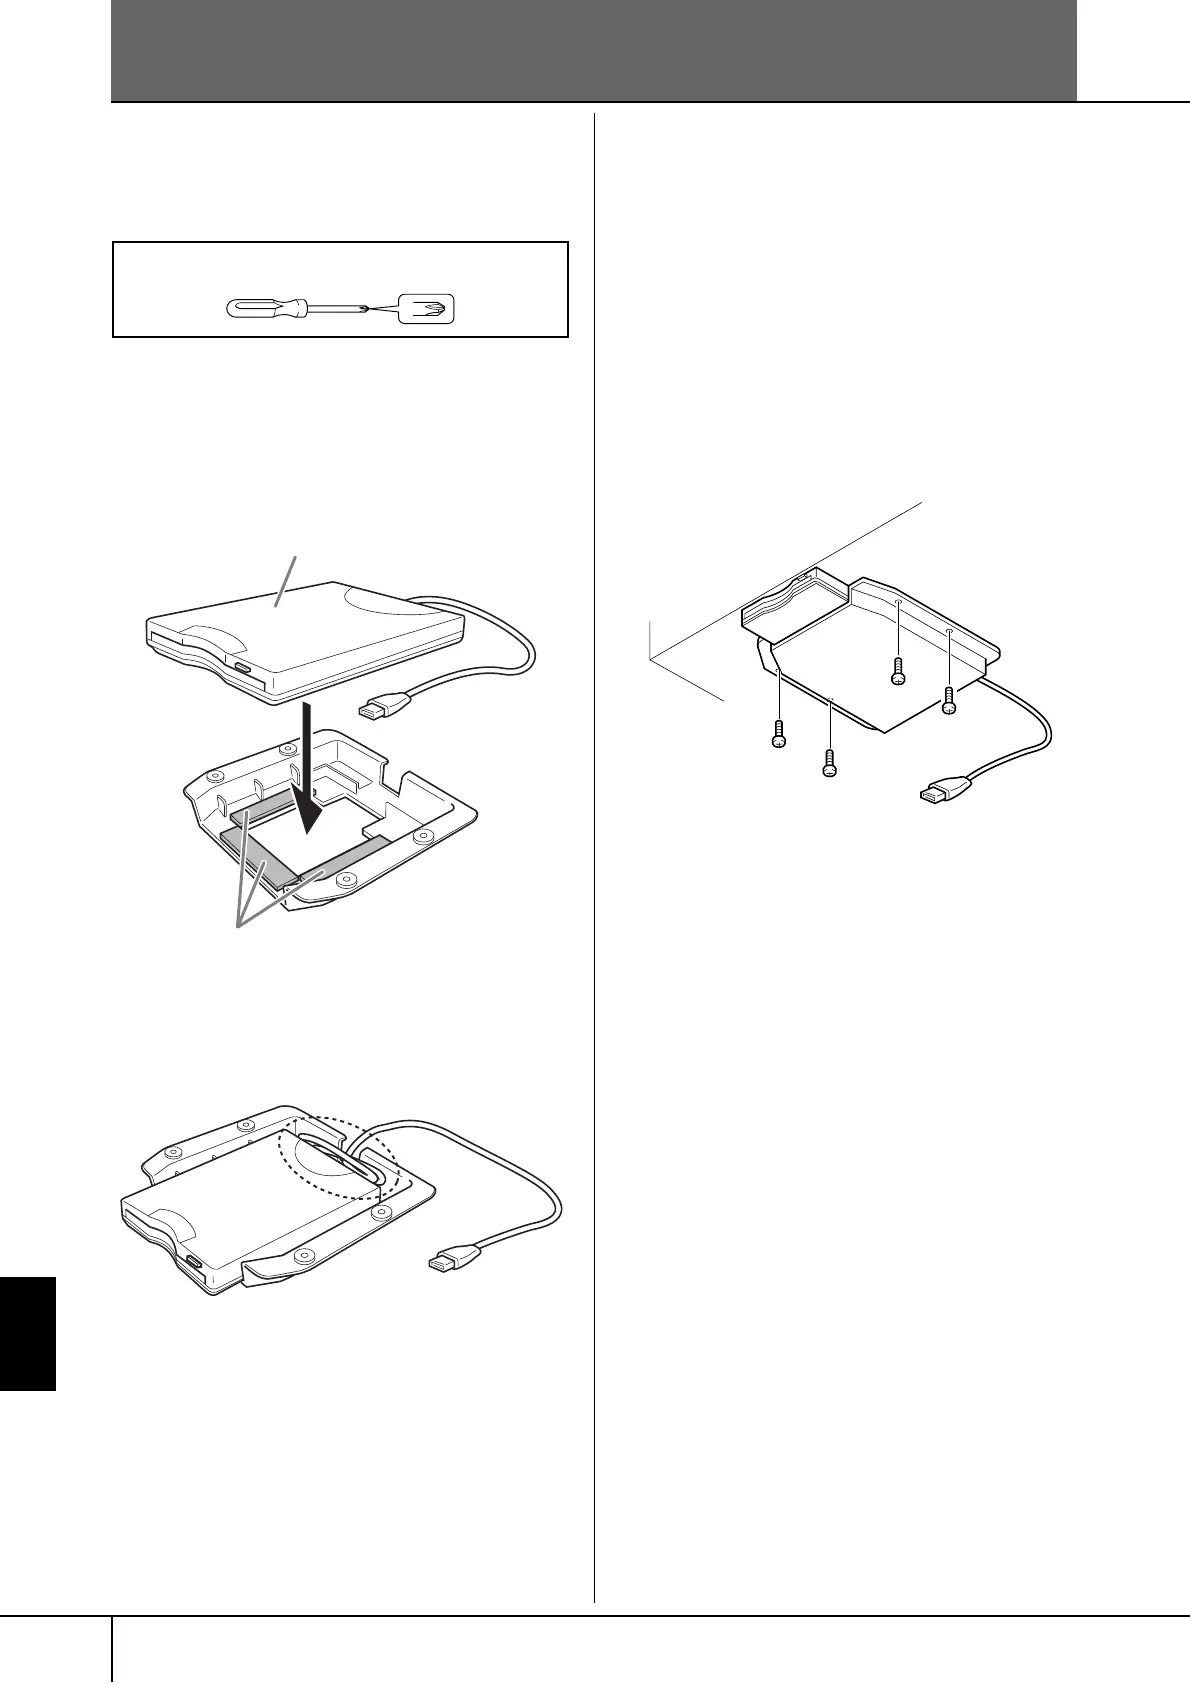
1 Remove the three backing papers from the
adhesive tape in the case, and fit the floppy disk
drive into the case.
2 Fold the USB cable inside the case as shown.
3 Attach the drive and case assembly to the left
underside of the instrument, using the included
four screws (4 mm x 10 mm).
4 Connect the USB cable to the [USB TO DEVICE]
terminal.
Have a Phillips-head (+) screwdriver ready.
Insert the drive to the case, with the side
having the rubber stoppers facing the case.
Dual-sided adhesive tape

 Loading...