4-12 IM 760301-01E
4.4 Setting the Measurement Range When Using
the External Current Sensor
Procedure
START STOP
REMOTE
CAL
SENSOR RATIO
MEASURING
RMS MEAN DC RMEAN
CURRENT RANGEVOLTAGE RANGE
MEASURING
RMS MEAN DC RMEAN
ALL
INPUT INFO.
LOWER ITEM LOWER FORM ALLUSER SET
DISPLAY
ITEM & ELEMENT
2
34
COMPEN
ELEMENT
ELEMENT
1
WIRING
MODE AUTO MODE
AUTO
EXT SENSOR
NUMERIC
WAVE
OTHERS
ITEM
FORM
U / I / P
WP/q/
TIME
USER
ELEMENT
UPDATE
RATE
HOLD
SINGLE
INTEG
LOCAL
SHIFT
RESET SET
PAGE PAGE
Cursor keys
To exit the menu during
operation, press ESC
located above the soft
keys.
In the procedural
explanation below, the
phrase “press the cursor
keys” may be used. This
phrase refers to the
procedures for selecting
items and entering values
and character strings. For
details on the procedures,
see section 3.14.
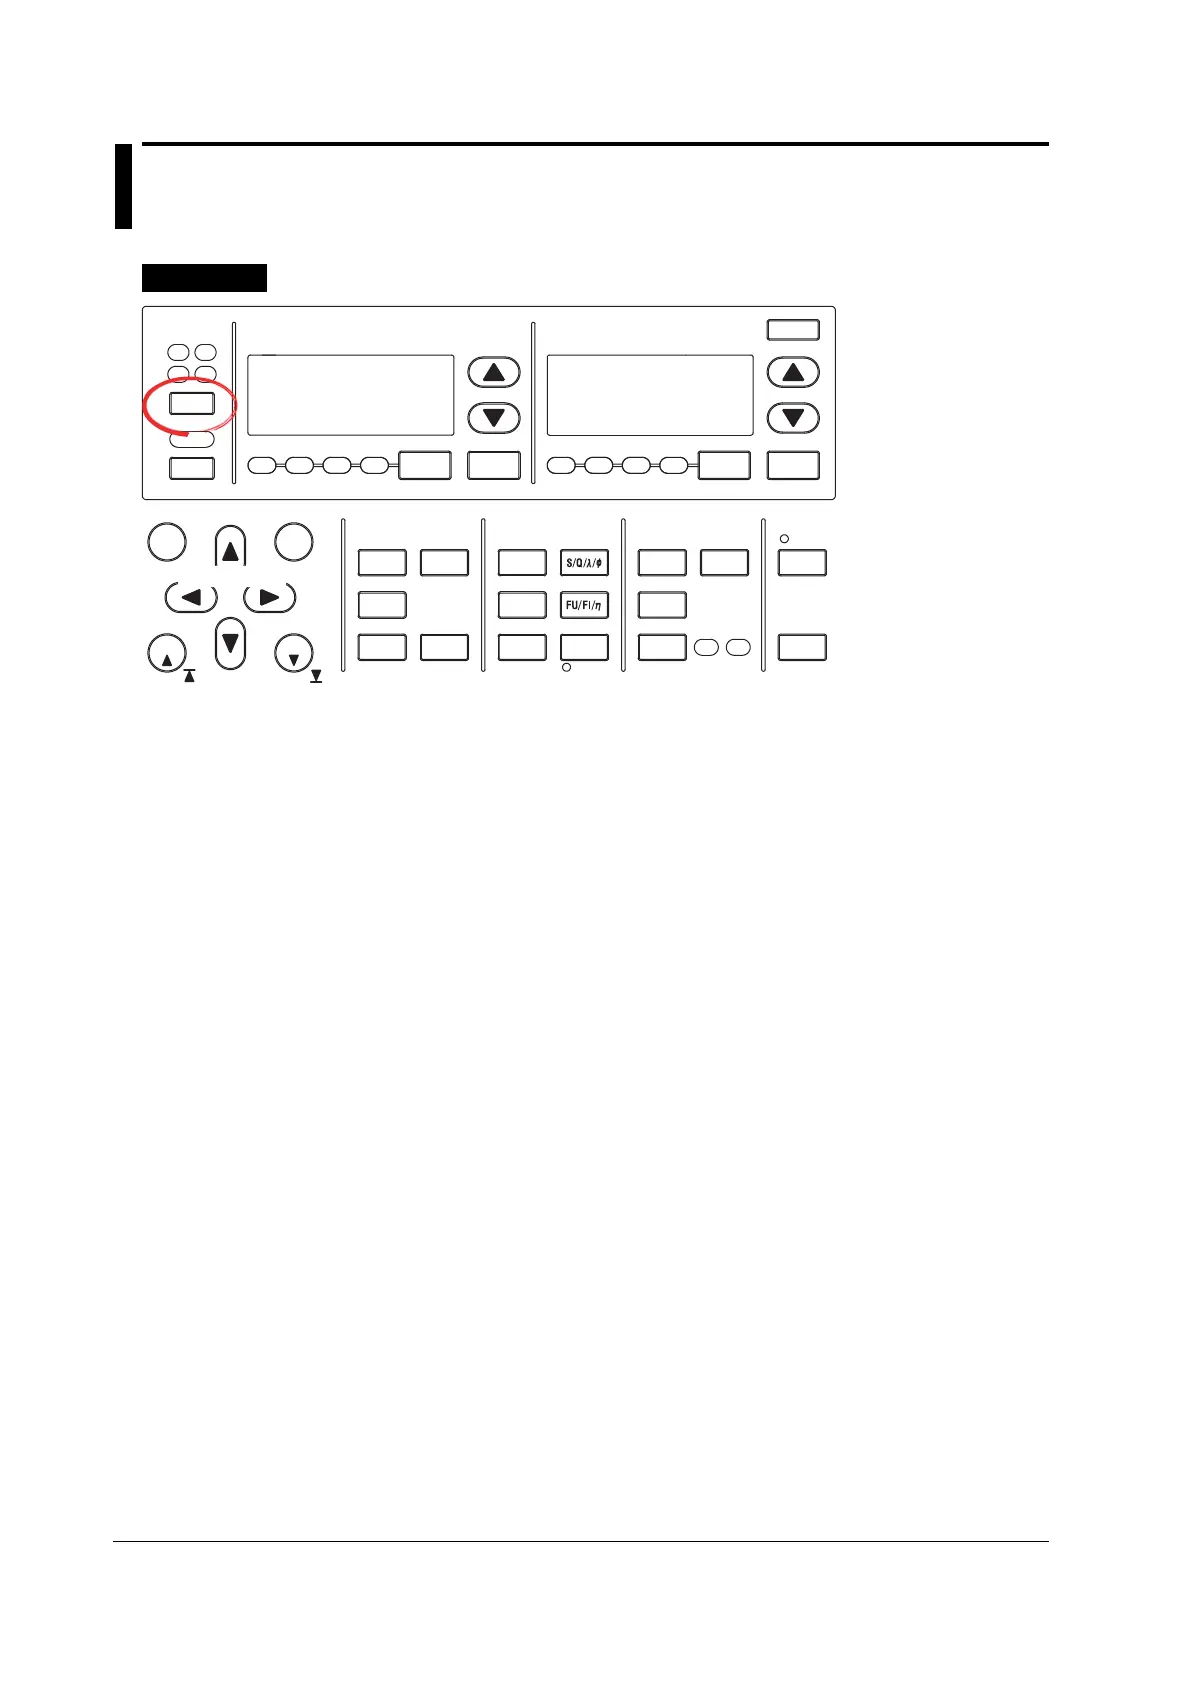
• Selecting the Target Element
1. Press ELEMENT to select the target element. The corresponding element
indicator above of the key illuminates. To select all elements, press
SHIFT+ELEMENT (ALL).
• Selecting the External Current Sensor Input Connector
2. Press EXT SENSOR to turn ON the EXT SENSOR key.
If it is already illuminated, proceed to step 3.
• Setting the External Current Sensor Range
3. Press the current range selection key (UP and DOWN keys) to set the
external current sensor range. The specified range is displayed with the current
range indicator to the left of the keys and on the upper-right corner of the screen
where the elements are displayed.
• Press the current range UP key to increase the external current sensor range.
• Press the current range DOWN key to decrease the external current sensor range.
• Press AUTO to specify auto range. The AUTO key illuminates.
4. Repeat steps 1 and 3 to set the external current sensor range of all elements.

 Loading...