Electrical System Argo Service Manual
Ontario Drive & Gear Limited www.odg.com
PH.(519)- 662-2840 FAX (519)- 662-2421
ES-12
Headlamp Removal ( Response, Bigfoot and Later Vanguard2 & Vanguard Models)
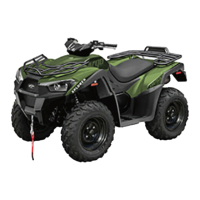
1. Locate the 4 screws securing the metal headlamp bezel to the upper body. Photo
ES-9
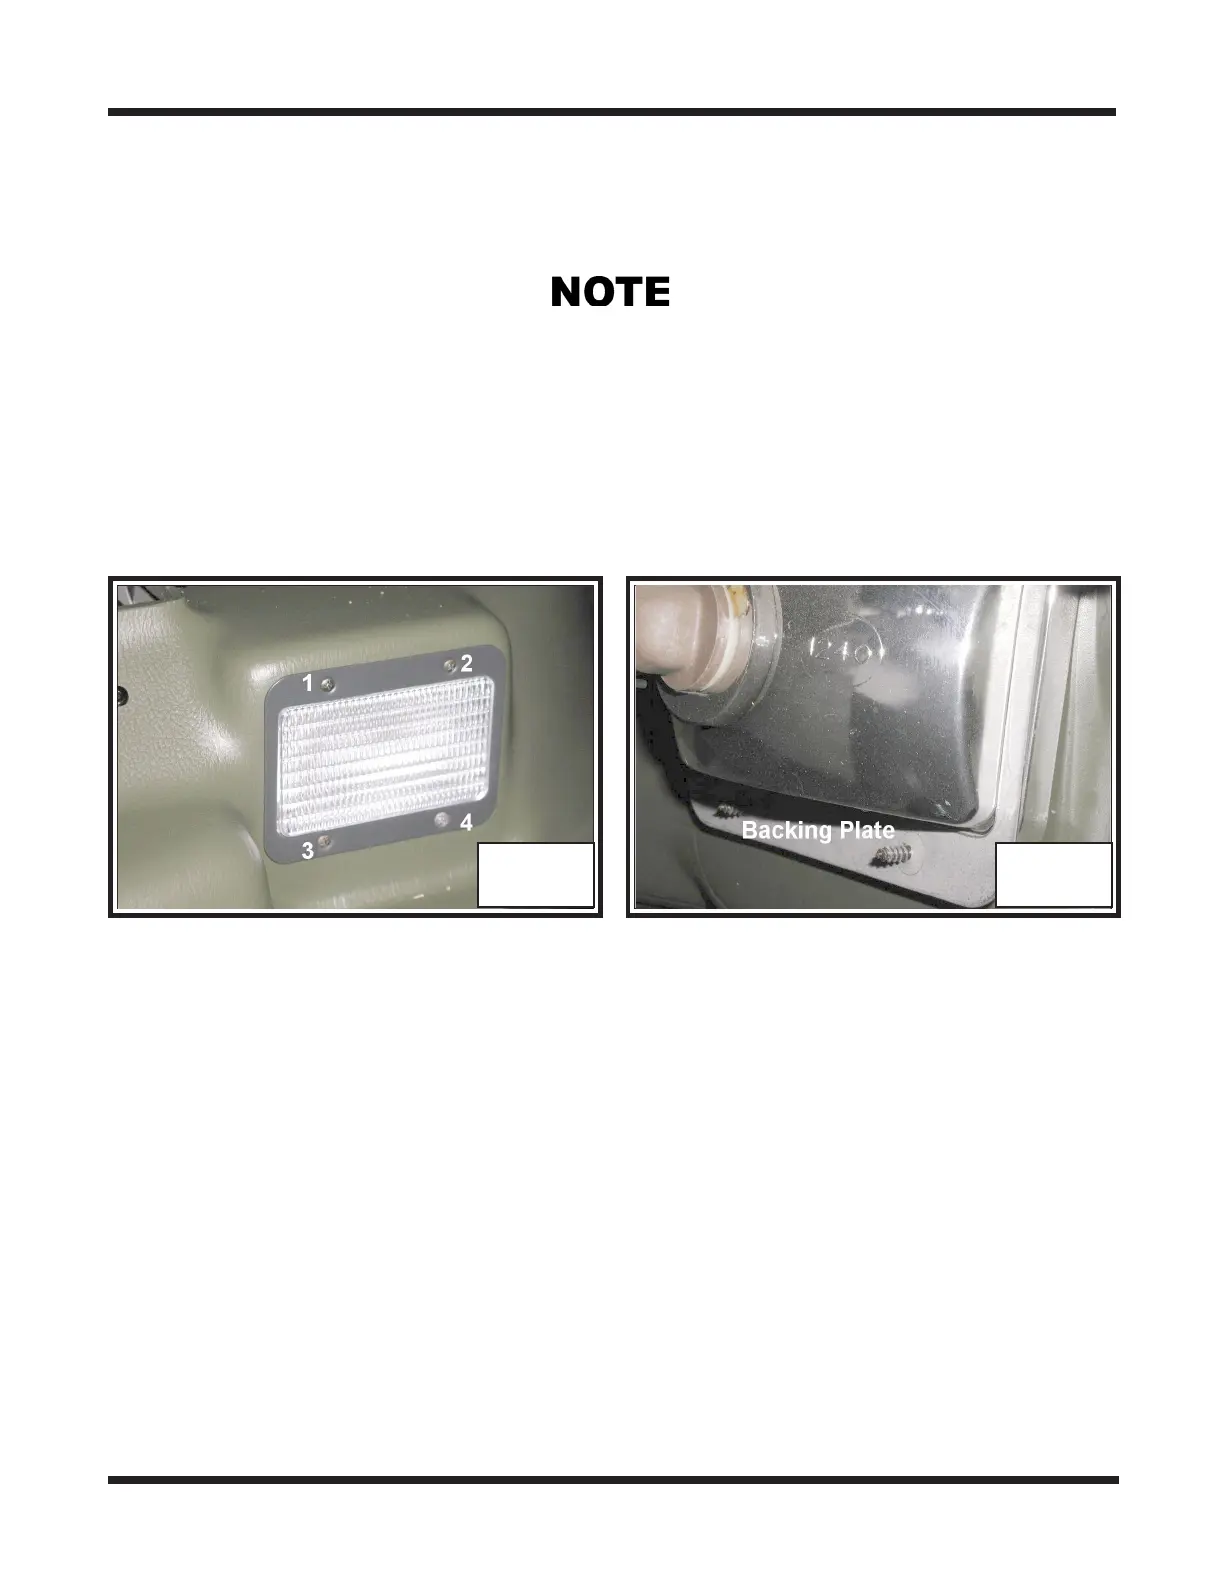
2. Remove the 4 screws, unthreading them from the backing plate that holds the head-
lamp from the inside of the vehicle. Photo ES-10
ES-9 ES-10
3. Pull the headlamp from the vehicle and remove the bulb from the lens by turning 1/4
turn counter-clockwise and pulling straight out.
Headlamp Installation ( Response, Bigfoot and Later Vanguard2 & Vanguard
Models)
Some earlier Response models incorporated a plastic headlamp bezel that secured itself to
the upper body by 2 tabs to the inside of the headlamp opening. To remove this bezel,
reach in behind the headlamp and squeeze the 2 tabs to pop the bezel free of the upper
body. See your illustrated parts manual for these earlier vehicles.
1. Install the headlamp from inside the vehicle, placing the inside backing plate over
the back of the lens and up against the upper body.
2. Place the outside bezel trim into position and thread in each screw aligning them
with each hole of the backing plate.
3. Secure all screws.
4. Reinstall the lamp bulb, inserting it into the lens and turning 1/4 turn clockwise.
5. Install the engine access cover.
 Loading...