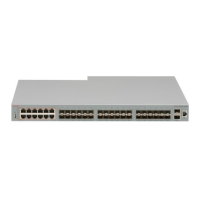
Chapter 3: Preinstallation checklist
Before you install the Avaya Ethernet Routing Switch 3600 Series, make sure that you complete the
tasks in the preinstallation checklist.
No. Task Description
1. Review the technical specification for
the switch. Make sure that the area
where you install the switch and
where it will operate meet the
requirements.
For the physical, electrical, and
environmental specifications, see
Technical specifications on page 12.
2. Verify the AC power specifications. See Power specifications on page 14.
3. Make sure that you have the
following tools and cables:
• Phillips #2 screwdriver RJ-45
console port cable
• ESD cable
See Identifying cables to use with the
Ethernet Routing Switch on page 25.
4. Unpack the equipment. Observe ESD precautions when you
unpack the equipment. See Electrostatic
discharge prevention on page 11.
5. Verify the contents of the shipped
package.
See Package contents on page 17 for
a description of the components that are
provided with the switch. If any
components are missing, contact Avaya
support.
6. Make sure that the power cord has
the correct country-specific
termination.
See AC power cord specifications on
page 16.
7. Prepare the equipment rack Prepare the equipment rack and ensure
that there is enough rack space of 1.75
inches (4.45 centimeters).
Ensure that the rack is bolted to the floor
and braced if necessary.
Ensure that the rack is grounded to the
same grounding electrode used by the
power service in the area. The ground
Table continues…
January 2017 Installing Avaya Ethernet Routing Switch 3600 Series 8
Comments on this document? infodev@avaya.com
 Loading...


