Mount/Camera
The Axon Fleet mount draws power from the Axon Fleet power unit, and therefore they
must be wired together using the 18-foot (5.5 m) wiring harness. Do not mount any of
the hardware on the exterior of the vehicle or inside the engine compartment.
1 With the Axon Fleet camera properly secured to the Axon Fleet mount, without
permanently affixing the mount, determine the appropriate location to affix the
mount upon the interior of the windshield.
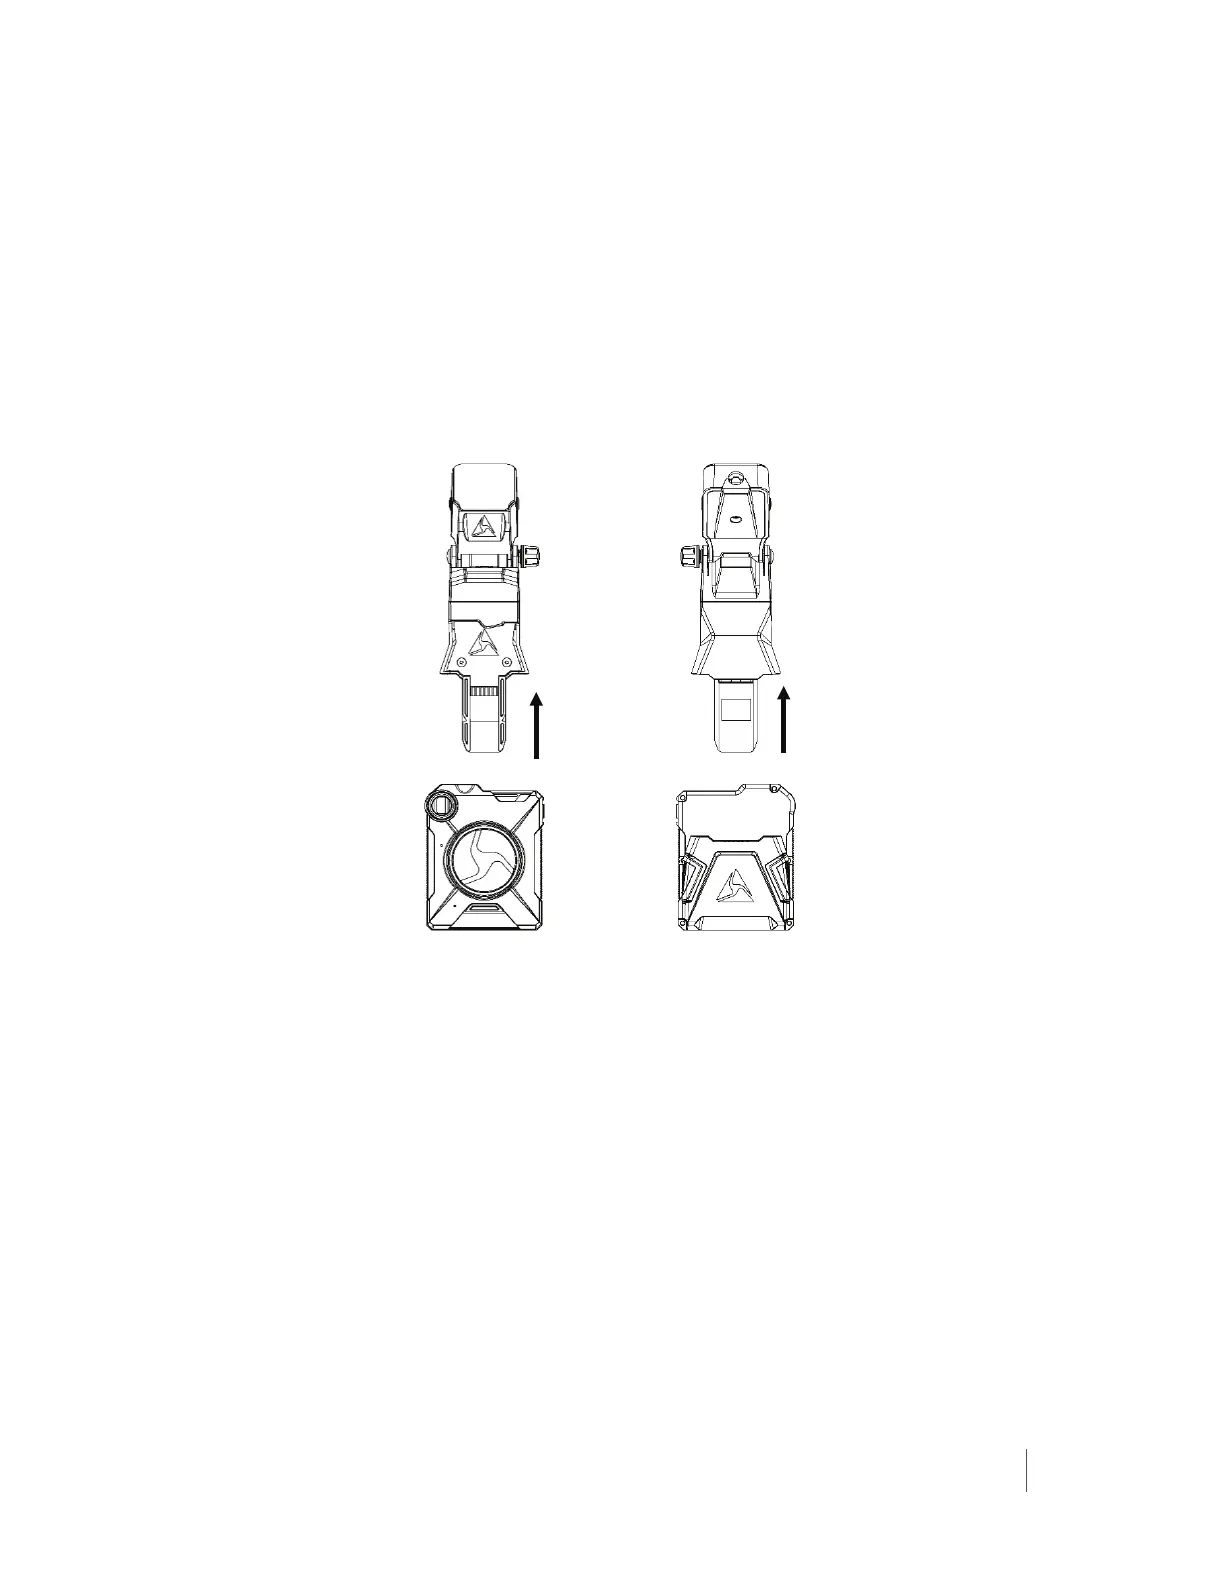
The camera is inserted directly up into the mount. There should be an audible
click when the camera seats properly.
Front view Back view
Do not install the camera anywhere that will interfere with airbag deployment
or adversely obstruct the driver’s view.
It is recommended that the forward looking camera mount on the center part of the
windshield, approximately 1-1/2″ (3.8 cm) from the headliner.
Notes:
• The camera mount does not have a rotation feature, so for the straightest picture,
the mount needs to be as close to the center of the window as possible, without
interfering with the rearview mirror, or equipment attached to the windshield.
• Installer can wait to affix the mount to the window until the system is installed,
then use the live view feature to help align the camera and mount
• Fit the camera and mount prior to installation. Incorrect installation can interfere
with visibility, the ability to move the rearview mirror, or sun visors.

 Loading...